
Microfluidic devices, often referred to as lab-on-chip technologies, are transforming how we approach biology and chemistry by allowing precise manipulation of tiny fluid volumes. Imagine conducting complex experiments that previously required bulky equipment right on a compact chip. This DIY tutorial empowers you to create your own microfluidic device, enabling hands-on exploration of cutting-edge science that could lead to innovations in diagnostics, drug delivery, and environmental monitoring. Whether you’re a student eager to apply theoretical knowledge, a researcher looking to prototype new ideas, or a technical maker intrigued by interdisciplinary applications, this guide will break down the process into manageable steps. Join us as we bridge the gap between theory and practice, providing the tools and insights you’ll need to explore the exciting world of microfluidics and unlock your potential as an innovator in this dynamic field.
Understanding Microfluidics: The Basics You Need to Know
Microfluidics represents a remarkable intersection of engineering and life sciences, allowing for the precise manipulation of liquid volumes in the microliter to picoliter range. This cutting-edge technology is key in applications ranging from biochemical assays to genetic testing and drug development. By understanding the fundamental principles of microfluidics, you can harness its capabilities to create highly efficient and innovative lab-on-chip devices.
At its core, microfluidics relies on the control of fluid behavior within small channels that are typically less than 1 millimeter wide. This miniaturization not only reduces the amount of reagents needed but also accelerates reaction times and enhances sensitivity. Essential concepts include laminar flow, where fluid flows in parallel layers with minimal mixing; surface tension effects that dominate at small scales; and the impact of channel geometry on fluid behavior. Together, these principles allow for precise control over biomolecular interactions and fluid dynamics.
To venture into DIY microfluidics, understanding materials is crucial. Common options for creating microfluidic devices include polydimethylsiloxane (PDMS), a flexible silicone polymer known for its excellent optical clarity and biocompatibility, and 3D printing materials that enable rapid prototyping of complex geometries. Additionally, knowing how to integrate sensors within these devices can turn a simple microfluidic chip into a multifunctional platform. As these diodes and photodetectors can analyze samples in real-time, they significantly enhance the utility of your lab-on-chip applications.
Through a combination of theoretical knowledge and practical skills, you can bring the exciting world of microfluidics into your own lab. Whether you’re a researcher, a student, or a hobbyist, diving into this field not only promises robust scientific advancements but also opens doors to innovation in biomedical engineering and diagnostic technology.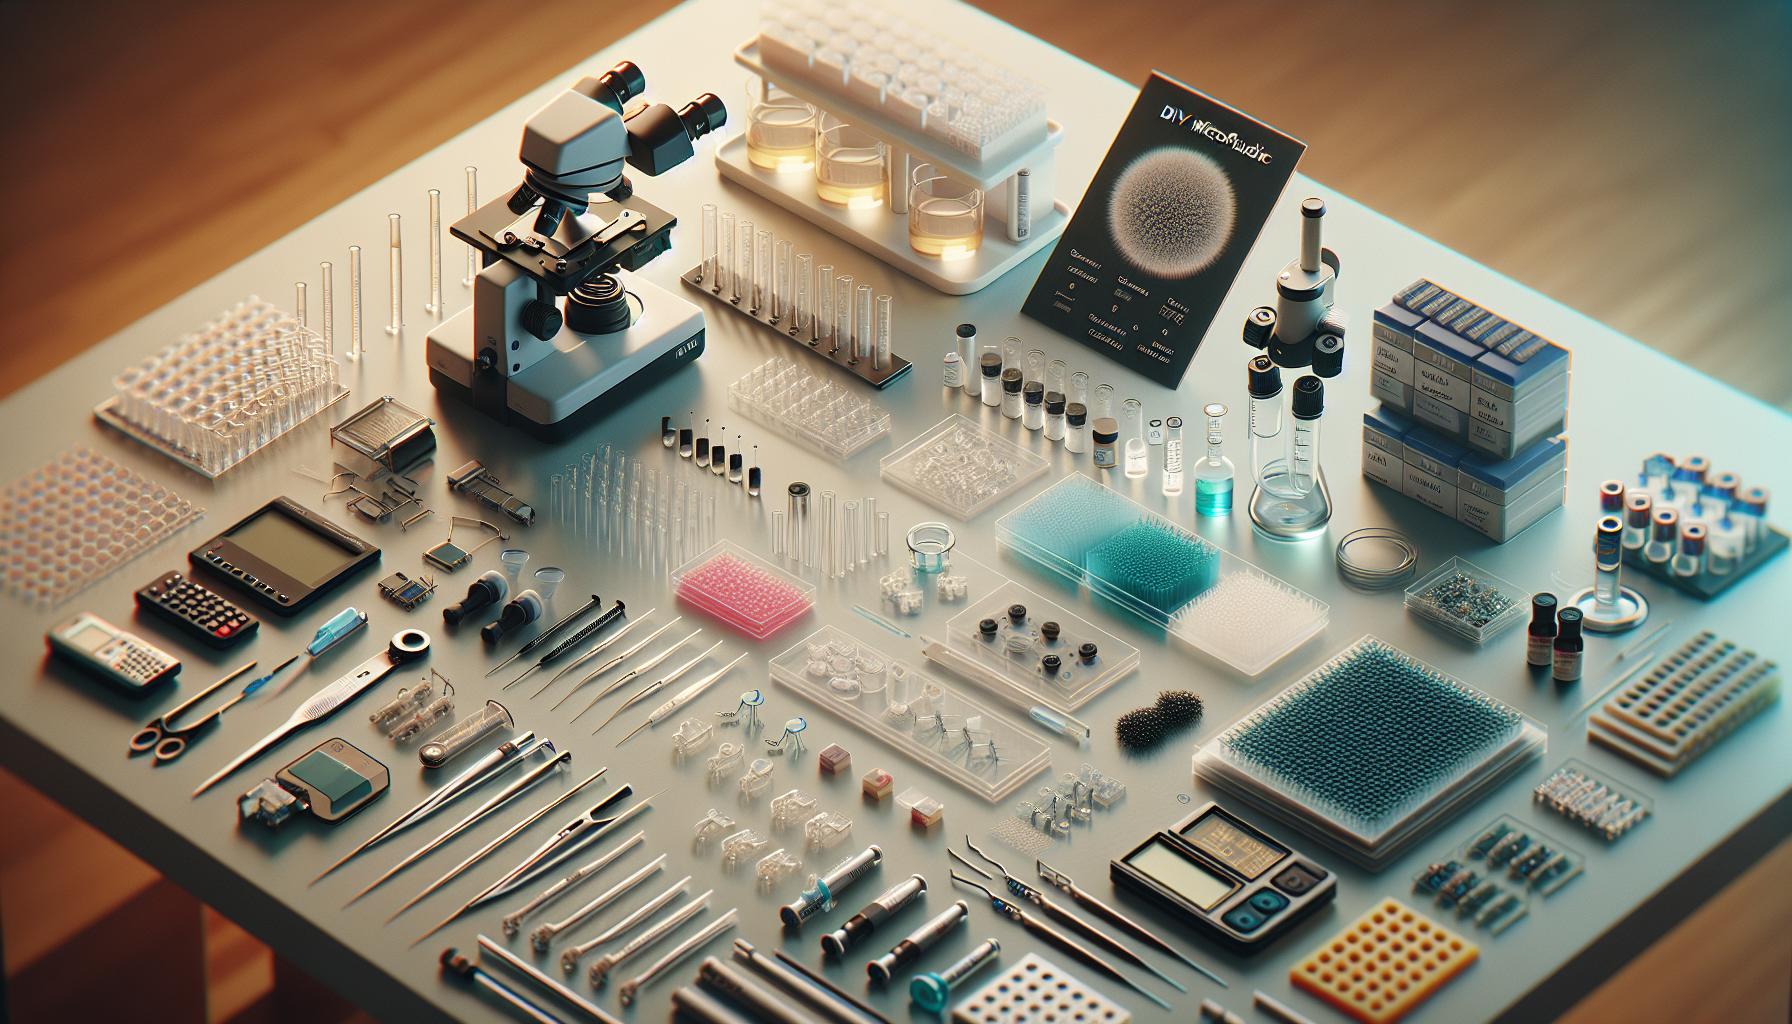
Materials Required for DIY Microfluidic Devices
Creating your own microfluidic devices is an exciting journey that blends creativity with cutting-edge science. Understanding the essential materials needed for this endeavor is crucial for not only achieving effective device performance but also for enhancing your overall design process. Various materials are available, each offering unique properties that can be leveraged to build efficient lab-on-chip platforms.
Starting with the silicone elastomer polydimethylsiloxane (PDMS), it is a favorite among DIY microfluidic device creators. This flexible, optically transparent polymer is particularly advantageous due to its biocompatibility and ease of use. PDMS can be poured over a mold to create microchannels; its affinity for bonding with itself allows for easy assembly of complex architectures. Moreover, PDMS can be modified with additives to enhance its properties, such as increasing hydrophilicity, which can benefit specific fluidic applications.
Another popular choice is 3D printing materials, which allow for rapid prototyping and customization of microfluidic devices. With advancements in 3D printing technology, materials like PLA and resin can be utilized to create intricate channel designs that might be challenging to achieve with traditional methods. This flexibility not only reduces fabrication time but also permits quick iterations based on testing results.
To enhance your device further, incorporating sensors and actuators can turn a basic microfluidic chip into a sophisticated analytical tool. Materials for these components vary from conductive polymers for electrodes to specific substrates for sensor integration. Additionally, adhesives or bonding agents are vital for ensuring the structural integrity and proper sealing of layered devices, preventing leaks and ensuring precise fluid control.
Ultimately, the choice of materials will depend on the specific application and desired characteristics of the final product. Considering factors such as cost, ease of fabrication, and the specific requirements of your experiments will lead you to the optimal materials for your DIY microfluidic devices. Embracing this creativity will empower you to explore the vast potential of microfluidics in your own lab.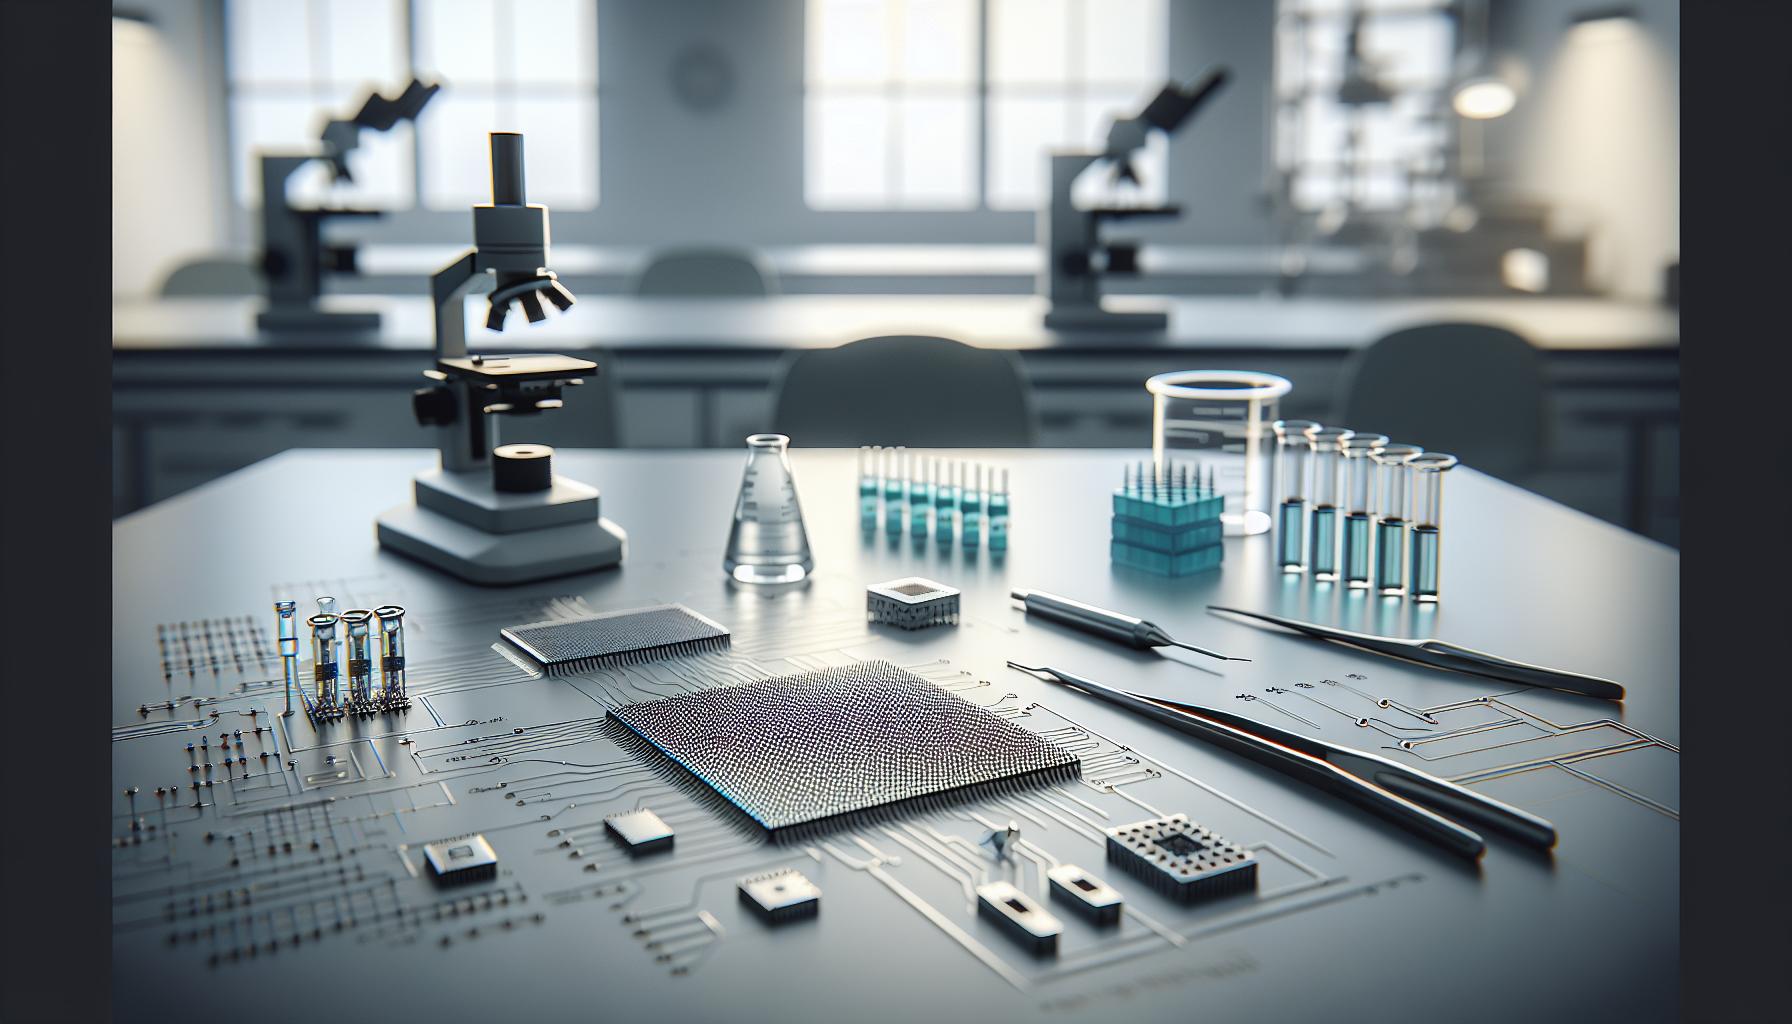
Step-by-Step Guide to Designing Your Lab-on-Chip
Designing a lab-on-chip device can feel intimidating, but breaking the process down into manageable steps makes it an achievable goal. Whether you’re exploring microfluidics for research, diagnostics, or even educational purposes, understanding the design framework is essential for creating an effective microfluidic system.
To start, it’s crucial to define the objectives of your device. What specific applications do you have in mind? Are you focusing on biological assays, chemical reactions, or environmental monitoring? Identifying the purpose will guide all subsequent design choices. Once the application is determined, sketch a rough design layout. This should include the schematic of fluidic paths, wells for reactions, inlets and outlets, as well as areas for sensors or detection if necessary. Utilizing software tools like CAD can help in visualizing the layout, simplifying alterations as your design evolves.
Next, choose suitable materials based on your design requirements. For example, if transparency is vital for optical detection methods, consider using PDMS, which is ideal for creating microchannels due to its ease of fabrication and bonding properties. If you’re using 3D printing methods, select materials that can withstand the chemical exposure expected in your experiments. As you finalize the materials, plan for the fabrication method; this includes deciding whether you’re using soft lithography, 3D printing, or another technique.
Once the layout and materials are set, focus on the fabrication process. Prepare the molds if using PDMS or set up your 3D printer if utilizing that technology. Follow precise protocols for mixing, pouring, and curing materials to ensure dimensional accuracy. After the devices are fabricated, the integration of sensors can begin. Ensure proper alignment and secure connection of electronic components to facilitate effective data collection or control mechanisms. Finally, conduct thorough testing to validate performance, making adjustments as needed based on experimental results. This iterative process is crucial to developing a reliable lab-on-chip device ready for practical applications.
By following these steps and maintaining a focus on your specific application, designing a microfluidic device becomes a systematic and rewarding endeavor. Whether you are a researcher, a student, or an enthusiast, embracing this methodical approach will help you create functional and innovative microfluidic systems.
Essential Techniques for Creating Microchannels
Creating microchannels is the heart of any microfluidic device, and mastering this technique opens up a world of possibilities for innovative lab-on-chip applications. Microchannels function as pathways for fluids, enabling precise control over chemical reactions, sample handling, and analysis at a microscale. Consequently, the techniques used to fabricate these channels are crucial for the device’s overall functionality and efficacy.
One of the most popular techniques for creating microchannels is soft lithography, particularly using Polydimethylsiloxane (PDMS). This method involves several key steps: first, you’ll need to design a master mold, typically constructed from a hard material like silicon. Once you have your mold, PDMS is mixed and poured over it, then cured to solidify. After removing the solidified PDMS, you’ll have a negative imprint of the microchannel design. This method is favored for its ease of use and the flexibility offered by PDMS, which allows for optical transparency and biocompatibility-essential for applications in biological assays.
Another method worth exploring is 3D printing, especially if rapid prototyping is needed. With advancements in printing technology, you can now fabricate complex channel geometries directly from your design files. Using biocompatible materials, 3D printing can produce custom microfluidic devices more quickly than traditional methods. This approach can be particularly advantageous for researchers requiring specific configurations that may not be feasible with soft lithography. The precision of modern printers significantly reduces errors in channel dimensions, enhancing the reliability of the fluid dynamics within your device.
To ensure successful channel creation, consider the following essential tips:
- Design for flow: Optimize the geometry of your channels to minimize turbulence and facilitate smooth fluid flow.
- Manage layer bonding: When stacking multiple layers of PDMS, ensure proper surface treatment prior to bonding. This prevents delamination and ensures a robust connection.
- Ventilation and pressure: Include vents or reservoirs in your design for gas escape and pressure regulation, which can prevent bubble formation within your microchannels.
By employing these techniques and best practices, you can create precise and functional microchannels that serve as the backbone of your microfluidic device, paving the way for successful experimentation and application in various fields, such as diagnostics and environmental monitoring.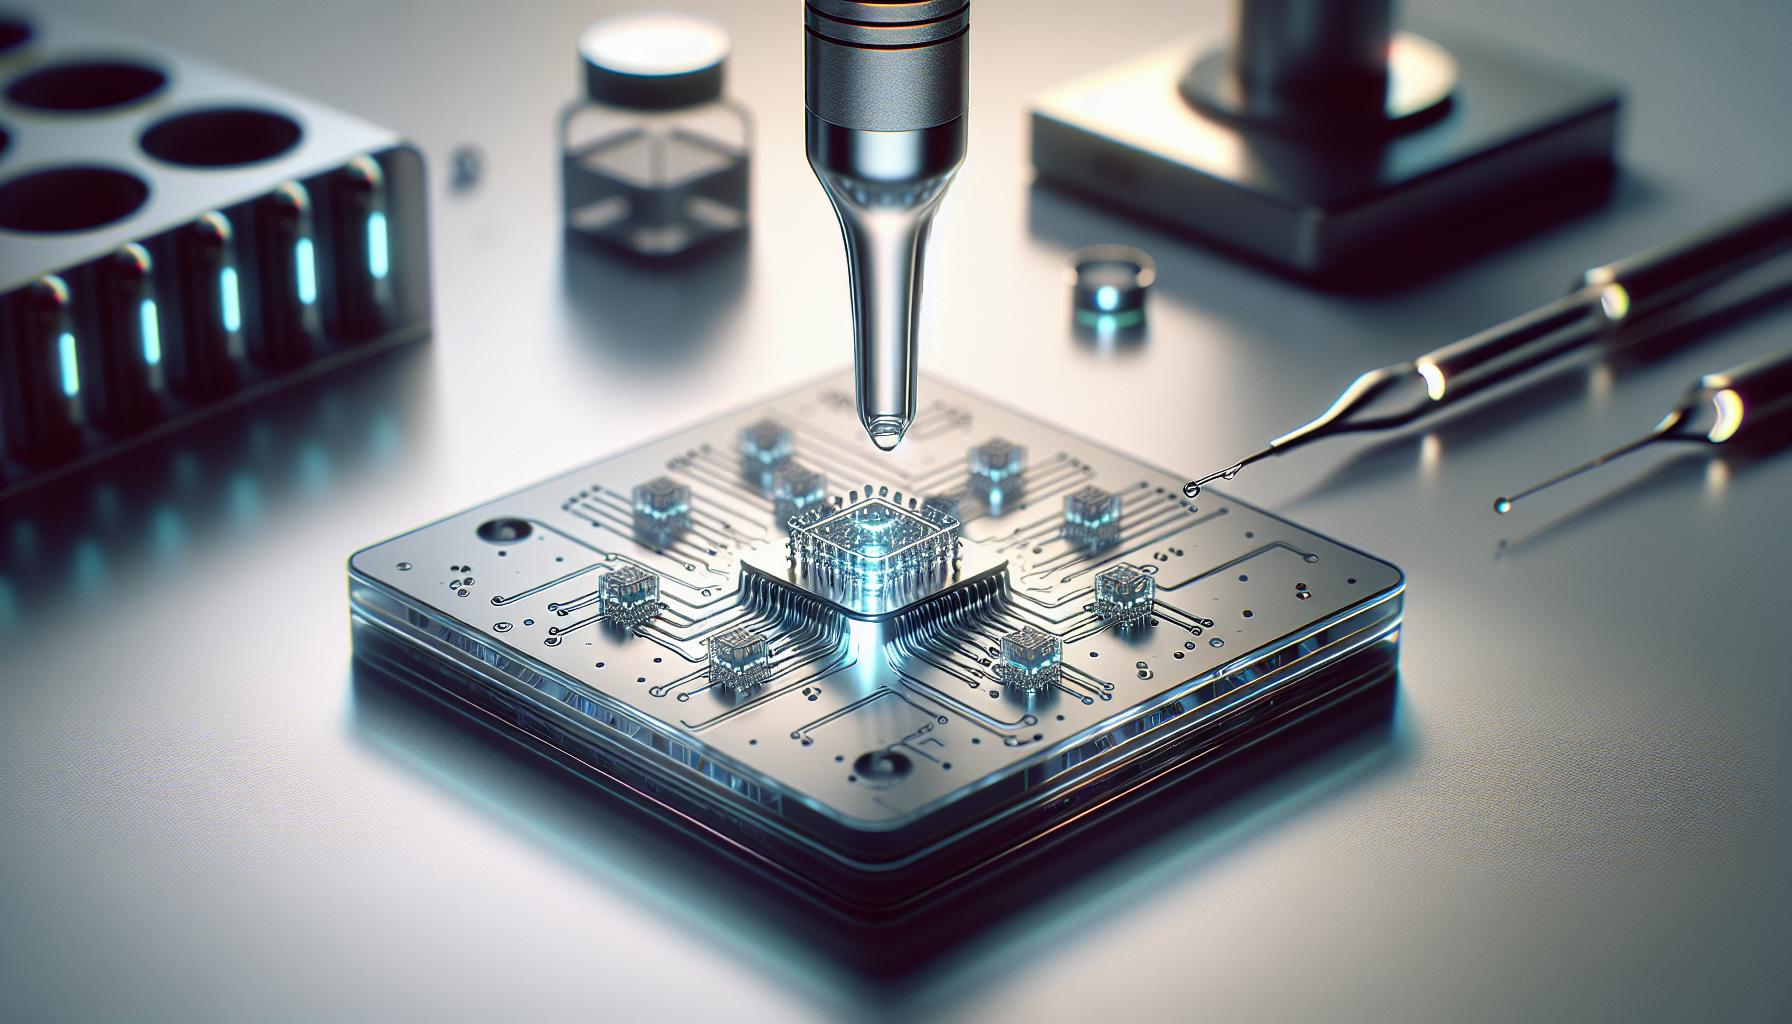
Integrating Sensors into Microfluidic Devices
transforms them from passive fluid manipulation systems into intelligent platforms capable of real-time analysis and diagnostics. The ability to measure parameters such as temperature, pressure, pH, and specific analyte concentrations within the microchannels enables researchers to optimize their processes and improve outcomes significantly. By embedding sensors directly into microfluidic devices, you can obtain high-resolution data while maintaining a compact, efficient layout.
To begin integrating sensors, it is essential to select the right type of sensor for your specific application. Common options include electrochemical sensors for detecting biological markers, optical sensors for measuring fluorescence or absorbance, and piezoelectric sensors for monitoring pressure changes. Microscale compatibility is crucial, as sensors must fit within the confined space of microchannels without disrupting fluid flow. In the case of electrochemical sensors, integrating them with screen-printed electrodes can facilitate ease of use and reliable performance in a microfluidic environment.
Practical Integration Techniques
Integration can be achieved through various techniques. For instance, sensors can be embedded in the channel walls during the fabrication process using soft lithography. This method allows for a seamless integration with minimal dead volume, ensuring that the fluid can flow freely around the sensor area for accurate readings. Alternatively, 3D printing technology offers versatility, allowing for the creation of complex sensor geometries that can be precisely positioned within the microfluidic device to achieve the desired spatial resolution.
- Optical Sensors: Use embedded optical fibers or sensors located at the bottom of the microchannel to monitor changes in light transmission or fluorescence.
- Electrochemical Sensors: Position screen-printed electrodes strategically along the channel walls to facilitate direct contact with the flowing samples for real-time analysis.
- Temperature Sensors: Incorporate thermocouples or NTC thermistors into the design to monitor and control heating or cooling within the device.
Challenges and Solutions
While integrating sensors offers substantial benefits, it is not without challenges. Alignment and calibration are critical to ensure that sensors provide accurate and reliable data. Additionally, the potential for sensor fouling, especially in biological applications, necessitates regular calibration and sometimes the use of anti-fouling coatings. Researchers should also consider the electrical and thermal conductivity of materials used in sensor construction to ensure compatibility and minimize interference with fluid dynamics.
Overall, the successful integration of sensors into microfluidic devices opens up exciting possibilities for advanced analytical capabilities. Whether for medical diagnostics, environmental monitoring, or chemical analysis, these smart devices are redefining how we approach problem-solving in microscale applications. By leveraging the precision of modern sensors, you can enhance the functionality and applicability of your microfluidic setups.
Common Challenges in Microfluidic Device Fabrication
Fabricating microfluidic devices is an intricate process that can pose several challenges, especially for those venturing into DIY lab-on-chip designs. One significant hurdle is achieving precision in channel dimensions. Microfluidics relies on the manipulation of liquids within channels that can be as small as a few micrometers in width. Any deviation from the intended dimensions can drastically affect flow rates and mixing efficiencies. Using high-resolution manufacturing techniques like soft lithography or 3D printing is essential, but even these methods require meticulous calibration to ensure accuracy and repeatability.
Another common issue is material selection. Microfluidic devices must be suited for the intended application, which means carefully choosing materials that are chemically resistant, transparent if optics are involved, and biocompatible for biological applications. For instance, PDMS (polydimethylsiloxane) is widely used due to its favorable properties, but it can also absorb small compounds, which could interfere with assays. Understanding the chemical interactions between fluids and substrates is crucial for successful experiments.
Fluid Handling Challenges
Handling fluids effectively is another area where difficulties may arise. Microfluidic systems often demand precise control of flow rates to achieve the desired reactions or analyses. However, factors like surface tension and viscosity can complicate fluid dynamics in microchannels. As fluids move through narrow paths, they can easily trap air bubbles, leading to disrupted flow and inconsistent results. Employing techniques such as passive pumping methods or employing external pressure sources can mitigate these issues but may require additional components and considerations in the design.
Environmental Considerations
Lastly, environmental conditions during fabrication can also impact the quality of microfluidic devices. Temperature and humidity levels can affect polymer curing times and the adhesion properties of the materials used. For instance, uncontrolled humidity can lead to unwanted water vapor being trapped under layers, causing defects. It’s advisable to work in a controlled environment or use techniques that allow for adaptability to these fluctuations.
By proactively addressing these common challenges, you can streamline the process of microfluidic device fabrication. This includes thorough planning, rigorous testing, and employing best practices to ensure that your lab-on-a-chip technology achieves the desired outcomes. Embracing a methodical approach and leveraging technological advancements will enhance both the reliability and functionality of your microfluidic applications.
Best Practices for Testing and Validation
Testing and validating microfluidic devices is crucial to ensure they perform as intended. The intricate nature of microfluidics-where fluids are manipulated at the microscopic scale-demands a rigorous approach to maintain precision and reliability. Many researchers overlook the importance of preliminary testing, but catching potential flaws early can save time and resources down the line. A structured validation process can illuminate both the strengths and limitations of your design, informing necessary adjustments before broader applications are explored.
First, start with controlled experiments that systematically assess the basic functionality of your device. Use water or a simple dye solution to visualize flow paths and identify any blockages or areas where fluid dynamics deviate from predictions. Visual inspection is often accompanied by quantitative measurements; utilize high-speed cameras to capture flow behavior and analyze the velocity profiles within your microchannels. Such imaging techniques can reveal anomalies like unwanted turbulence or dead zones, which can affect experimental outcomes.
Once basic functionality is established, move on to assessing performance under intended operational conditions. This step typically involves bench tests that replicate real-world applications. Consider employing a variety of fluids with differing viscosities and chemical properties to gauge how your device accommodates changes. Repeatability is a key factor to test; perform multiple runs of the same experiment to ensure consistent results. Document all findings meticulously, noting environmental factors such as temperature and humidity, which can significantly impact performance.
After your initial testing phase, it’s essential to validate the results of your microfluidic device. This could involve comparing the device’s performance with established methods or benchmarks in the field. For instance, if your microfluidic chip is designed for biochemical assays, conduct parallel tests alongside traditional plate-reader methods to establish correlation. Such comparisons enhance credibility, offering a clear picture of the device’s efficacy. The necessity for thorough validation cannot be overstated-it not only bolsters confidence in your results but also ensures reliability in subsequent applications and studies.
Finally, engage in iterative testing; use initial feedback to refine your design. This cycle of test, analyze, modify, and retest can dramatically enhance the performance of your microfluidic devices. Consider organizing group sessions with peers or mentors for additional input; fresh perspectives can be invaluable. Building out a comprehensive database of testing outcomes also fosters continuous improvement and facilitates sharing insights with the wider scientific community, driving innovation in microfluidic technology.
By implementing these , you can significantly enhance the robustness and efficiency of your microfluidic devices, ultimately paving the way for successful and reliable experimental outcomes.
Innovative Applications of Microfluidic Technology
Microfluidic technology has revolutionized various fields, paving the way for innovative applications that were once deemed impossible. One compelling application is in the realm of personalized medicine, where microfluidics allows for the rapid and precise analysis of patient samples. By integrating multiple biochemical assays on a single lab-on-a-chip device, healthcare providers can assess an individual’s health status more efficiently, tailoring treatments to their unique biological makeup. Whether it’s through detecting specific biomarkers in blood samples or analyzing genetic material for predisposition to diseases, the applications in diagnostics are profound and continue to expand.
Another fascinating area embracing microfluidic devices is the field of environmental monitoring. These chips can perform on-site analyses of water quality by detecting contaminants or harmful substances with high sensitivity and specificity. For instance, integrating various sensors within a microfluidic platform enables real-time measurement of pollutants, offering a powerful tool for environmental scientists and public health officials. This not only streamlines fieldwork but also enhances our ability to respond to environmental crises promptly.
Moreover, microfluidics play a vital role in advancing synthetic biology and biomanufacturing. By creating controlled microenvironments for cell cultures, researchers can optimize conditions for the production of biofuels, pharmaceuticals, and other valuable bioproducts. The precision of microfluidic systems allows for better scalability of biological reactions, meaning that small-scale experiments can be effectively translated into large-scale production systems. This offers both economic benefits and a pathway toward sustainable production methods, marking a significant shift in how we approach biotechnological manufacturing.
As these examples illustrate, the are reshaping industries and research fields alike. From customized healthcare solutions to sustainable environmental practices and efficient biomanufacturing, the potential for microfluidics is vast. Engaging with this technology not only empowers researchers and makers but also fosters a collaborative approach to solving some of the world’s pressing challenges. Embracing microfluidics opens the door to endless possibilities, and as you delve into your DIY lab-on-a-chip project, consider how your work might contribute to this exciting frontier.
DIY vs. Commercial Microfluidic Solutions
When considering the options for microfluidic devices, you’ll find yourself at a crossroads between DIY solutions and commercial products, each with its unique set of advantages. The DIY approach allows you to experiment creatively while keeping costs low, making it accessible for students, hobbyists, and researchers. With just some fundamental materials-like PDMS (polydimethylsiloxane), soft lithography tools, or even 3D printing-you can design a custom lab-on-a-chip tailored to specific experiments. This hands-on method fosters learning and innovation, enabling you to understand the principles of fluid dynamics and microfabrication intimately. Engaging with the process firsthand empowers you to troubleshoot and optimize your designs based on direct feedback from your experiments.
On the other hand, commercial microfluidic devices offer reliability and precision that might be challenging to achieve with DIY methods. These products often come with integrated technologies that ensure consistent performance and are tested for various applications, from diagnostics to environmental monitoring. With established brands providing advanced features such as precise fluid control, integrated sensors, and user-friendly interfaces, the investment in a commercial solution can save time and enhance the accuracy of your results. For labs focusing on high-throughput screening or clinical applications, leveraging these ready-made devices can significantly streamline workflows and minimize the risk of errors.
While the choice between DIY and commercial solutions often hinges on your specific needs, there is value in understanding both realms. Many researchers find that starting with a DIY project can illuminate specific challenges and requirements of their unique context, which can then inform purchasing decisions for advanced commercial devices. For instance, a custom-built microfluidic device designed from scratch might expose you to the specific flow rates and mixing efficiencies you desire, informing which commercial systems match your experimental criteria in the future.
In summary, the decision is not merely about which option is superior; it’s about aligning your project goals, budget, and desired expertise with the solution that best meets your needs. By exploring both DIY and commercial avenues, you enrich your understanding of microfluidics and build a more robust framework for your research or experimentation.
Future Trends in Microfluidics: What to Watch For
The landscape of microfluidics is rapidly evolving, driven by advancements in materials science, manufacturing techniques, and applications across diverse fields like health care, environmental monitoring, and biotechnology. As you embark on making your own lab-on-chip devices, keeping an eye on these trends can provide inspiration and guide your design choices.
One notable trend is the integration of advanced materials such as nanomaterials and biocompatible polymers, which enhance device functionality and performance. Recent innovations have led to the development of hydrogels that can respond to environmental changes, enabling programmable fluidic systems. These materials can attractively expand the scope of applications, from drug delivery systems that can be activated by specific physiological triggers to environmental sensors that adapt to various conditions.
The rise of 3D printing technologies is another exciting development, allowing researchers and hobbyists to design and fabricate microfluidic devices rapidly and at a lower cost. This shift not only democratizes microfluidics by making it accessible to more individuals but also accelerates prototyping and testing cycles. As 3D printing materials become more sophisticated-including options that can mimic biological tissues-there will be greater opportunities for biodegradable chips for environmental studies and bioengineering applications.
In addition, the fusion of microfluidics with digital technologies, such as artificial intelligence and machine learning, is leading to smarter devices capable of performing complex analyses automatically. These advancements pave the way for microfluidics to be used in high-throughput screening and diagnostics, where real-time data analysis can significantly enhance precision. For instance, microfluidic platforms equipped with AI can predict sample behavior or diagnose diseases from blood tests with unprecedented accuracy and speed.
As you consider these trends in your DIY microfluidic projects, think about how they can influence your designs. Are there opportunities to integrate smart materials for enhanced user interaction? Could you leverage 3D printing for rapid iteration of your ideas? By exploring these emerging technologies, you not only improve your own capabilities as a maker, but you also contribute to the exciting evolution of the field, aligning your projects with the needs of future applications.
Resources and Tools for Microfluidics Enthusiasts
As you delve into the world of microfluidics, having the right resources and tools at your disposal can elevate your DIY projects. The field is rich with opportunities for experimentation and innovation, making it crucial to equip yourself with both foundational knowledge and practical tools.
One crucial category of resources is design software. Tools like AutoCAD or SolidWorks play a significant role in crafting precise designs for your microfluidic devices. Additionally, open-source platforms like Fusion 360 can be particularly advantageous for budget-conscious enthusiasts. These programs help you visualize your device and can simulate fluid dynamics, allowing for informed decision-making before you start building.
Next, materials are at the heart of any microfluidic project. Polydimethylsiloxane (PDMS) is a favorite among DIY microfluidic creators due to its flexibility, ease of use, and compatibility with various assays. Moreover, 3D printing filaments designed for biocompatibility, or even biologically relevant materials like hydrogels, open new avenues for experimentation. Look for suppliers who specialize in microfluidics or lab materials, as they often carry specialized products that can enhance your projects.
Essential Equipment and Tools
When it comes to fabrication, you’ll need a set of essential tools. Consider the following items to streamline your process:
- Cleanroom supplies: Maintaining a contamination-free workspace is paramount. Invest in gloves, lab coats, and UV sterilization tools.
- Micro-pumps and valves: These components enable precise fluid control, which is essential in microfluidic applications.
- Microscopes: A good microscope allows you to inspect and validate your designs closely.
- Adhesives: Use specific adhesives designed for PDMS or other materials to ensure reliable sealing of your microchannels.
Emphasizing a modular approach can help in not only simplifying your design process but also in integrating various components easily. Platforms like Arduino or Raspberry Pi can be used for controlling pumps and other electronic components within your microfluidic setup, enabling further customization and sophistication in your experiments.
Finally, engage with the vibrant community of microfluidics enthusiasts. Online forums, social media groups, and local maker spaces can provide invaluable support and inspiration. Websites like ResearchGate or even specialized Slack channels can be excellent places to share ideas and troubleshoot issues with others on similar journeys.
By leveraging these resources and tools, you’re well on your way to creating innovative and functional microfluidic devices that can address unique challenges in various fields, including biotechnology, environmental monitoring, and healthcare.
Q&A
Q: What types of materials are best for DIY microfluidic devices?
A: The best materials for DIY microfluidic devices include PDMS (polydimethylsiloxane), which is easy to mold, and glass or silicone for transparency and chemical compatibility. Ensure the materials can withstand the fluids you intend to use. Consider 3D printing techniques for custom designs, especially noted in the sections on materials.
Q: How do I choose the right microchannel design for my application?
A: The right microchannel design depends on your specific application, like flow rate and reaction time needs. Consider factors such as channel width and depth, as these affect fluid dynamics. For tailored suggestions, refer to the Step-by-Step Guide to Designing Your Lab-on-Chip section.
Q: What are the common troubleshooting tips for microfluidic device fabrication?
A: Common troubleshooting tips include checking for blockages in the channels, ensuring proper sealing of the device, and verifying fluid compatibility with materials. Cleaning the system thoroughly before experiments can also prevent problems. More detailed challenges can be found in the Common Challenges in Microfluidic Device Fabrication section.
Q: How can I integrate optical sensors into a microfluidic device?
A: To integrate optical sensors, first, ensure a clear optical path within the device. Position sensors at strategic locations where they can capture data without interference. Begin by experimenting with colorimetric sensors or fluorescence, as outlined in the Integrating Sensors into Microfluidic Devices section.
Q: What types of fluids can be used in microfluidic devices?
A: Typically, you can use aqueous solutions, oils, or biological samples in microfluidic devices. The choice of fluid should consider viscosity and chemical compatibility with your device materials. Refer to the Essential Techniques for Creating Microchannels for examples of fluid applications.
Q: Why is validation important in microfluidic device development?
A: Validation ensures that your microfluidic device performs reliably and meets performance standards. This process tests fluidic behavior, sensor accuracy, and overall functionality. Best practices for thorough validation can be found in the Best Practices for Testing and Validation section.
Q: What challenges can arise when scaling up microfluidic devices for production?
A: Scaling up can present challenges like maintaining consistent quality, reproducibility, and adapting design for mass production. It’s crucial to understand these issues early on, as discussed in the DIY vs. Commercial Microfluidic Solutions section.
Q: How can I stay updated on trends in microfluidics development?
A: Staying updated on microfluidics trends can be done by following relevant publications, research journals, and joining biotechnology forums or groups. Explore the Future Trends in Microfluidics: What to Watch For section for insights and potential areas of innovation.
Wrapping Up
Congratulations on completing your DIY Lab-on-Chip tutorial! You’ve now unlocked the ability to create a microfluidic device that can transform your approach to experiments. Remember, the skills and techniques you’ve learned here open doors to innovative applications in fields like biotechnology and medical diagnostics. Don’t wait-start experimenting today with your own designs!
If you found this guide helpful, be sure to explore our related articles on advanced microfluidic techniques and troubleshooting common device issues. And for more hands-on projects, check out our collection of tutorials that cover everything from basic fluid dynamics to intricate lab-on-a-chip applications.
We’d love to hear about your experiences and any questions you might have; feel free to leave a comment below! To stay updated on the latest advancements and resources, subscribe to our newsletter and join our community of passionate makers. Your journey into microfluidics is just beginning-let’s keep it going!
Get our latest guides, news, and insights highlighted in your Google Search & AI Overviews.