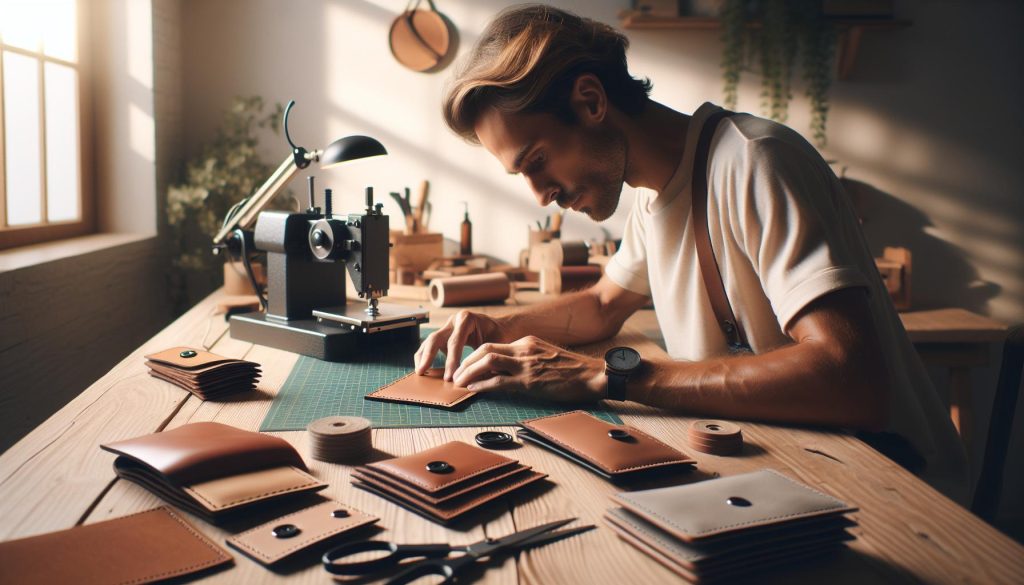
If you’re exploring the art of customizing leather with heat transfer vinyl (HTV), you’re tapping into a creative trend that merges durability with personal expression. Can you really apply HTV to leather? Absolutely! But it requires specific techniques and tools to ensure that your design not only adheres well but also withstands the test of time. Many crafters seek to enhance their leather goods with unique designs, whether for fashion, personalization, or branding. However, improper application can lead to peeling or damage, which is surely a frustration you want to avoid. In this guide, we delve into expert techniques for successfully applying heat transfer vinyl to leather, helping you achieve professional-quality results that elevate your projects. Get ready to transform your leather items and unleash your creativity!
Understanding Heat Transfer Vinyl Basics
Engaging with heat transfer vinyl (HTV) opens up a world of creative opportunity, especially when it comes to leather projects. Unlike other fabrics, leather requires a unique approach due to its distinct composition and characteristics. Understanding the fundamentals of HTV is essential for achieving smooth applications on leather without compromising the material’s integrity.
At its core, heat transfer vinyl is a special type of material that adheres to fabrics through the application of heat and pressure. This process involves melting the vinyl’s adhesive layer, which creates a bond with the substrate-in this case, leather. The essential elements to consider are the type of HTV used, the temperature and pressure settings of the heat press, and the preparation of the leather surface itself.
To begin, it’s crucial to select HTV that is compatible with leather. Not all vinyls perform well on leather; some may peel or crack over time. Polyurethane (PU) HTV tends to be a reliable choice for leather applications due to its flexibility and durability. When applying HTV to leather, you should preheat your heat press to the manufacturer’s recommended temperature, typically between 280°F to 320°F, depending on the vinyl. Additionally, always test on a scrap piece of leather to fine-tune your settings and avoid costly mistakes.
Preparation is another key factor-ensure that the leather is clean, dry, and free from any oils or residues. A quick wipe with isopropyl alcohol can help. Once you’ve positioned your design, use a cover sheet (like parchment paper) to protect both the vinyl and the heat press from direct contact. This not only helps in achieving a firm bond but also prevents potential scorching of the leather. With these basics in mind, you’re well on your way to mastering the art of HTV application on leather.
The Science Behind Heat Transfer on Leather
Engaging in heat transfer vinyl (HTV) projects on leather can be a game changer for designers, artisans, and hobbyists alike. The key to mastering this art lies in understanding the science that drives successful adhesion between the vinyl and the leather surface. Unlike basic fabrics, leather presents unique challenges; its density, oil content, and varying textures can significantly influence how HTV performs over time.
At the heart of the heat transfer process is the activation of adhesive components within the vinyl. When heat is applied, typically between 280°F to 320°F, the adhesive layer of the HTV softens, allowing it to penetrate the leather’s surface. This bond is not just a simple layer of glue; it involves a chemical reaction at the molecular level that secures the vinyl in place. Choosing the right type of HTV is crucial, as vinyls like polyurethane (PU) are specifically formulated to remain flexible and durable under varying conditions, making them ideal for leather applications.
Preparation plays an equally vital role in this process. Before applying HTV, the leather must be meticulously cleaned to ensure the best adherence. Any residual oils or impurities can create barriers that prevent the vinyl from bonding correctly. A quick wipe with isopropyl alcohol can eliminate these potential issues. Furthermore, using a cover sheet during the application will protect both the heat press and the leather, eliminating the risk of scorching and ensuring an even pressure distribution for optimal bonding.
In conclusion, understanding the intricate science behind HTV application on leather can lead to impressive, long-lasting results. By carefully selecting the appropriate vinyl and preparing the leather properly, you can achieve professional-quality transfers that enhance your creative projects. Remember, experimentation and practice are key-so don’t hesitate to explore and fine-tune your techniques for even better outcomes.
Selecting the Right Vinyl for Leather Projects
Selecting the right type of heat transfer vinyl (HTV) for leather projects can significantly impact the quality and longevity of your designs. The sheer variety of vinyl options available in the market can be overwhelming, yet understanding the specific characteristics of each type can lead to impressive, durable results.
When working with leather, choose HTV specifically formulated for flexibility and durability. Polyurethane (PU) vinyl is a top choice for leather applications, as it maintains its soft texture while providing excellent adhesion. It’s particularly effective on leather’s varying surfaces, adapting to the material’s natural contours without cracking. Polyvinyl chloride (PVC) vinyl, though widely used for various fabrics, might not be the best fit for leather because it tends to be stiffer and less adaptable. If you’re looking for a more eco-conscious option, look for eco-solvent or water-based HTV, designed to bond effectively while reducing harmful emissions.
Another consideration is the thickness of the vinyl. Thinner vinyls are typically easier to apply and more seamless, but they may not offer the same level of durability as their thicker counterparts. For leather projects where durability is paramount, opt for a medium thickness that strikes a balance between flexibility and strength. Additionally, consider the finish of the vinyl as well. Matte or glossy finishes can influence the visual appeal of the final product, so choose one that complements your design vision.
Preparatory testing plays a vital role when selecting your HTV. Always conduct a small test application on a scrap piece of leather to ensure compatibility and adhesion before proceeding with your main project. This not only validates your choice of vinyl but also helps refine your heat settings and application techniques for optimal results. With this careful selection and testing strategy, you can set the stage for successful heat transfer applications on leather.
Preparing Leather for Heat Transfer Application
is a critical step that can determine the success of your vinyl project. Leather, known for its unique textures and varying finishes, requires careful preparation to ensure optimal adhesion and durability of the heat transfer vinyl (HTV). Understanding the characteristics of leather is essential; while its natural oils and finishes can enhance its appearance, they can also hinder the vinyl from bonding properly if not addressed.
Start by cleaning the leather surface thoroughly to remove any dust, oils, or residues. Use a soft cloth dampened with a mild soap solution and gently wipe the area where the vinyl will be applied. Rinse the cloth with clean water and wipe again to remove any soap residue. Allow the leather to dry completely before proceeding-this step is crucial as any moisture can affect the adhesion process.
Testing and Preparing the Surface
Before applying HTV, always conduct a test on a scrap piece of leather. This simple practice not only validates the compatibility of the vinyl and leather but also helps in adjusting your heat settings for a more accurate application. When ready, consider using a heat press or an iron with a protective layer, such as a Teflon sheet, to shield the leather from direct heat. This approach helps distribute the heat evenly without damaging the leather surface.
It’s also beneficial to slightly scuff the area where the HTV will be applied with fine-grit sandpaper. This technique creates a better surface for adhesion by increasing the area the vinyl can connect with. However, be cautious not to over-scuff; you want to create a rough texture without compromising the integrity of the leather. Once the surface is prepared, you’re set for a successful HTV application that will adhere well and withstand wear over time.
Essential Considerations
Lastly, think about the design and placement carefully. Use a ruler or fabric measuring tool to ensure accurate positioning before application. A well-prepared and positioned leather surface will greatly enhance the quality of your final product. By following these preparatory steps, you set the foundation for a flawless heat transfer process that highlights the beauty and resilience of leather while showcasing your creative flair.
Tools You Need for Successful Application

When embarking on a heat transfer project involving leather, having the right tools at your disposal is crucial for achieving a high-quality finish. The importance of each tool cannot be overstated-these instruments not only facilitate the application process but also ensure the longevity and durability of the heat transfer vinyl (HTV). Here’s a rundown of essential tools that can make your HTV application on leather both effective and efficient.
First and foremost, a heat press is the ideal tool for applying HTV to leather. Unlike a conventional iron, a heat press provides consistent, even pressure and temperature, which is key for successful adhesion. If a heat press is not available, a household iron can be used, but it’s essential to employ a protective cover, such as a Teflon sheet or parchment paper, to shield the leather from direct heat and ensure even heat distribution.
In addition to heat application tools, having high-quality heat transfer vinyl specifically designed for fabric and leather is vital. Not all HTV is created equal; look for vinyl that offers flexibility and durability, ensuring it adheres well to the leather’s surface without cracking or peeling. Pair this with weeding tools to remove excess vinyl, which helps in achieving clean, sharp designs without unnecessary material lingering around the edges.
Surface preparation tools also play a significant role. A soft lint-free cloth is essential for cleaning the leather before application, while fine-grit sandpaper can be used to subtly scuff the area where the vinyl will be applied, increasing adhesion by providing a better surface for the HTV to grip. Your toolkit should also include a ruler or measuring tape for precise positioning and alignment of designs, ensuring that the final application looks professional and well-crafted.
Additional Resources
Consider having these optional but beneficial tools on hand:
- Heat resistant gloves: Protect your hands while working with hot surfaces.
- Brayer or roller: This can help ensure even pressure during the application process.
With the right tools, your journey into heat transferring vinyl onto leather will be much smoother and more enjoyable. Stock your workspace with these essentials to set yourself up for success, and watch as your creative projects come to life!
Expert Techniques for Applying HTV on Leather
When successfully applying heat transfer vinyl (HTV) to leather, precision and technique are your best allies. One of the most vital steps is preheating the leather. This critical practice increases the surface temperature, allowing the vinyl to adhere more effectively. Before positioning your design, run the heat press or iron on the substrate for about 10 seconds. This, combined with light pressure, helps remove any moisture and prepares the leather to accept the vinyl better.
A key technique in ensuring a flawless application is understanding the layering of HTV. If your project involves multiple colors or layers, it’s crucial to plan your application order strategically. Start with the layer that requires the longest heat time and, if possible, avoid applying heat directly to the subsequent layers. Instead, use a Teflon sheet or parchment paper to shield the already applied layers during the pressing of the next, preventing premature peeling or bubbling. Additionally, avoid excessive pressure; a firm, even press is adequate.
Timing is also essential. Keep a close eye on the clock and follow the manufacturer’s recommended settings for time and temperature. For typical applications on leather, a heat setting around 305°F (150°C) for 10-15 seconds usually works well, but always test on a scrap piece of leather first. This step not only assures accuracy but helps build confidence in your technique.
Lastly, once you remove the HTV from the heat, allow the leather to cool or proceed with a cold peel, as recommended. This cooling period helps set the adhesive and reduces the chance of lifting. Post-application, avoid placing any weight on the design for 24 hours to maximize its lifespan and durability. Following these expert techniques will not only enhance the quality of your HTV application but also ensure lasting results that showcase your craftsmanship effectively.
Common Mistakes to Avoid with HTV
Applying heat transfer vinyl (HTV) to leather can yield stunning and durable results, but even seasoned crafters can make mistakes that undermine their efforts. Understanding common pitfalls can significantly enhance your results. One major error is skipping the preheating step. Preheating the leather prepares the surface for optimal adhesion. Failing to do so can result in incomplete bonding, leading to lifting or peeling under stress. Always remember: a few seconds of preheating saves frustration later.
Another frequent mistake is using the incorrect temperature or pressure settings. Each type of HTV has specific application guidelines. Ignoring these recommendations can compromise the quality of your transfer. For example: if you apply HTV at too low a temperature, the adhesive may not activate fully, while excessive heat can scorch the leather. Always double-check the manufacturer’s instructions and perform test applications on scrap materials before proceeding with your main project.
Layering complications also trip up many crafters. When working with multi-layer designs, it’s crucial to understand the proper order of application and to use a protective cover, like a Teflon sheet. Direct heat on previously applied layers risks bubbling and lifting, ruining the design’s integrity. If problems do occur, take a moment to troubleshoot-review your heat settings, adjust your layering strategy, and ensure even pressure across the entire design.
Lastly, neglecting post-application care often leads to premature wear. After applying HTV, allow the design to cool properly before manipulating or using the item-unexpected stress can cause the vinyl to lift. This step is critical in ensuring that your hard work results in a lasting design. By being aware of these common mistakes, you can improve your HTV application techniques, resulting in beautiful, long-lasting leather projects.
Post-Application Care for Vinyl on Leather
After the meticulous application of heat transfer vinyl (HTV) on leather, the importance of proper post-application care cannot be overstated. Imagine spending hours perfecting your design only for it to degrade prematurely because of improper handling. By following a few crucial steps, you can ensure your carefully crafted items maintain their integrity and appearance for years to come.
First, allowing the HTV to cool fully is imperative. Directly handling or using the item before it has cooled can lead to lifting or peeling of the vinyl. To facilitate this, lay the item flat on a clean surface away from heat sources. Use this time to admire your work; the cooling process will naturally set the adhesive, ensuring a solid bond with the leather.
Cleaning and Maintenance
When it comes to cleaning your HTV-adorned leather, gentle methods are essential. Opt for a soft cloth or sponge slightly dampened with water or a mild leather cleaner. Avoid using harsh chemicals, scrubbing brushes, or abrasive pads, as these can damage both the vinyl and the leather surface. Additionally, if your item is exposed to moisture, ensure it dries thoroughly to prevent any potential bubbling or lifting of the HTV.
Storage and Usage
For items like leather bags or apparel embellished with HTV, proper storage is vital. Keep the items in a cool, dry place away from direct sunlight to prevent fading or warping. If stacking items, consider placing a protective layer, such as tissue paper, between them to avoid friction or scratches.
Moreover, when using these items, be cautious about excessive stretching or repeated stress, particularly with designs that feature intricate details. By implementing these post-application care strategies, you not only protect your creative investments but also enhance the longevity and durability of your HTV projects on leather.
Creative Project Ideas Using HTV on Leather

Unlock the creative potential of heat transfer vinyl (HTV) on leather by exploring a variety of innovative project ideas. Transforming everyday items into personalized masterpieces is not only enjoyable but also adds a unique flair to your belongings. Whether it’s for fashion, home décor, or gifts, the possibilities are endless when you master the art of HTV application on leather.
One popular project is customizing leather bags. By adding personalized initials or unique designs, you can create a stylish statement piece. Consider using contrasting HTV colors to make your designs pop or incorporate intricate patterns that reflect your personal style. Additionally, leather journals or planners adorned with heat transfer vinyl can serve as functional yet artistic items. These make perfect gifts or personal keepsakes for organized individuals who appreciate a touch of elegance in their daily lives.
Another exciting avenue is clothing embellishments. Think leather jackets or vests enhanced with designs or quotes that reflect your personality. This not only revitalizes your wardrobe but also turns heads. Similarly, shoes can be jazzed up with fashionable HTV designs-adding a personal touch to your footwear. For instance, a simple leather sneaker could be transformed with a bold graphic or fun saying to express individuality.
To dive deeper into more elaborate projects, consider creating home décor items like leather wall hangings or decorative cushions. Adding HTV designs to leather patches can create unique art pieces that add warmth and character to your space. In the realm of accessories, leather bracelets or keychains customized with meaningful phrases or symbols can serve as daily reminders or thoughtful gifts.
Whatever project you choose, remember to conduct a test application on scrap pieces of leather to ensure the HTV adheres well and achieves the desired look. With a little creativity and attention to detail, you can turn ordinary leather items into extraordinary expressions of yourself.
Troubleshooting Vinyl Adhesion Issues
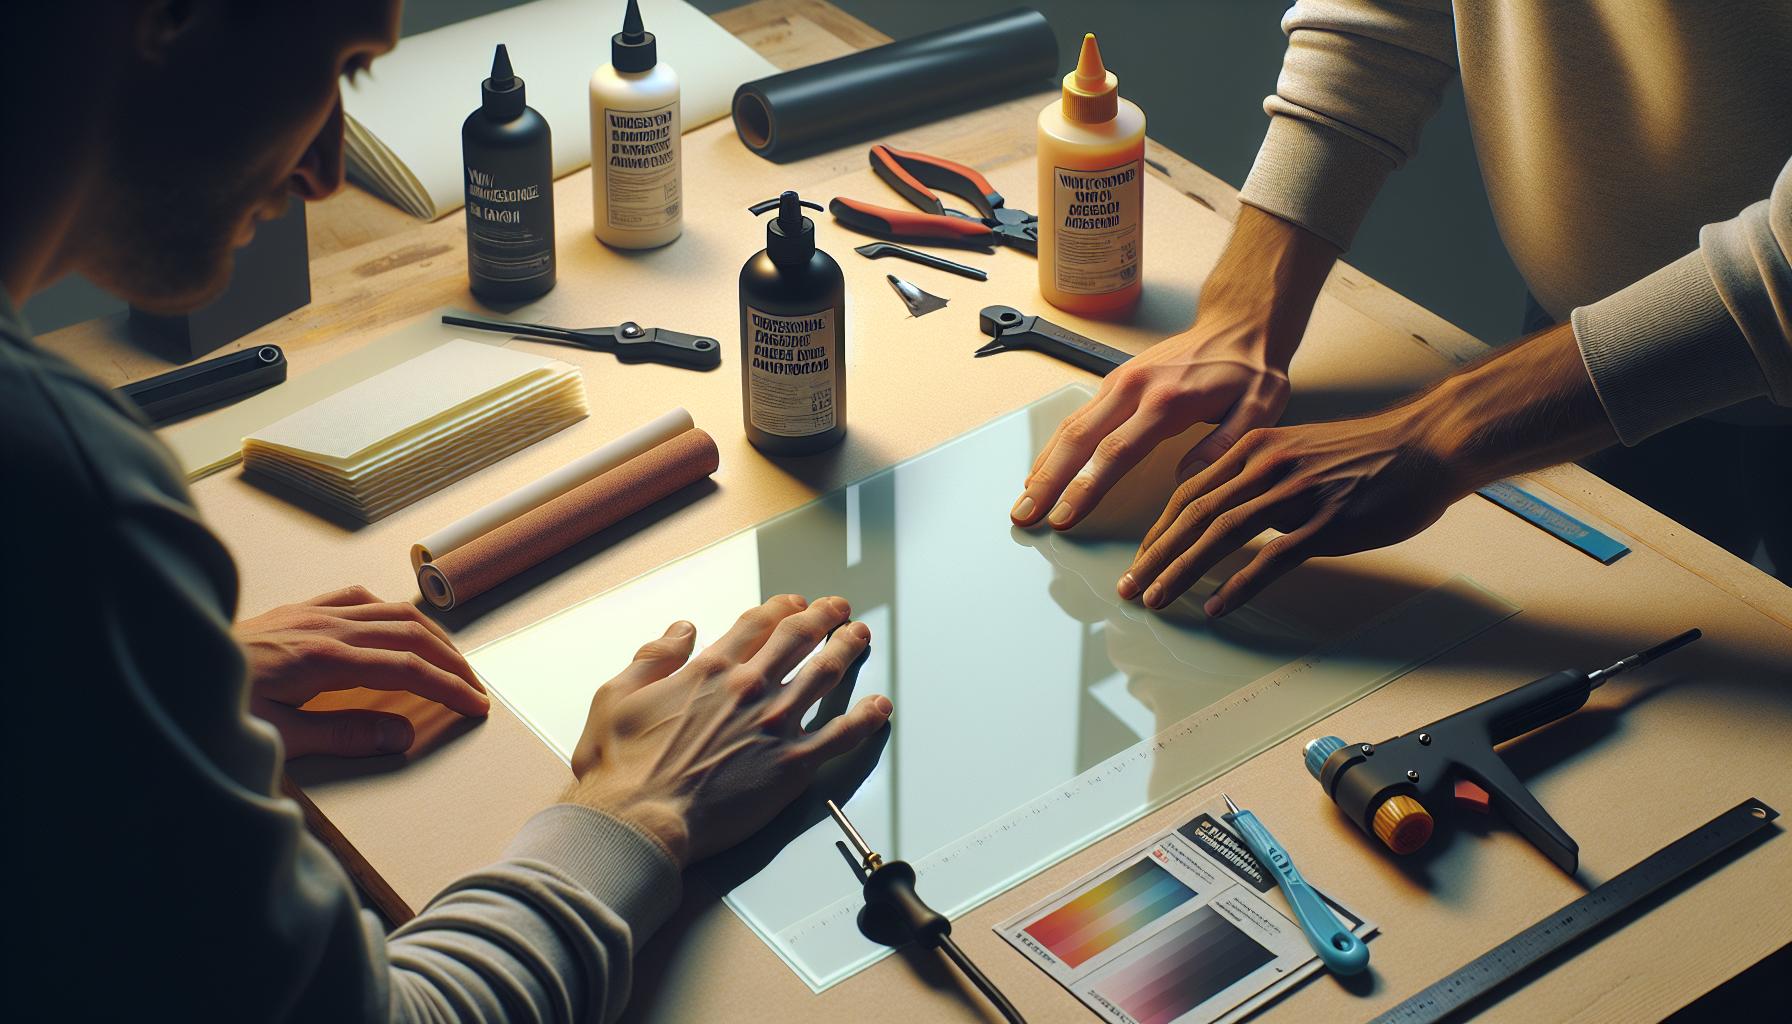
can often be the difference between a successful heat transfer project and one that ends in frustration. If you find the vinyl not adhering properly to leather, it can be due to several factors that are relatively easy to troubleshoot and resolve with a little know-how.
Understanding Common Adhesion Issues
One primary reason for poor adhesion is the type of leather used. Certain finishes, such as those that are heavily treated or coated, may resist the heat and pressure required to bond the vinyl effectively. To ensure your vinyl adheres well, make sure you are using genuine, raw leather or a type that is compatible with heat transfer vinyl. Testing on scrap pieces before starting your project can save time and materials. Additionally, the cleaning process is crucial; residues from oils, dirt, or wax can interfere with adhesion. Always clean the leather with a mild solution and allow it to dry thoroughly before applying vinyl.
Adjusting Your Application Technique
Another common issue arises from incorrect heat settings on your press or iron. Each type of heat transfer vinyl has specific temperature and pressure requirements for optimal adhesion. Use a heat transfer vinyl chart as a handy reference to adjust your settings accordingly. If you’re using an iron, ensure that you’re applying firm and even pressure across the design, as inconsistent pressure can lead to poor adhesion. A heat press is ideal, as it allows for precise control over temperature and pressure.
Using the right timing during the press application is equally important. Vinyl typically requires a specific duration of heat application-exceeding this can scorch the vinyl or damage the leather, while insufficient time can lead to incomplete bonding. As a rule of thumb, follow the manufacturer’s instructions closely and consider conducting small test presses to find your optimal timing.
Cooling and Finishing Touches
After applying the vinyl, the cooling process can also affect adhesion. Some heat transfer vinyls are designed to be peeled hot while others require cooling to a certain temperature before peeling. Pay close attention to these details to avoid any premature lifting of the vinyl after application. If you notice any lifting after cooling, you may need to reapply heat and pressure on the lifted areas to set them properly.
In summary, overcoming vinyl adhesion issues involves understanding the materials you are working with, adjusting your application technique, and ensuring optimal post-application care. With these strategies in mind, you can significantly enhance the longevity and quality of your heat transfer projects on leather.
Exploring Alternative Materials for Leather Application
When considering options for heat transfer onto leather, it’s important to acknowledge that while traditional heat transfer vinyl (HTV) is popular, alternative materials can open up new avenues for creativity and durability. Exploring these alternatives not only enhances the variety of textures and finishes but also addresses unique challenges posed by specific leather types.
One viable alternative is sublimation. This technique involves the use of special dyes that bond with polyester-coated surfaces. While standard leather might not be suitable for sublimation, you can explore polymer-coated leathers or synthetic leathers that mimic the feel of genuine leather but have the added benefit of being more receptive to dye. This process results in vibrant colors and intricate designs that are embedded into the material, offering excellent durability against wear and tear.
Another option is printable heat transfer materials. These films, available in various finishes like matte and gloss, can be printed with a standard inkjet or laser printer. They are particularly useful for designs that require high-resolution images or customized patterns not achievable with traditional HTV. After printing, these materials adhere to the leather using heat, ensuring a strong bond. It’s crucial to verify that the printable material is suitable for the specific type of leather and that the final result matches your expectations in terms of feel and look.
Lastly, consider vector heat transfer using specialty materials like flock or foil. Flock offers a textured, velvety finish that adds dimension to leather projects, while foil creates a shiny, metallic effect. Both options provide an interesting alternative to standard vinyl, allowing for unique aesthetics and tactile experiences that can elevate any leather item from ordinary to extraordinary. Keep in mind, however, that these materials may require specific preparation methods or compatible adhesive techniques to ensure successful application.
In summary, expanding your toolkit to include alternative materials for heat transfer on leather not only enhances your project outcomes but also broadens your creative horizons. By experimenting with sublimation, printable heat transfers, and specialty vector materials, you can achieve effects and aesthetics that set your leather projects apart.
Innovative Techniques for Custom Leather Designs
When working with leather, innovation is at the heart of creativity; using heat transfer vinyl (HTV) opens up a world of customization possibilities. To elevate your leather designs beyond basic applications, consider employing techniques that enhance both durability and aesthetic appeal.
One exciting method is layering HTV. This technique involves applying multiple layers of different vinyls to create depth and texture in your design. Start with a base layer, which can be a simple solid color, and then add patterns or images on top. Each layer must be pressed separately and allowed to cool before adding the next, ensuring a clean finish. Explore complementary colors and textures-like combining a matte base with a glossy finish for eye-catching contrast.
Another effective strategy is using negative space in your designs. This approach not only saves on material but also contributes to the overall intricacy of the final product. This technique involves creating a design where parts of the leather show through the vinyl to form the picture. It’s a fantastic way to utilize patterns or shapes within the leather while simultaneously providing a sleek, integrated look. Remember that careful design planning is crucial; the areas left uncut must be well-defined to ensure the integrity of the finished piece.
Texturing and embossing your designs can also add an impressive dimension to your leather projects. By using specific HTV that can withstand heat and pressure, you can create raised designs that are not only visually striking but also tactile. This might involve using a heat press or an embossing machine to push patterns into the vinyl, resulting in a unique finish that stands out on leather. This technique works particularly well with patterns that mimic natural materials, like wood grain or stone, for a more organic feel.
In conclusion, these innovative techniques-layering HTV, utilizing negative space, and incorporating texturing and embossing-transform your approach to designing on leather. They not only enhance the aesthetic appeal of the final product but also allow you to express your creativity in unique and compelling ways. By exploring these methods, you can push the boundaries of what’s possible with heat transfer vinyl on leather, turning ordinary items into extraordinary pieces of art.
Faq
markdown
Q: Can you use any type of heat transfer vinyl on leather?
A: No, not all heat transfer vinyl (HTV) types are suitable for leather. Choose specially formulated vinyl designed for leather applications, like glossy or matte HTV. This ensures better adhesion and durability.

Q: What is the best temperature for heat transfer vinyl on leather?
A: The recommended temperature for applying HTV on leather usually ranges between 280°F to 320°F (138°C to 160°C). Always check the vinyl manufacturer's instructions for specific guidelines to avoid damaging the leather.

Q: How long should you press HTV onto leather?
A: Generally, you should press heat transfer vinyl onto leather for about 10-15 seconds, applying firm pressure. Ensure to let it cool slightly before peeling the backing for optimal adhesion.

Q: What should you do if your HTV doesn't stick to the leather?
A: If the HTV does not stick, re-heat the area for an additional few seconds and increase the pressure. Ensure the leather was properly prepped, as described in the Preparing Leather for Heat Transfer Application section of your article.

Q: Can I wash leather items with HTV applied?
A: Yes, but to preserve the vinyl, wash leather items gently in cold water and avoid harsh detergents. Follow guidelines provided in the Post-Application Care for Vinyl on Leather section to extend the life of your HTV designs.

Q: Is there a specific way to cut HTV for leather projects?
A: For leather projects, it's best to use a cutting machine with a fine-point blade to achieve clean edges. Always mirror your design before cutting and check the thickness of your vinyl against your machine capabilities.

Q: What are some creative project ideas with HTV on leather?
A: Creative projects include customizing leather jackets, handbags, and wallets with unique designs or monograms. Explore more ideas in the Creative Project Ideas Using HTV on Leather section of the article for inspiration.

Q: Can heat transfer vinyl damage leather over time?
A: If applied correctly, HTV should not damage leather. However, poor application techniques or using incompatible materials may cause adhesive breakdown or leather deterioration over time. Regular care as outlined in your article can help mitigate this.
Future Outlook
In conclusion, heat transfer vinyl is a versatile option for personalizing leather projects, unlocking endless creative possibilities. Remember to select the right vinyl and follow the heat application techniques for durable results. If you’re eager to dive deeper, check out our guide on “Choosing the Best Vinyl for Your Projects” and explore “Common Mistakes in Heat Transfer” to refine your skills.
Now is the perfect time to take action! Share your own experiences in the comments below, or subscribe to our newsletter for expert tips and exclusive content. Don’t hesitate to explore our other resources on crafting techniques and materials for all your DIY needs. With the right tools and knowledge, you can transform leather with confidence!
Get our latest guides, news, and insights highlighted in your Google Search & AI Overviews.