
Heat transfer vinyl (HTV) is revolutionizing DIY fashion, enabling you to personalize t-shirts, bags, and more with ease. Many crafters wonder if they can use a household iron for this process, especially if they lack a heat press. While it’s possible to achieve great results with an iron, understanding the nuances of heat application is crucial for a successful outcome. This article will guide you through the ins and outs of using HTV with an iron, addressing common concerns and providing practical tips to ensure your designs adhere perfectly. Whether you’re a seasoned crafter or just starting, you’ll gain valuable insights that can elevate your heat transfer projects. Read on to unlock the best techniques for flawless application without the fuss of heavy equipment.
Can I Use Heat Transfer Vinyl With an Iron?
Crafting with heat transfer vinyl (HTV) can often seem exclusive to those with a heat press, but an iron can also do the job effectively with the right approach. When using HTV, the heat and pressure are key to ensuring that the vinyl adheres properly to the fabric. With a typical household iron, you can achieve satisfactory results without needing to invest in a heat press, making this process accessible for crafters who want to create custom designs on clothing and other materials.
Using an iron requires attention to detail, particularly regarding heat settings and applying consistent pressure. For best results, start by preparing your surface-make sure it’s flat and clean. Set your iron to a cotton setting without steam, as moisture can interfere with the adhesion process. Place the HTV shiny side down on the fabric, using a Teflon sheet or parchment paper to protect both the vinyl and the iron. It’s crucial to apply firm, steady pressure and to move the iron in circular motions over the design for approximately 15 to 30 seconds, depending on the manufacturer’s instructions for the specific vinyl you are using.
One common mistake is to rush the process-allowing insufficient time for the heat to penetrate the vinyl can lead to peeling or bubbling. Additionally, be aware of the type of fabric you are using. Some materials, like nylon or delicate fabrics, may not be able to withstand the heat of an iron, so it’s advisable to test on a small area first. With practice and attention to these details, using an iron for HTV can yield impressive results, allowing you to create personalized items without requiring professional equipment.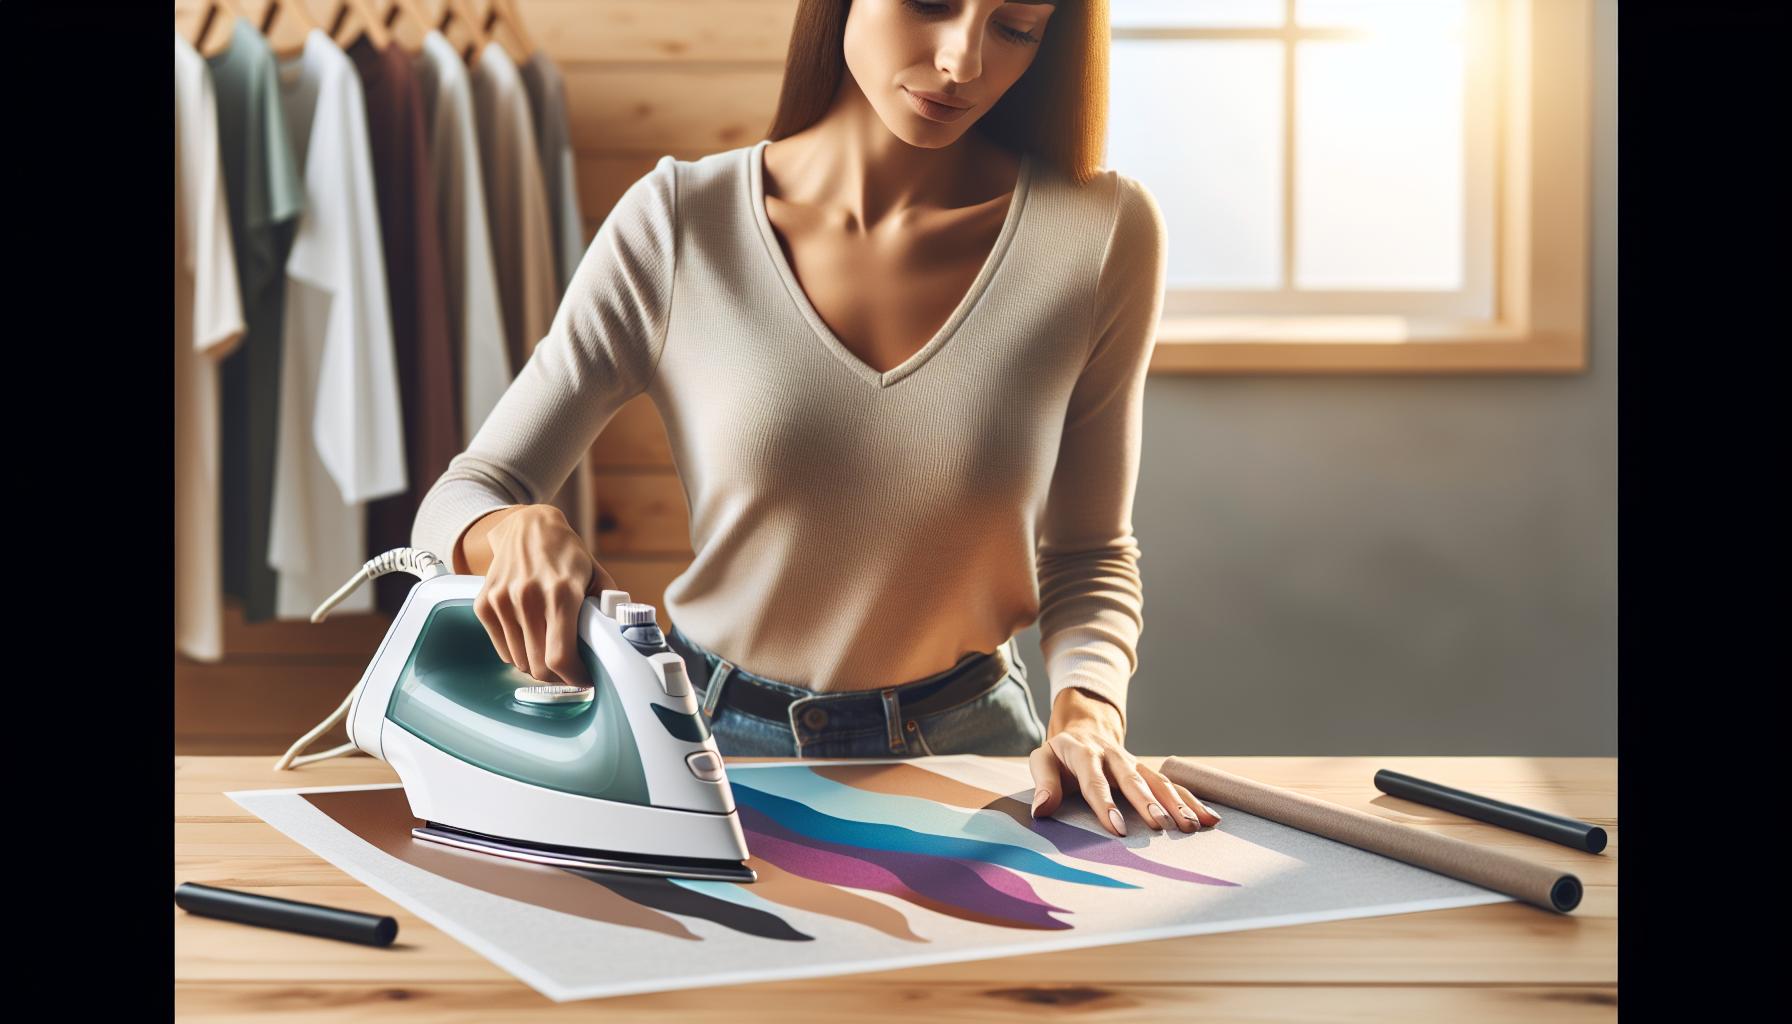
Understanding Heat Transfer Vinyl Basics
Understanding heat transfer vinyl (HTV) is essential for anyone looking to customize apparel and materials easily and effectively. HTV is a special type of vinyl that can be cut into designs and then adhered to fabric using heat. Unlike regular adhesive vinyl, HTV has a heat-activated backing that bonds with the material when heat and pressure are applied. This produces a durable and long-lasting finish, making it perfect for t-shirts, bags, and various other projects.
One key component of HTV is its composition, which typically includes PVC, polyurethane, or other thermoplastic materials. When heat is applied, the backing melts slightly, allowing it to fuse with the fibers of the fabric. This process is crucial, as it ensures that the vinyl adheres securely and withstands regular use and washing. To make the most of HTV with an iron, it’s important to understand that the success of the application relies on consistent temperature and even pressure; both of which are more precise with professional heat presses.
For those using an iron, knowing the difference in heat settings is vital. An iron does not heat uniformly, which can lead to patchy results. Ideally, you’d want to set your iron to the high cotton setting without steam, as moisture can interfere with the adhesion process. When crafting with HTV, preparing your work surface and using a Teflon sheet or parchment paper will protect both your design and your iron. Recognizing these basics will not only enhance your crafting experience but also help you achieve professional-looking results right at home, allowing you to create unique personalized items with ease.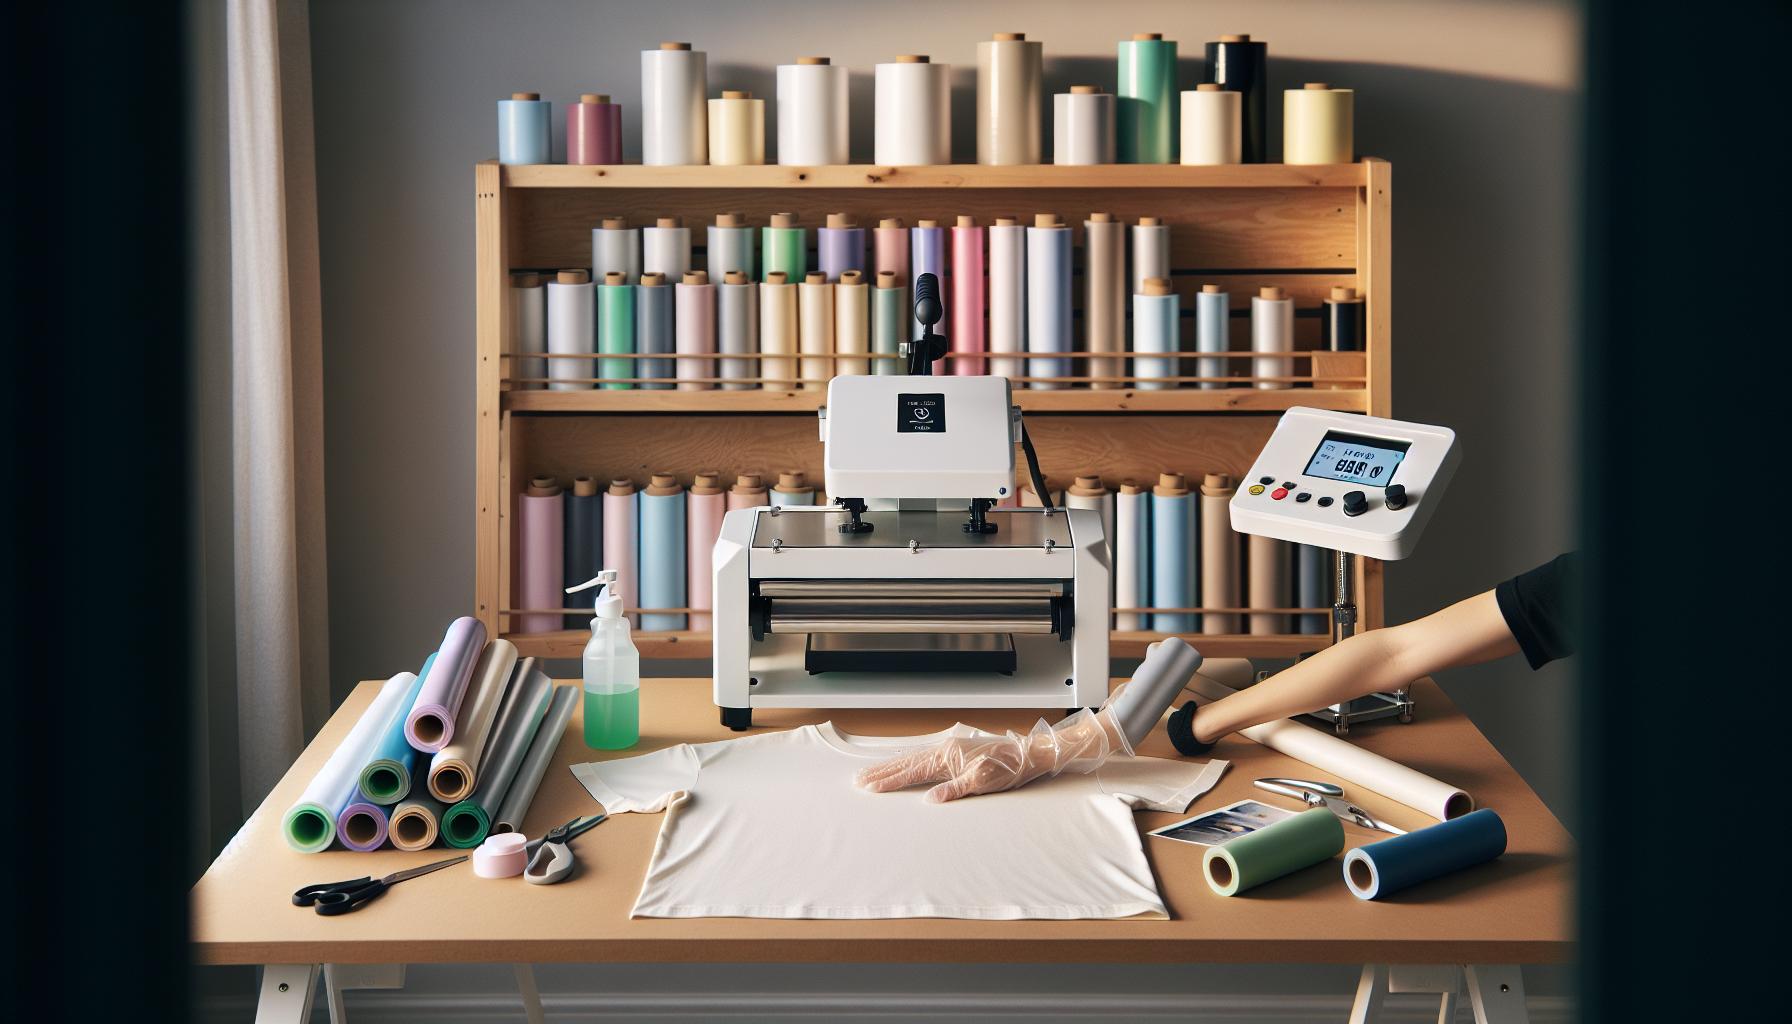
The Science of Heat Transfer: How It Works
The process of applying heat transfer vinyl (HTV) involves a fascinating interplay of temperature, pressure, and chemical properties. When heat is applied, the backing of the HTV softens and becomes tacky, enabling it to bond with the fabric underneath. This critical moment occurs as the temperature reaches a specific threshold, usually around 300°F (149°C), which is why accurate heat application is essential for a successful transfer. The heat triggers polymer molecules within the vinyl to expand and migrate into the fibers of the garment, creating a strong, lasting bond.
Understanding how an iron can effectively transfer heat without the precision of a heat press is pivotal for DIY enthusiasts. While a professional heat press provides uniform heat and pressure, an iron can serve as a viable alternative when used correctly. The challenge lies in the iron’s ability to maintain an even temperature across its surface. To compensate, users should glide the iron over the HTV design, applying firm and consistent pressure to ensure that all areas receive sufficient heat. This method mimics the pressing action of a heat press, although it requires more manual effort and attention.
Another key factor in the HTV application process is the type of fabric being used. Synthetic blends, such as polyester, may require different temperature settings compared to cotton. When using an iron, it’s essential to use a heat-resistant cover like a Teflon sheet or parchment paper, which not only protects the HTV and the iron from direct contact but also helps in evenly distributing heat. This step plays a crucial role in avoiding burns or uneven bonding, which can compromise the integrity of the design.
In summary, successfully using an iron for heat transfer vinyl involves a careful balance of temperature control, pressure application, and material considerations. By mastering these elements, crafters can achieve beautiful, durable designs even without a dedicated heat press.
Why an Iron Can Be a Viable Tool
Using an iron for applying heat transfer vinyl (HTV) may seem unorthodox at first, but it can be an incredibly effective and accessible option for many DIY enthusiasts. The beauty of HTV lies in its versatility-allowing crafters to create customized designs on various fabrics. An iron, while not as precise as a dedicated heat press, can still provide sufficient heat and pressure to achieve great results, especially for those who are just starting out or who are working on small projects at home.
One of the key advantages of using an iron is its availability. Most households already have an iron on hand, making it a convenient tool for quick and creative projects. Additionally, modern irons often feature adjustable temperature settings, allowing users to tailor the heat to match different types of fabrics. Whether working with cotton, polyester, or blends, adjusting the heat setting can ensure that the HTV adheres properly without scorching the material. When using an iron, crafters can further optimize their results by employing a Teflon sheet or parchment paper during application. This not only prevents direct contact between the iron and the HTV but also helps distribute heat evenly-crucial for successful adhesion.
Another compelling reason to opt for an iron is the learning curve associated with it. For those who might be intimidated by using a heat press, starting with an iron can provide valuable hands-on experience. Users can develop a better understanding of how temperature and pressure affect HTV application as they practice. It’s a tactile way to learn about the nuances of the medium, allowing for creativity and experimentation, all while keeping the process enjoyable. By gliding the iron smoothly over the design, crafters gain insights into heat distribution and the ideal application techniques for future projects.
In summary, while a heat press is undoubtedly a fantastic tool for HTV application, an iron holds its own as a suitable alternative. Its ease of access, adjustable settings, and potential for hands-on learning make it an ideal solution for many DIY enthusiasts. With a little practice and attention to detail, users can achieve professional-looking results right from the comfort of their own home.
Step-by-Step Guide to Using an Iron
To successfully apply heat transfer vinyl (HTV) using an iron, it’s essential to follow a systematic approach. While the idea of using an iron might make some think of quick fixes, achieving a professional finish requires careful attention to detail and technique. Let’s walk through an efficient step-by-step guide to get the best results.
Preparation
Before you even apply your HTV, preparation is key. Start with a clean, flat surface free from dust and debris to ensure that your project remains pristine throughout the process. Gather your materials: you’ll need your desired HTV, a clean fabric item, scissors (to cut your design), a household iron, a Teflon sheet or parchment paper, and an easy-to-follow design.
- Cut Your Design: If using a cutting machine, mirror your design before cutting the HTV. This step is crucial because the adhesive side must face the fabric during application.
- Weed the Excess Vinyl: After cutting, carefully weed away the excess material around your design, leaving only the part you wish to transfer.
- Preheat the Fabric: Set your iron to the appropriate heat setting for the material you’re using-typically around 300°F for cotton. Iron the fabric area where you’ll apply the HTV to remove any wrinkles and preheat the fibers, ensuring better adhesion.
Application
Now the fun part begins: applying the vinyl!
- Position the HTV: Place the weeded HTV onto the fabric with the shiny side facing up and the adhesive side against the fabric. Use a ruler or measuring tape for proper placement.
- Cover with Teflon Sheet: To protect both the HTV and your iron from direct contact, place a Teflon sheet or parchment paper over the design.
- Apply Pressure: Using a smooth, steady motion, press the iron down onto the sheet. For about 10-20 seconds, apply firm, even pressure, ensuring you cover every part of the design. Avoid sliding the iron back and forth, as this can shift the vinyl.
- Cool and Peel: After pressing, let the HTV cool slightly before peeling away the carrier sheet. If the vinyl lifts during peeling, simply re-cover it with the Teflon sheet and press again for a few more seconds.
Final Touches
Once you’ve successfully adhered the vinyl, a few last steps can enhance your project.
- Press Again: For lasting durability, place the Teflon sheet back over the HTV and press one more time for about 15 seconds.
- Check Adhesion: Ensure that all edges are securely attached. If there’s any lifting, apply heat again as needed.
By following these steps-preparing your materials, applying the HTV correctly, and ensuring lasting adhesion-you can create stunning, custom designs using just an iron. This method is not only practical; it’s also a fun way to dive into the world of DIY crafting without the need for expensive equipment. Experiment and enjoy the creative process!
Common Mistakes When Applying HTV with an Iron
Applying heat transfer vinyl (HTV) with an iron can be a versatile solution for home crafters, but it’s also easy to make mistakes that lead to less than desirable results. Often, crafters underestimate the importance of specific techniques and settings, which can result in poor adhesion or even damage to fabrics. Being aware of these common pitfalls will make a world of difference in the success of your projects.
One frequent mistake is not using enough pressure during the application process. HTV requires consistent and firm pressure to adhere properly. If you simply glide the iron across your design, parts of the vinyl may not stick, leading to peeling or lifting later on. Instead, try to apply direct pressure for the recommended duration-usually between 10 to 20 seconds-while avoiding the temptation to slide the iron.
Another common error is neglecting to preheat the fabric before applying the HTV. Preheating removes moisture and wrinkles, which can interfere with adhesion. Failing to do this means you might end up with a poorly adhered design that can peel off easily. Always take the time to iron out any creases and set the fabric at the proper temperature before pressing down on the HTV.
Finally, many crafters overlook the type of fabric they are working with. Different materials require different heat settings and application techniques. For instance, applying HTV to delicate fabrics like polyester blends often requires a lower temperature to prevent damage. Always check the heat transfer vinyl manufacturer’s instructions and the garment care label before starting your project.
By avoiding these common mistakes-insufficient pressure, skipping preheating, and neglecting fabric types-you can significantly enhance your HTV application skills using an iron, leading to successful and professional-looking results every time.
Alternatives to Using an Iron for HTV
When it comes to applying heat transfer vinyl (HTV), many home crafters are on the lookout for tools that can replace the traditional iron. Fortunately, there are several effective alternatives that can improve your results, making your projects smoother and more efficient.
One popular option is a heat press machine. Heat presses provide even heat distribution and consistent pressure, which are critical for a successful HTV application. Unlike an iron, a heat press can be set to a specific temperature and pressure, allowing for greater control over the application process. With a heat press, you’ll achieve a professional finish and reduce the likelihood of peeling or lifting, particularly on larger or more complex designs. These machines come in different sizes, from portable models suitable for small projects to larger units for bulk production.
Another alternative is a laminate press or laminator. This method employs a similar principle to a heat press, using heated rollers to apply consistent pressure and heat. While it may require some adjustments and experimentation to get the settings right for your specific HTV and fabric type, many users find this tool convenient for creating custom designs. Additionally, for crafters who are already familiar with their laminator, incorporating HTV projects into their workflow can streamline the process.
For those who prefer to keep things simple, using a standard hair straightener can also be a solution for smaller HTV applications. Its compact size allows for precise application, especially in intricate designs. Be cautious with the temperature settings to prevent damaging the vinyl or the fabric. This method is particularly useful when working on smaller items such as patches or small graphics where a conventional heat press might be cumbersome or overkill.
Lastly, don’t overlook the possibility of using a DIY heat source. For instance, an electric skillet or griddle can serve as a makeshift heat press for larger applications. By preheating the skillet to the recommended temperature for HTV and placing your fabric and vinyl design beneath a protective sheet, you can effectively transfer heat evenly across a larger surface.
Exploring these alternatives not only broadens your toolkit but also enhances your crafting capabilities, making your experience with HTV more enjoyable and successful. Each method has its own set of pros and cons, so consider experimenting with a few to discover which works best for your projects.
The Pros and Cons of Iron vs. Heat Press
When it comes to working with heat transfer vinyl (HTV), a common question arises: should you rely on a standard iron or invest in a heat press? Each tool has distinct pros and cons that can significantly affect your crafting results, making this choice pivotal to the success of your projects.
Using an iron has its advantages, especially for crafters who are just starting or working on small-scale projects. One of the biggest benefits is accessibility-almost everyone has an iron at home. They are typically lightweight and easy to maneuver, allowing you to work on smaller designs or detailed applications without the need for a bulky setup. Furthermore, the cost of an iron is negligible compared to a high-end heat press, making it a budget-friendly option for hobbyists. However, achieving even heat distribution can be challenging. Irons often lack the pressure needed for a consistent bond, which may lead to vinyl lifting or peeling, particularly on larger transfers.
On the other hand, heat presses are specifically designed for HTV applications, presenting several clear benefits. They offer controlled temperature and consistent pressure across the entire surface, ensuring that every inch of your vinyl adheres properly. This is especially beneficial for larger projects or intricate designs that require a flawless finish. Moreover, because a heat press can maintain a steady temperature, you reduce the risk of scorching or damaging your fabric, which can be a common issue with irons. However, heat presses can be an investment, both in terms of space and cost, which might not be ideal for all casual crafters.
In summary, choosing between an iron and a heat press largely depends on your crafting needs, budget, and project scale. While an iron is sufficient for small, simple designs, a heat press is advantageous for serious crafters looking to achieve professional-quality results with HTV.
Troubleshooting HTV Issues with an Iron
When using an iron for heat transfer vinyl (HTV), it’s important to understand that challenges can arise, impacting the success of your project. Common issues include uneven adhesion, lifting corners, and scorching your fabric. However, these problems often have straightforward solutions.
One frequent issue is inconsistent heat application. Unlike a heat press, an iron disperses heat unevenly, potentially leading to areas where the HTV does not stick properly. To combat this, ensure your iron is set to the recommended heat setting for the specific type of vinyl you’re using. A useful trick is to check the vinyl’s instructions as different materials may require distinct temperatures. Additionally, always move the iron in circular motions for even coverage and avoid pressing down too hard; this could lead to unwanted marks on your fabric.
Another challenge is lifting at the edges of the vinyl after washing. This may occur if there was insufficient pressure during application. To prevent this, you might want to use an ironing cloth or a teflon sheet over the HTV while applying pressure from the iron. This not only protects the vinyl but also helps distribute heat evenly across the surface. Moreover, after the initial application, allow the vinyl to cool completely before peeling off the transfer sheet. If you notice that lifting still occurs, you can reapply heat over the edges, ensuring proper adhesion.
Finally, if you experience scorching or shiny marks on your fabric, it’s a sign that the temperature might have been too high. Lower the heat setting next time and consider moving the iron faster. Keep in mind that all fabrics respond differently to heat, so testing on a scrap piece can save you from costly errors. With these troubleshooting tips, you can maximize the effectiveness of using an iron for your HTV projects, achieving professional-quality results right from your home.
Optimal Settings for Heat Transfer Success
Using heat transfer vinyl (HTV) can open up a world of creativity, allowing you to personalize clothing, accessories, and home décor. However, getting the best results with an iron rather than a heat press requires understanding optimal settings for your specific project. The right temperature, pressure, and duration not only ensure good adhesion but also help avoid common pitfalls like scorching or peeling.
To begin, always refer to the manufacturer’s instructions for your specific HTV type, as different materials may require different settings. Generally, a temperature range of 305°F to 320°F (about 150°C to 160°C) works well for most HTVs. An iron should be set to the cotton setting, which usually corresponds to around 400°F, but this should be adjusted down for HTV.
Applying Pressure and Timing:
Pressure is just as important as temperature. When using an iron, apply firm, even pressure across the entire design. It’s beneficial to use a Teflon sheet or a thin cloth over the vinyl to protect it from direct heat. For timing, a standard application lasts about 10 to 15 seconds. However, this time may need to be adjusted depending on your fabric type and the thickness of the vinyl. After heating, allow the design to cool slightly before peeling the carrier sheet, and if the adhesion isn’t satisfactory, simply reapply heat with the same pressure.
Here’s a simple table for quick reference:
| HTV Material | Temperature Setting | Pressure | Time |
|---|---|---|---|
| Regular HTV | 305°F – 320°F | Firm | 10-15 seconds |
| Stretch HTV | 285°F – 300°F | Medium | 10-12 seconds |
| Glitter HTV | 320°F – 330°F | Firm | 15 seconds |
By aligning your temperature, pressure, and timing with these guidelines, you can achieve professional-quality results with an iron, making the most of your creativity in HTV projects. Remember, practice makes perfect, so don’t hesitate to experiment on scrap fabric before working on your final piece!
Creative Projects You Can Make with HTV
Using heat transfer vinyl (HTV) opens a whole new realm of creative possibilities, whether you’re looking to add personal flair to your wardrobe or create unique gifts. With just an iron and some imagination, you can bring your ideas to life on a variety of materials. One popular project is customizing t-shirts; from sports jerseys to family reunion shirts, adding a personal touch can make these items memorable. Simply pick a design, cut it out in HTV, and apply it using your iron-it’s that straightforward!
HTV isn’t limited to just clothing, though. Consider crafting decorative pillows or wall art where you can express your style. Iron-on vinyl is perfect for creating bold quotes that can elevate the ambiance of your living space. You can also personalize tote bags, aprons, or even hats, making great gifts for friends or unique items for craft fairs. For example, you could create themed items for a party-like napkins or tablecloths with custom designs-boosting your hosting game significantly.
Practical Applications and Techniques
Engaging in creative projects with HTV can be both fun and fulfilling. Here are some project examples to get you started:
- Custom Apparel: Design unique tees or hoodies with slogans or graphics that express your personality.
- Home Décor: Transfer your favorite quotes to pillows or canvas for a stylish touch in your living room.
- Seasonal Projects: Create holiday-themed decorations, like ornaments or festive banners tailored to various occasions.
- Personalized Gifts: Make custom items like keychains or bags that showcase a friend’s interests.
Each of these projects allows you to mix colors and textures, and since HTV comes in a range of finishes-including glitter, holographic, and matte-your creativity is the only limit. With the right tools and techniques, you can transform everyday items into something special, all without the need for expensive equipment. By using an iron, you can dive into the world of DIY without a large investment, making it accessible to everyone.
The beauty of working with HTV lies in its versatility and ease of use, enabling you to embark on projects that not only showcase your creativity but also serve functional purposes, allowing your passions to shine.
Expert Tips to Enhance Your HTV Techniques
To elevate your heat transfer vinyl (HTV) application skills, taking note of a few expert tips can make a significant difference. One critical aspect is ensuring the surface you’re working on is smooth and clean. Before you begin, it’s advisable to pre-press your material briefly with your iron to eliminate any moisture and wrinkles. This step helps achieve a more consistent heat transfer, which is vital for a professional finish.
Another essential tip is to always use a protective layer when pressing HTV. A Teflon sheet or a thin cotton cloth can provide a barrier between your iron and the vinyl, preventing direct heat burns or unwanted shine on the vinyl surface. Additionally, adjusting the pressure you apply during the pressing process can yield different effects; firm but gentle pressure is generally recommended to ensure better adherence without distorting the material underneath.
Know Your Materials
Familiarity with the type of HTV you are using can lead to better results. Each vinyl type, whether it’s glitter, holographic, or standard, may require slightly different heat settings and pressing times. For instance, glitter HTV may need a higher temperature for optimal bonding, while standard HTV often requires a lower temperature. Always refer to the manufacturer’s guidelines for specific recommendations tailored to your chosen material.
Perform Post-Press Actions
After pressing, allow your HTV to cool before attempting to peel away the carrier sheet. This cooling period can help secure the vinyl to the fabric more effectively. Furthermore, consider conducting a cold or warm peel test with a sample piece to determine the best approach for your project.
By incorporating these techniques into your HTV projects, you’ll not only see an improvement in the quality of your results but also expand your creative possibilities when using an iron instead of a heat press. Engaging with the process thoughtfully can turn ordinary items into extraordinary creations.
FAQ
Q: Can I use regular household iron for heat transfer vinyl (HTV)?
A: Yes, a regular household iron can be used for HTV application, but it requires careful heating control and even pressure. Ensure you set the iron to the appropriate temperature and thoroughly follow the step-by-step guidelines in our article for best results.
Q: What types of heat transfer vinyl can be applied with an iron?
A: Most heat transfer vinyl types can be applied with an iron, including standard, glitter, and flocked HTV. Always check the manufacturer’s instructions for specific temperature settings required for each type.
Q: How can I ensure even pressure when using an iron for HTV?
A: To ensure even pressure, use a flat, hard surface and apply firm, consistent pressure while moving the iron in circular motions. For better results, consider using a pressing cloth to distribute pressure evenly and avoid scorching the vinyl.
Q: Are there any special techniques when using an iron with HTV?
A: Yes, it’s important to preheat the fabric before applying HTV and to use a heat-resistant mat. Additionally, practice using short, firm pushes with the iron instead of gliding it, which can cause uneven heat distribution.
Q: What if the HTV didn’t adhere well using an iron?
A: If the HTV didn’t adhere properly, reheat it using the iron on the same spot for a few more seconds. Check for proper temperature settings and pressure applied. If this continues, troubleshoot following our guide on common mistakes.
Q: Is using an iron for HTV projects cheaper than a heat press?
A: Yes, using an iron is generally more affordable than investing in a heat press. However, for frequent HTV projects, a heat press provides more consistent results and saves time in the long run, as discussed in our article on the pros and cons.
Q: Can I wash items that have HTV applied with an iron?
A: Yes, items with HTV applied using an iron can be washed, but it’s recommended to wait 24 hours before washing for optimal adhesion. To preserve the design, wash items inside out in cold water and avoid bleach.
Q: What mistakes should I avoid when applying HTV with an iron?
A: Common mistakes include using incorrect temperature settings, applying uneven pressure, and not preheating the fabric. Avoid these pitfalls by consulting our detailed steps in the article for successful HTV application.
Feel free to explore more about creative projects and expert tips in the related sections of our article!
The Way Forward
Using heat transfer vinyl (HTV) with an iron offers a convenient option for personalized projects, but it’s essential to understand its limitations. Remember, while an iron can be utilized, a heat press provides better results by ensuring consistent temperature and pressure. If you’re eager to elevate your DIY skills, discover tips on heat transfer techniques and material compatibilities by exploring our guides on “Best Practices for Heat Transfer Vinyl” and “Choosing the Right HTV for Your Fabrics.”
Before you start, don’t miss our newsletter for the latest updates and exclusive tips that can transform your crafting game. Have questions or experiences to share? We’d love to hear from you in the comments! Your next great project is just around the corner-let’s get crafting!
Get our latest guides, news, and insights highlighted in your Google Search & AI Overviews.