
When it comes to customizing apparel, heat transfer vinyl (HTV) is a popular choice for crafters and businesses alike. But can you use a regular iron instead of a heat press? This common question touches on key concerns about effectiveness, quality, and technique. Using an iron can be an accessible solution for those just starting out, yet it often comes with challenges that could affect your final product. In this guide, we’ll explore the essentials you need to successfully use an iron for HTV applications, including tips and techniques that ensure your designs stand the test of time. Join us as we demystify the process and empower you to create professional-looking heat transfers right from your home.
Can an Iron Effectively Transfer Heat for Vinyl?
Using an iron for heat transfer vinyl applications is a topic that often sparks debate among crafters. While it’s possible, the effectiveness of an iron largely hinges on the type of project and the precision needed for successful application. Unlike a heat press, which distributes heat evenly and allows for precise temperature control, an iron can be less reliable due to its flat surface and the potential for uneven pressure. That said, many hobbyists have successfully used household irons for vinyl transfers on smaller projects, proving it can be done with the right approach.
To maximize your success with an iron, it’s crucial to understand its limitations. The key factors that contribute to effective heat transfer include temperature, pressure, and duration. Most domestic irons have settings that can reach the necessary heat levels, but controlling the temperature can be tricky. It’s advisable to use a medium setting, avoiding steam, as moisture can interfere with the adhesion process. Additionally, applying consistent pressure across the entire area of the vinyl will help ensure that it adheres properly to the fabric.
Steps for Effective Ironing:
- Preheat your iron: Allow your iron to reach the appropriate temperature before starting.
- Use a protective layer: Place a thin cloth or parchment paper over the vinyl to protect it from direct heat.
- Apply firm pressure: Press down firmly on the iron, ensuring even pressure across the entire vinyl design.
- Check adhesion: After the recommended time, carefully check if the vinyl has adhered before peeling off any backing.
In summary, while an iron can be a useful tool for heat transfer vinyl, especially for smaller or less intricate designs, it’s important to recognize that it may not deliver the professional results that a heat press would provide. Therefore, for larger projects or those requiring precise alignment and consistent results, investing in a heat press may be the better option.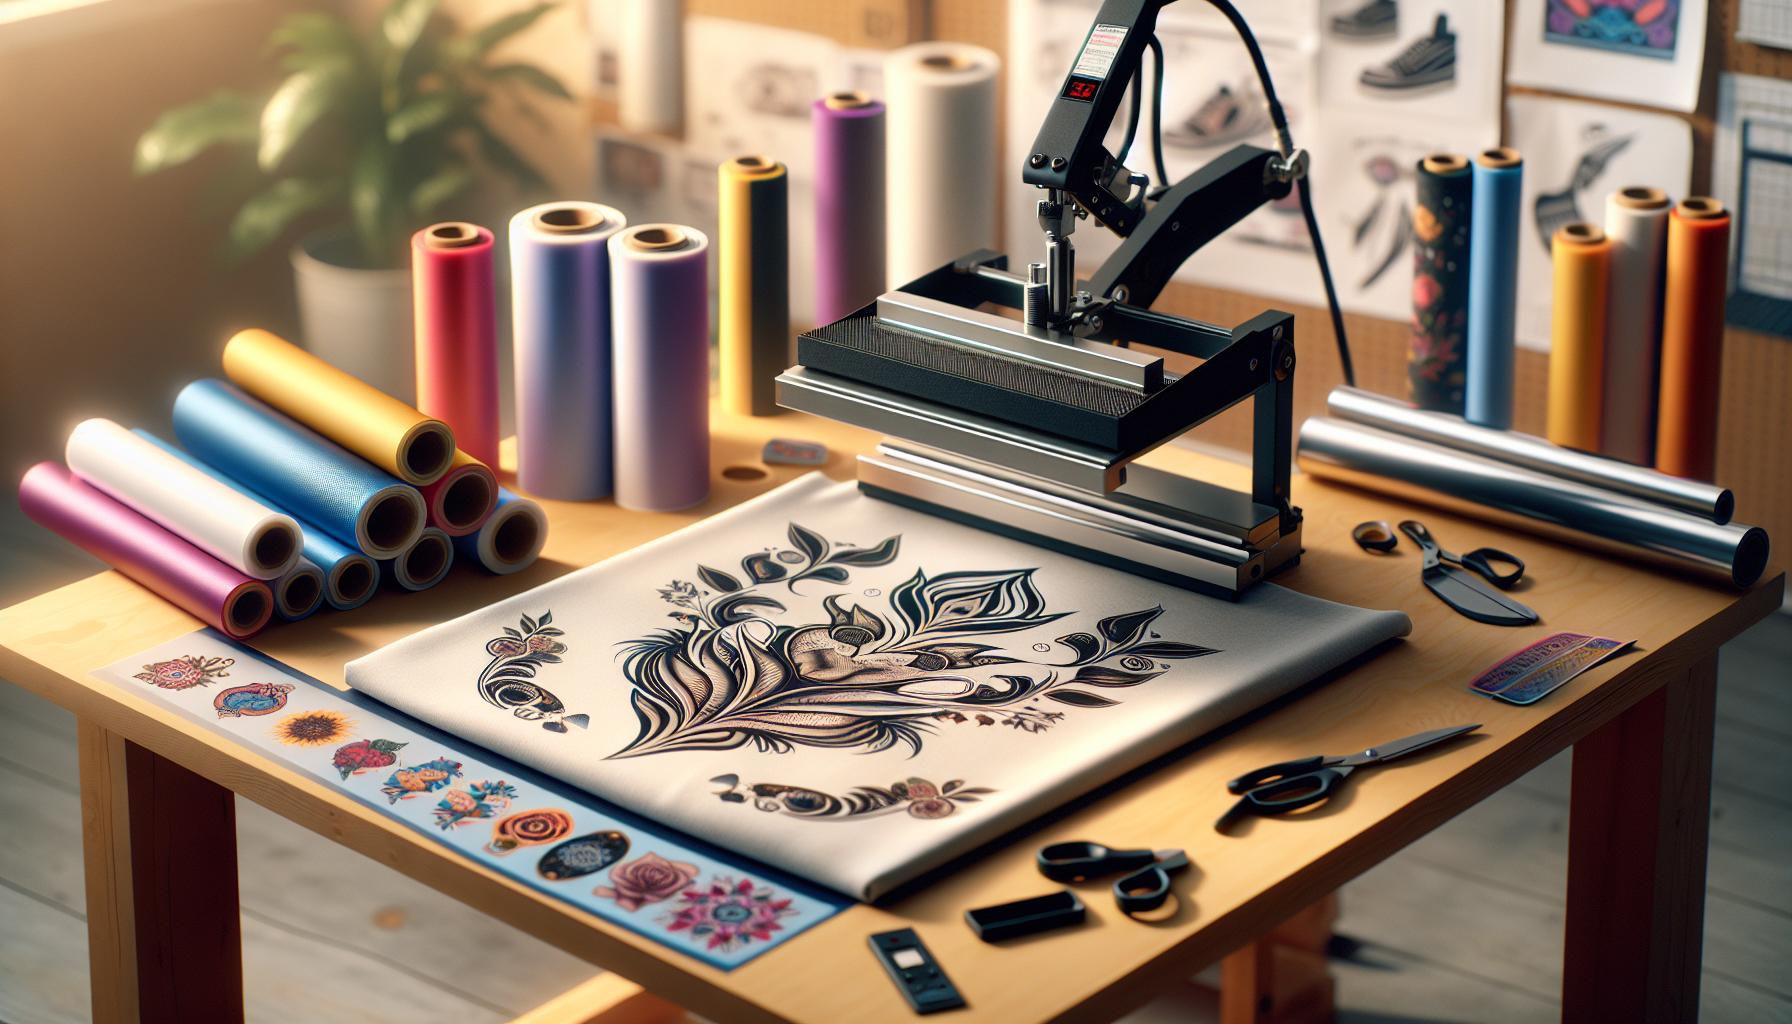
Understanding Heat Transfer Vinyl Basics
When embarking on a project involving heat transfer vinyl (HTV), understanding its basics can significantly enhance your results, especially if you’re considering using an iron instead of a heat press. HTV is a special type of vinyl designed to be applied to fabric using heat and pressure, making it popular for customizing T-shirts, bags, and other textiles. The effectiveness of this technique hinges on a few fundamental principles: the right temperature, sufficient pressure, and the duration of heat application.
Heat transfer vinyl works by adhering to fabric when exposed to heat, which activates a special adhesive on the back of the vinyl. This adhesive bonds with the fibers of the fabric, creating a strong and lasting connection. The type of vinyl you choose (such as standard, glitter, or flocked) can influence how it interacts with heat. Typically, most HTV applications require temperatures ranging from 305°F to 315°F (about 150°C to 157°C), but it’s crucial to refer to the manufacturer’s instructions for specifics on the vinyl being used.
Using an iron can be a practical solution for applying HTV, especially for smaller projects or those just starting with vinyl crafts. However, the key challenge with an iron is its tendency to distribute heat unevenly. For effective transfer, the heat needs to be applied uniformly across the vinyl. This can be achieved by:
- Choosing the Right Setting: Start with the cotton setting on your iron, and avoid using steam, which can dampen the adhesive.
- Using a Protective Layer: Always place a thin cloth or parchment paper over the vinyl to protect it from direct contact and potential scorching.
- Employing Even Pressure: Apply consistent, firm pressure throughout the transfer process, ensuring the entire area of the design receives adequate heat.
By mastering these basic principles of heat transfer vinyl application, you can achieve satisfactory results even with an iron. Whether you’re crafting a personalized gift or enhancing your wardrobe, understanding these fundamentals will empower you to create beautiful, enduring designs.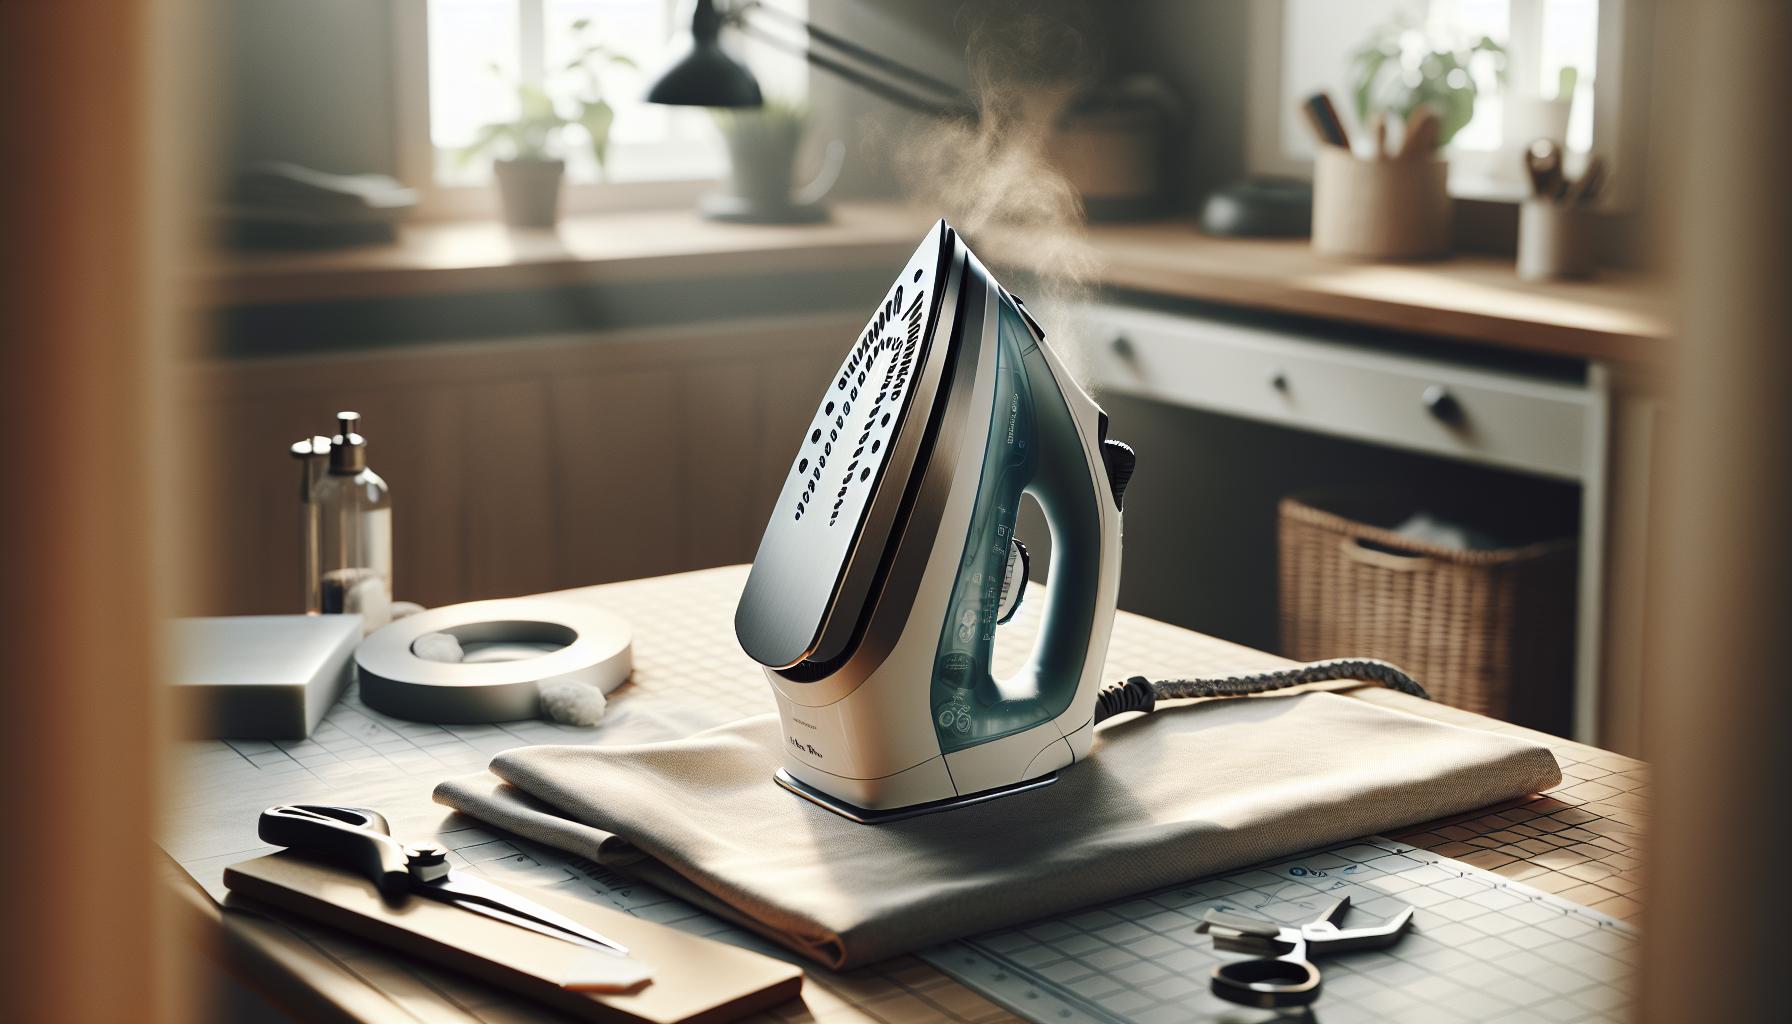
Preparing Your Iron for Heat Transfer Use
When preparing to use an iron for heat transfer vinyl (HTV), the right setup is crucial for achieving a successful application. Unlike a heat press, which provides even temperature and pressure, an iron requires careful preparation to ensure that the heat is distributed uniformly across the design. This can make the difference between a flawless transfer and a frustrating mishap.
First, ensure your iron is clean and free from any residue or dirt that could transfer onto your vinyl or fabric. A stained iron can leave marks that mar your creativity, so take a moment to wipe the soleplate with a damp cloth before use. Next, set your iron to the appropriate temperature. A typical setting for HTV is the cotton setting, generally around 320°F (160°C). Avoid using the steam function, as moisture can interfere with the adhesive’s effectiveness. Let the iron preheat completely so that you achieve the necessary temperature for a proper bond.
It’s also important to prepare your workstation. Lay down a heat-resistant surface, such as a pressing mat or a thick towel, to provide a stable base for your project. This helps distribute the pressure effectively and protects your working surface. Place your fabric item flat on this surface, ensuring there are no wrinkles or creases, as they can impact the overall transfer quality. Using a lint roller can also help to remove any dust or lint, ensuring a clean area for your design.
Finally, for an effective transfer, position a thin cloth or parchment paper over the HTV design before applying the iron to protect it from direct contact. This barrier not only shields the vinyl from scorching but also helps distribute the heat more evenly. When you’re ready to transfer, apply firm and consistent pressure across the entire area of the design for the recommended time, usually around 10 to 15 seconds, depending on the vinyl type. By paying attention to these details in preparing your iron, you can set yourself up for a successful and professional-looking result.
Step-by-Step Instructions for Ironing Vinyl
When it comes to using an iron for applying heat transfer vinyl (HTV), having a systematic approach is critical to achieving crisp, professional results. Unlike a heat press, which evenly distributes heat and pressure, ironing requires attention to detail and a few specific techniques to get the job done right. Here’s a step-by-step guide to help you iron on your vinyl with confidence.
Start by gathering your materials: the HTV, fabric, a clean iron set to its appropriate temperature (usually the cotton setting around 320°F or 160°C), a flat, heat-resistant surface (like a pressing mat or thick towel), and a lint roller. Begin by prepping your fabric. Lay it flat on the heat-resistant surface, free of wrinkles or lint. Use a lint roller to eliminate any dust or small fibers that could mar your design. This foundational step is crucial since any impurities can disrupt the transfer process.
Next, position your HTV on the fabric. Make sure to follow any specific placement guidelines provided with your vinyl, ensuring it’s aligned properly. Once you have the vinyl in place, cover it with a thin, protective layer such as a pressing cloth or parchment paper. This barrier serves two purposes: it protects the vinyl from direct heat, which can cause scorching, and it helps provide even heat distribution across the design.
With everything in place, it’s time to apply heat. Press the iron down onto the vinyl, making sure to apply firm and consistent pressure. Iron the design in a circular motion rather than on a single spot, making sure to cover every area of the vinyl. Typically, you should hold the iron in place for about 10 to 15 seconds, depending on the type of HTV you are using. After that, carefully lift the iron and check the edges of the vinyl. If there are any areas that aren’t fully adhered, simply reapply the iron for a few additional seconds. Finally, allow the vinyl to cool slightly, then peel away the carrier sheet. If it lifts up with the vinyl, reapply the iron. With patience and practice, you’ll master the art of ironing HTV, achieving stunning results on your projects.
Common Mistakes When Using an Iron
Using an iron for heat transfer vinyl (HTV) can lead to fantastic results if done correctly, but several common mistakes can compromise your project. One prevailing issue is failing to adjust the iron’s temperature. If the heat setting is too low, the vinyl may not adhere properly, resulting in peeling or lifting after washing. Conversely, using too high a temperature can scorch the fabric or damage the vinyl, leading to ineffective transfers and unsightly burns. Always refer to the manufacturer’s recommendations for the appropriate heat setting based on the material used.
Another frequent error occurs with the application of pressure and heat duration. Many users mistakenly treat the iron like a heat press, where even pressure and uniform heat are applied. Instead, it’s crucial to apply firm pressure and continuously move the iron in circular motions across the design rather than holding it in one spot. This ensures even heating and helps the vinyl properly bond with the fabric. Also, skipping the protective layer, like a pressing cloth, can expose the vinyl to direct heat, risking damage. Always use a barrier to prevent scorching and ensure a uniform transfer.
Additionally, neglecting to prepare the fabric adequately can lead to issues. Dust, lint, or wrinkles may interfere with the HTV’s adherence and overall appearance. Before starting, ensure the garment is clean and smooth. A lint roller is a quick and effective solution for removing debris, setting the stage for a successful transfer. By being mindful of these potential pitfalls and approaching the task with care, you can achieve professional-looking results and avoid frustrating reworks.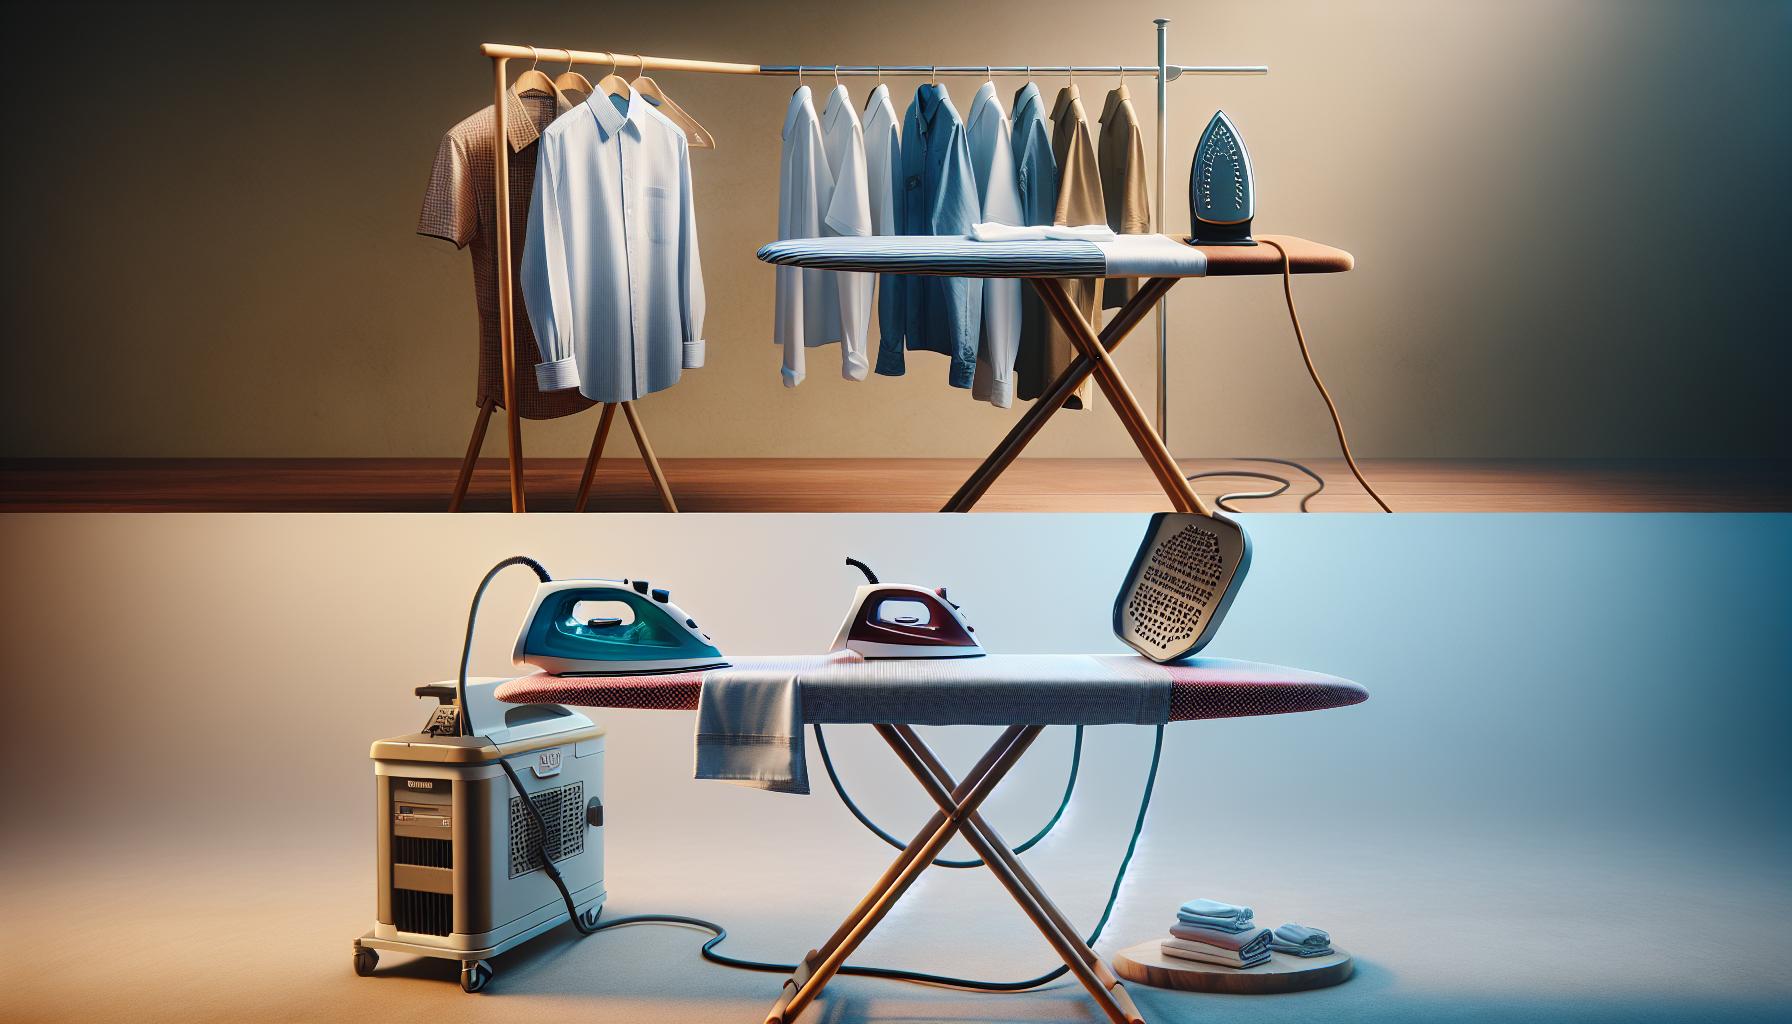
Comparing Ironing vs. Heat Press Methods
When it comes to applying heat transfer vinyl (HTV), the method you choose can significantly impact the final quality of your project. Many crafters often debate whether to use a traditional iron or invest in a heat press. Each method offers distinct advantages, but they also come with their own set of challenges. Understanding these differences can help you make an informed decision that aligns with your crafting needs.
Using an iron for HTV application can be effective, especially for small projects or if you’re working with limited equipment. The primary benefit of an iron is accessibility; most people already have one at home, making it a cost-effective solution. However, the lack of consistent heat and pressure often makes it more challenging to achieve a professional look. An iron typically does not distribute heat evenly, so it’s crucial to move the iron constantly, applying firm pressure to avoid areas that might not adhere well. This can lead to variations in the quality of the transfer, resulting in peeling or lifting over time.
In contrast, a heat press provides uniform heat and pressure across the entire surface of the vinyl, ensuring an even transfer. This method not only simplifies the process but also minimizes the risk of errors. With a heat press, you can set specific temperature and time settings based on the type of HTV and fabric, leading to more reliable results. A heat press is also more effective for larger designs, where an iron’s limitations can become evident. The investment in a heat press often pays off in the long run, particularly for those who frequently work with HTV or have plans to scale up their crafting endeavors.
Ultimately, the choice between an iron and a heat press hinges on your specific projects and frequency of use. If you’re a beginner or tackling smaller, occasional projects, an iron might suffice. However, for those looking to produce professional-quality work consistently, investing in a heat press could be a game changer. Each method has its merits, but knowing how to capitalize on their strengths will ensure your HTV projects turn out beautifully every time.
Tips for Achieving Professional Results
Achieving professional results with heat transfer vinyl (HTV) when using an iron is entirely possible with the right techniques and preparation. The key lies in understanding your materials and using the iron effectively to mimic the results you would get from a heat press. Fine-tuning your approach to the application process can make a significant difference in the durability and appearance of your finished project.
First, it’s vital to preheat your fabric before applying the HTV. This step removes moisture and ensures a more solid bond between the vinyl and the fabric. Use a clean, dry cloth to verify that the fabric is at the right temperature; it should feel warm but not hot to avoid burns or damage. After preheating, place your HTV in the desired position and cover it with a pressing cloth or parchment paper. This protects the vinyl from direct heat and helps distribute it evenly.
When it comes to applying heat, move your iron in small circles for about 10 to 15 seconds over each section of the design. Make sure to apply firm, even pressure throughout the entire process to avoid any lifting or bubbling. It’s crucial to pay attention to the edges of your design, as they tend to lift if not pressed adequately. If you are working with larger designs, consider dividing the design into manageable sections to ensure every part is heated properly. After pressing, allow the HTV to cool before peeling off the carrier sheet, as this can also influence the adherence of the vinyl.
Lastly, always refer to the specific temperature and time settings recommended for the HTV you are using. Each type of vinyl may have different requirements; following these guidelines can vastly improve your outcomes. If you encounter issues such as peeling or lifting, troubleshoot by adjusting your pressure, temperature, or even the type of fabric you’re using. Regular practice and attention to detail will yield professional-quality HTV applications, making projects more enjoyable and successful.
Best Practices for Caring for Heat Transfer Vinyl
Caring for heat transfer vinyl (HTV) is essential to ensure its longevity and maintain the vibrancy of your designs. Proper care begins long before you apply the vinyl to your fabric; it continues throughout the life of your garment or accessory. This proactive approach can prevent premature wear and help keep your custom creations looking fresh and new.
To start, always wash your HTV-printed items inside out. This method not only protects the vinyl from direct agitation during the wash cycle but also minimizes friction, which can wear down the edges of the vinyl. Use cold water and a gentle cycle to preserve the integrity of the vinyl. Avoid bleach or harsh detergents as these can cause discoloration or degradation of the vinyl materials. Additionally, air drying is preferable; if you must use a dryer, opt for a low heat setting to avoid shrinking or distorting both the fabric and the vinyl.
Storage is another crucial aspect of caring for your HTV. When not in use, keep your heat transfer vinyl stored in a cool, dry place, away from direct sunlight. Excessive heat and light can cause the vinyl to become brittle or discolor. If possible, keep it rolled rather than folded to prevent creases that may affect its performance.
Finally, it’s important to inspect your HTV projects regularly for signs of wear and tear. If you notice any lifting or peeling at the edges, address the issue promptly. You can re-press the areas to re-adhere the vinyl. Keeping your heat transfer projects in optimal condition not only enhances their appearance but also extends their usability, allowing you to enjoy your creations for many years to come.
Troubleshooting Iron Issues with Vinyl
When using an iron for heat transfer vinyl (HTV), troubleshooting any issues that arise is essential to achieving a smooth and durable application. Common problems include uneven heat distribution, insufficient pressure, and incorrect temperature settings, which can affect the bonding between the vinyl and fabric. Understanding how to rectify these issues will ensure your HTV projects turn out as intended, keeping your designs vibrant and long-lasting.
One frequent issue is uneven heat application. This can often happen because traditional irons may not distribute heat uniformly. To combat this, consider investing in an iron with a smooth, flat soleplate and consistent heat settings. If you notice that certain areas of the vinyl are not sticking, try going over those areas again, applying slightly more pressure and ensuring you’re using a proper pressing cloth to protect both the iron and vinyl from direct heat. For stubborn patches, you might also increase the duration of your pressing slightly, but always check the manufacturer’s guidelines to avoid damaging the vinyl.
Another common problem arises from the temperature settings. Each type of HTV has specific temperature requirements; applying heat that is too low might not activate the adhesive properly, while excessive heat can scorch or burn the vinyl. To troubleshoot this, refer to the packaging of your vinyl for its recommended settings. A simple tip is to always preheat your iron and test its heat on a scrap piece of fabric before starting your main project. This not only helps you gauge the temperature but also gives you practice in managing the pressure and movement of the iron across the vinyl.
Finally, if you encounter lifting edges after your initial press, it’s important to act quickly. This often indicates that the adhesive has not fully activated. Reapplying the heat using a pressing cloth can help re-establish the bond. If lifting continues, consider increasing the pressure and adjusting the temperature based on your earlier tests. Always ensure your HTV is compatible with the fabric type; certain fabrics may not hold vinyl as well as others, which can complicate the bonding process. Keeping these troubleshooting tips in mind will empower you to overcome common challenges in vinyl application, leading to professional-quality results.
Exploring Alternative Tools for Vinyl Transfer
Exploring the right tools for heat transfer vinyl (HTV) projects can significantly impact the quality of your final product. While many crafters start with a household iron due to its accessibility, numerous alternative tools can provide more consistent and professional results. Understanding these options allows you to choose the best tool suited for your specific HTV application.
One highly recommended alternative to an iron is the heat press machine. These machines offer precise temperature control, even heat distribution, and adjustable pressure settings. Using a heat press simplifies the process, ensuring the vinyl adheres uniformly without the guesswork of pressure and time. Many models also include a timer and automatic shutoff feature for efficiency and safety. For those serious about their crafting, investing in a heat press can elevate the quality of their designs dramatically. Additionally, portable heat presses are available for those with limited space, combining convenience with professional results.
Another useful tool is a sublimation printer designed for HTV use. This printer can directly print designs onto specially coated vinyl, which is then transferred with heat. Unlike traditional HTV, this method allows for complex patterns and vibrant colors to be transferred without the risk of peeling or lifting over time. It’s an ideal solution for projects requiring detailed images or gradient designs. However, it’s essential to ensure that your fabric is compatible with dye sublimation for the best results.
For smaller projects or intricate designs, adhesive vinyl or transfer tapes can be valuable. Transfer tape helps layer different vinyl colors effectively and ensures proper placement before applying heat. It allows for more flexibility, especially when working with multiple colors or detailed designs. Using these tools not only enhances the longevity of your work but also simplifies the application process, making crafting a more enjoyable experience.
Ultimately, while an iron can be a starting point for HTV applications, exploring these alternatives empowers you to achieve more professional and lasting results in your projects. The right tool can turn a good design into a stunning piece that stands the test of time.
Safety Precautions When Using an Iron
Using an iron for heat transfer vinyl (HTV) projects can be an accessible starting point for crafters, but it comes with its own set of safety precautions that must be considered. Understanding these safety measures is crucial for preventing accidents, ensuring successful application, and prolonging the life of your projects.
First and foremost, always check the temperature settings on your iron; different types of vinyl require specific heat levels for optimal adhesion. Cotton and polyester settings are commonly recommended, but it’s vital to follow the manufacturer’s instructions for the specific HTV you’re using. Additionally, never leave the iron unattended while it is heated. This simple practice can prevent burns, fabric damage, and potential fire hazards.
Protecting Your Workspace
Creating a safe work environment is equally important. Always use an ironing board or a heat-resistant surface when applying heat to vinyl. Avoid using your iron on surfaces that could melt or get damaged, such as plastic tables or untreated wood. It’s a good idea to lay down a protective layer like a towel or cloth to shield your work surface from any accidental heat transfer. Additionally, adopting a clutter-free workspace helps prevent accidents. Having tools like scissors and adhesive nearby can be handy, but ensure they are not so close that they could become a hazard when you are handling hot items.
Lastly, if you are using parchment paper or a pressing cloth to protect the HTV during application, ensure it is clean and dry. Any residual dirt or moisture can lead to inconsistencies in your design. It is worthwhile to mention that children and pets should be kept at a safe distance during the heat transfer process to avoid any injuries caused by unexpected starts or flashes of heat from the iron. Being aware of these considerations will not only enhance your safety but also contribute to more successful and enjoyable crafting experiences.
Ensuring Longevity of Your Heat Transfer Projects
Ensuring the durability of heat transfer projects is essential for maintaining the quality and appearance of your designs over time. While the initial application using an iron can yield satisfying results, how you handle and care for the finished product greatly affects its longevity. A well-finished heat transfer should look great wash after wash, but it does require some specific care to keep it looking crisp and fresh.
To start, always follow the care instructions associated with the specific heat transfer vinyl (HTV) you utilized. Most HTVs can withstand machine washing, but it’s wise to wash items inside out to minimize friction and protect the design. When laundering, opt for cold water settings and gentle cycles to avoid any potential shrinking or damage. For drying, it’s advisable to air dry or use a low-heat setting as high temperatures can negatively impact the adhesive properties of the vinyl.
Additionally, avoid substances that may compromise the vinyl, such as bleach or abrasive cleaners. If you have embellished your project, consider using a pressing cloth in between the design and the iron if you ever need to reapply heat. This method prevents direct contact with the HTV, shielding it from extreme temperatures that could weaken its bond to the fabric.
Finally, to maintain the aesthetic of your project, store items away from direct sunlight when not in use. Prolonged exposure to sunlight can fade the colors and weaken the vinyl, diminishing its overall appeal. By taking these precautions, you enhance the likelihood of your heat transfer projects maintaining their beauty and durability for many wears to come.
Frequently Asked Questions
Q: What type of iron is best for heat transfer vinyl?
A: The best type of iron for heat transfer vinyl is a dry iron without steam settings. Steam can interfere with the adhesive process. Choose an iron with a flat soleplate for even heat distribution, which is crucial for getting professional results with your vinyl.
Q: How long should I press heat transfer vinyl with an iron?
A: Generally, you should press heat transfer vinyl for about 10 to 15 seconds. However, the specific time may vary based on the vinyl brand you’re using and the fabric. Always refer to the manufacturer’s instructions for the most accurate duration for best adhesion.
Q: Can I use an iron on all fabrics for heat transfer vinyl?
A: While you can use an iron on many fabrics, it’s important to avoid sensitive materials like nylon or those that can melt easily. Cotton, polyester, and blends work well. Always test a small area before applying heat transfer vinyl to ensure compatibility.
Q: What should I do if the heat transfer vinyl doesn’t stick after ironing?
A: If the vinyl doesn’t stick, reapply heat using the iron for a few more seconds. Make sure to use a protective cover like a pressing cloth to avoid direct contact. Check your iron setting; the heat must be sufficient for the vinyl type you’re using.
Q: Is using a heat press better than an iron for heat transfer vinyl?
A: Yes, a heat press is generally more effective than an iron for transferring vinyl. It provides consistent heat and pressure across the entire design, which results in better adhesion and durability. If you’re serious about crafting, investing in a heat press is worthwhile.
Q: How can I prevent my transfer vinyl from wrinkling?
A: To prevent wrinkling, ensure the fabric is completely smooth and wrinkle-free before applying heat transfer vinyl. Always check the fabric for creases and use a pressing cloth to remove any texture during the heat application process.
Q: What are the safety precautions when using an iron for vinyl transfer?
A: When using an iron for vinyl transfer, always supervise the process to prevent burns. Use a pressing cloth to protect both the fabric and the iron’s soleplate. Keep the iron on a flat, stable surface, and never leave it unattended when plugged in.
Q: Can I use other tools instead of an iron for heat transfer vinyl?
A: Yes, other tools like heat presses and mini heat presses can effectively apply heat transfer vinyl. These tools often offer better temperature control and pressure. However, if you only have an iron, you can achieve good results by following proper techniques.
Final Thoughts
Now that you’ve explored whether you can use an iron for heat transfer vinyl, you may be eager to start your own projects! Remember, while an iron can work, a heat press offers more consistency and better results. Don’t miss out on further enhancing your crafting skills; check our articles on mastering heat transfer techniques and understanding vinyl types linked below.
If you have any questions or need more guidance, feel free to leave a comment or explore our community forums. Also, consider signing up for our newsletter to stay updated on the latest tips and tricks in vinyl crafting and receive exclusive resources!
For additional information on tools that can elevate your heat transfer game, visit our product recommendation page. Dive deeper into the world of crafting and ensure your projects shine every time. Happy crafting!
Get our latest guides, news, and insights highlighted in your Google Search & AI Overviews.