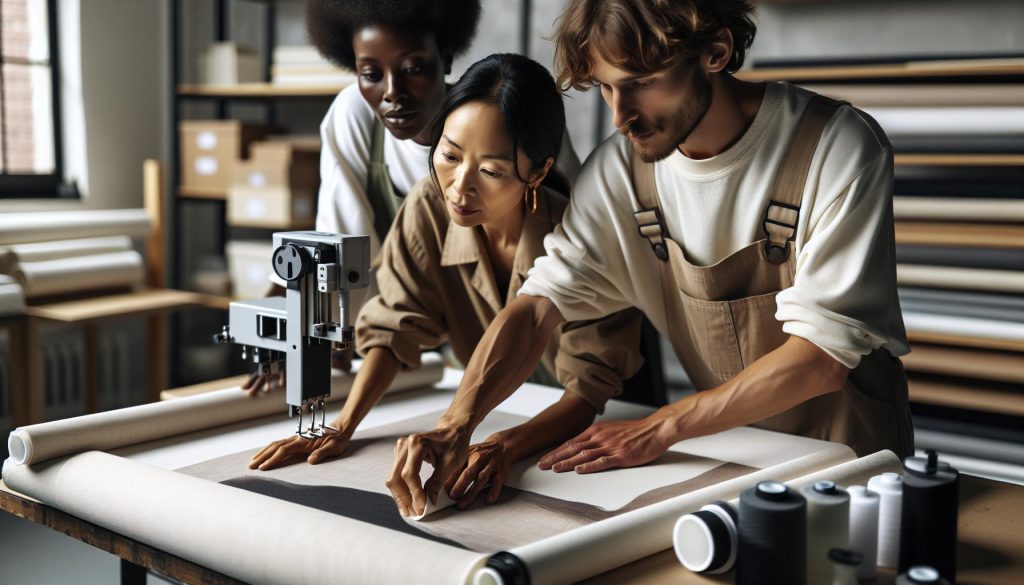
Have you ever wondered how to turn a simple canvas into a vibrant statement piece? Heat transfer on canvas can unlock new creative possibilities, allowing you to apply intricate designs and colorful graphics with ease. This technique not only enhances the aesthetic appeal of your artwork but also enables you to personalize items, making them uniquely yours. Whether for crafting, home decor, or custom gifts, mastering heat transfer on canvas is a valuable skill that can elevate your projects. In this guide, we’ll explore essential tips and techniques to ensure your fabric applications succeed, making this intricate art form accessible to everyone. Get ready to discover the joys of transforming canvas through heat transfer!
Understanding Heat Transfer on Canvas
can significantly enhance your fabric customization projects. When applying heat transfer materials, the interaction between temperature and fabric composition is crucial in achieving vibrant and durable designs. Canvas, a popular choice for artistic and functional projects, has unique properties that can affect how heat transfer processes work, making understanding this relationship essential for success.
Heat transfer involves three primary methods: conduction, convection, and radiation. When working with canvas, conduction is the most relevant, as it occurs where heat directly transfers from the heat source (like an iron or heat press) to the material. The efficiency of this transfer can depend on factors such as the thickness of the canvas and its weave density. Thick, tightly woven canvas may require longer pressing times to ensure the heat penetrates effectively, while thinner, more loosely woven fabrics may transfer heat quickly.
Moreover, temperature and pressure are foundational elements in the heat transfer process. Each heat transfer vinyl (HTV) comes with specific temperature and pressure recommendations provided by the manufacturer. Generally, a temperature range of 300°F to 320°F for 10 to 15 seconds with moderate to firm pressure yields optimal results. It’s essential to monitor and adjust settings based on the manufacturer’s guidelines to prevent fabric damage or poor adhesion. With the right knowledge and practices, anyone can successfully apply heat transfers on canvas, leading to beautiful, custom creations.
By combining the understanding of materials with practical application, you can confidently explore the art of heat transfer on canvas and unlock your creative potential.
Types of Heat Transfer Methods for Fabric
Heat transfer processes are at the heart of customizing fabric, especially when using materials like canvas. Understanding these methods not only elevates your creative projects but also ensures they last. The main types of heat transfer methods include conduction, convection, and radiation, with each having its distinct application and relevance to working with canvas fabrics.
Conduction
In the realm of heat transfers, conduction is the most commonly utilized method. This type involves direct contact between the heat source-such as a heat press or iron-and the canvas material. The efficiency of conduction can vary based on the fabric’s characteristics. For instance, a thicker, tightly woven canvas may necessitate longer pressing times and higher temperatures to allow heat to penetrate effectively. It’s this transfer that binds the design onto your canvas, making it crucial to monitor time and temperature closely.
Convection
While not as frequently used for canvas, convection plays a role in some heat transfer processes. It involves the movement of heat through the air or another medium. When using heat transfer processes like sublimation, convection is essential as the process involves heating ink that turns into gas. This gas then bonds with the fibers of the canvas, providing an effective technique for vibrant designs. However, canvas must be compatible with this type of transfer, as it typically works better with synthetic fabrics.
Radiation
Radiative heat transfer, although less common in fabric applications, occurs when heat energy is transferred through infrared radiation. Some specialty heat presses utilize radiation to evenly distribute heat across the surface of the material. This method can be particularly beneficial for achieving consistent results, especially when layering designs or when using multiple colors. Understanding the nuances of these methods allows for greater flexibility in your creative processes.
To ensure successful heat transfer on canvas, it’s essential to consider these various methods in relation to the specific materials and designs being used. Each type offers unique benefits that can enhance your project outcomes, making your work not only aesthetically pleasing but also durable.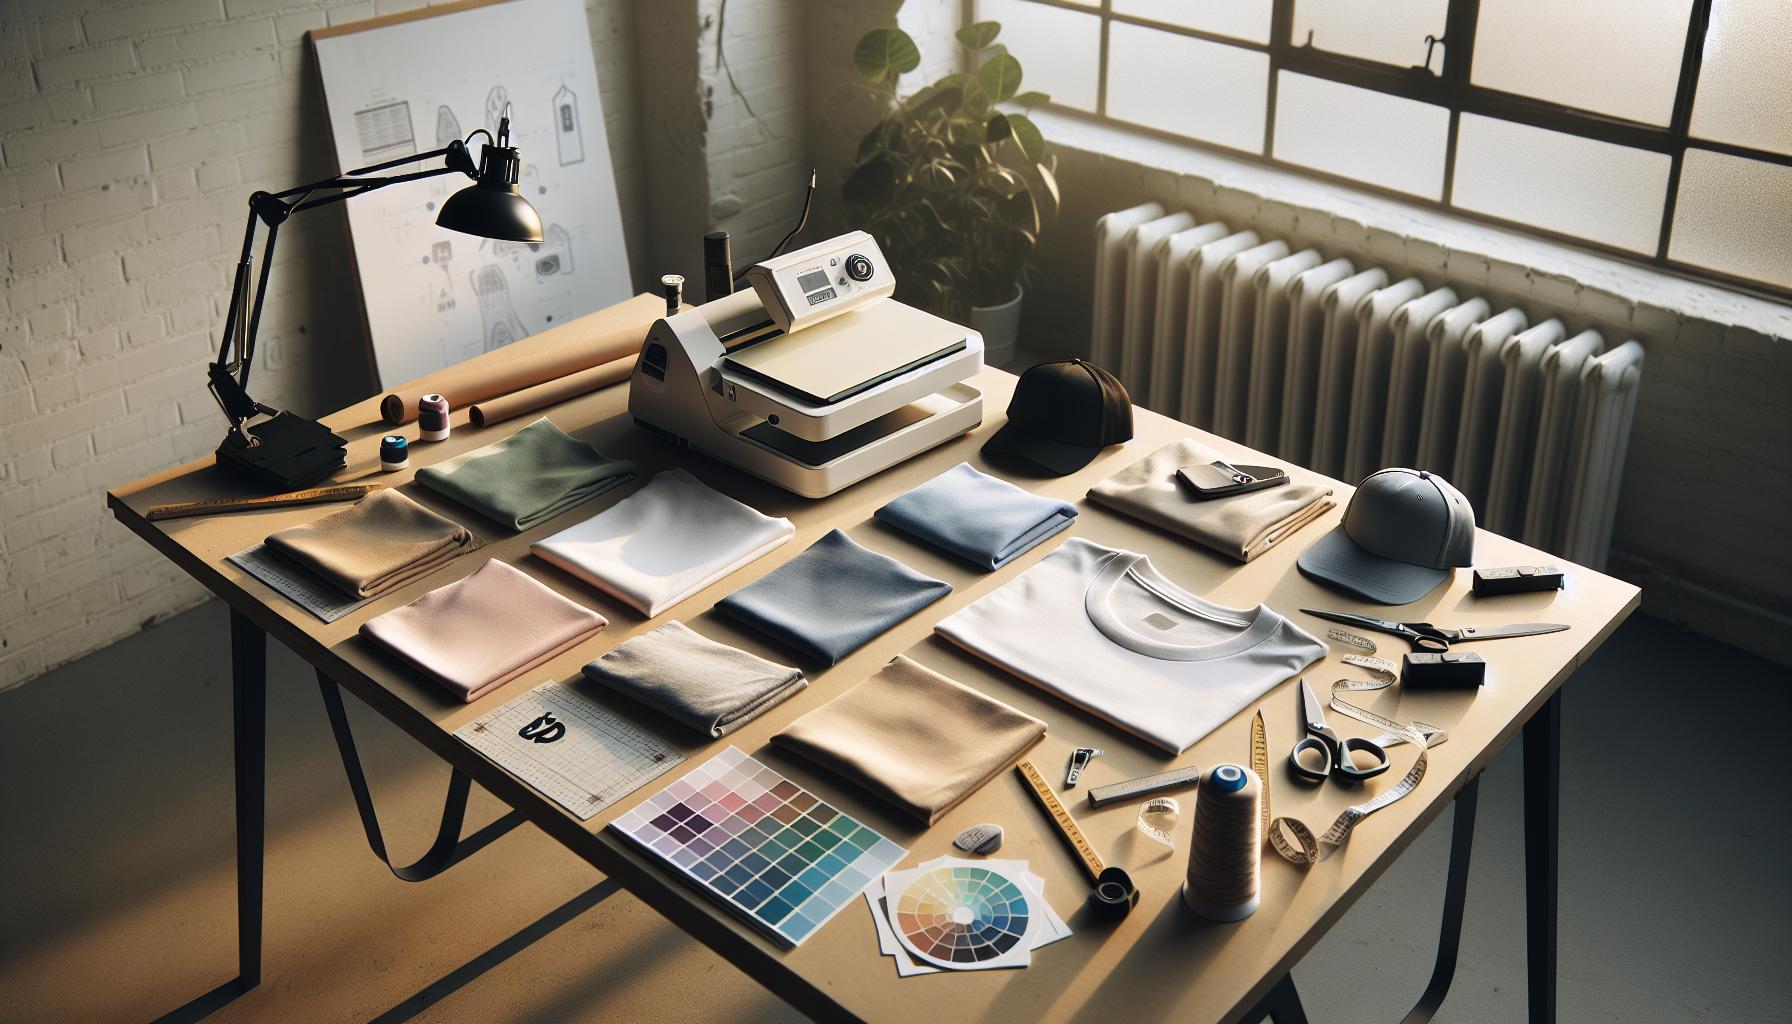
Choosing the Right Canvas for Heat Transfers
can be the difference between a successful project and a frustrating failure. Not all canvas fabrics are created equal, and their diverse properties can significantly influence the final outcome of your designs. For heat transfer applications, it’s crucial to select a canvas that not only complements the technique you plan to use but also reconciles well with any inks, adhesives, or foils involved in the transfer process.
When assessing canvas options, consider the following factors:
- Material Composition: Choose a canvas made from 100% cotton or a polyester/cotton blend. Cotton provides a good base for most heat transfer methods, while polyester is particularly effective for sublimation processes due to its ability to bond with dye.
- Weight and Texture: Heavier canvases tend to handle heat application better without warping or shrinking. A smooth surface is preferable for intricate designs as it allows for better adherence of the transfer material.
- Color: Light-colored canvases are typically more effective for vibrant prints, especially in sublimation, as darker colors may affect the final appearance of the design.
Understanding the attributes of your chosen canvas not only aids in achieving superior aesthetic results but also ensures long-lasting durability. For instance, if you’re planning on frequently washing the item after the transfer, opting for a heavier duty canvas can make a difference in how well the design withstands wear and tear. Moreover, performing a test transfer on a small piece of the canvas can help gauge compatibility and ensure that your materials work harmoniously together.
Remember that the right choice of canvas will not only enhance the look of your final product but also uphold the integrity of your design through repeated use and washing. Investing time in selecting the proper material is essential for maximizing the success of your heat transfer projects.
Essential Tools for Successful Heat Transfer
To achieve a successful heat transfer on canvas, having the right tools at your disposal is essential. The proper equipment not only streamlines the process but also enhances the quality and durability of the final product. Understanding what tools to use ensures that you’re well-prepared, whether you’re tackling a simple project or something more intricate.
One of the primary tools you’ll need is a heat press machine. This device applies precise temperature and pressure, ensuring that the heat transfer adheres effectively to the canvas without damaging it. While a basic iron can work for small projects, a heat press offers uniformity and control, significantly reducing the risk of uneven application. When selecting a heat press, consider features such as heat settings, platen size, and ease of use. A press with a digital temperature gauge and timer allows for greater accuracy.
In addition to a heat press, you’ll need heat transfer materials such as vinyl, transfer paper, or sublimation ink, depending on your chosen method. Each carries specific requirements for application. For instance, vinyl requires a weeding tool to remove excess material before pressing, while sublimation inks work best on polyester blends. Complement your materials with protective sheets or teflon pads to prevent scorching and ensure a smooth finish.
Don’t overlook the importance of a good workspace. Having a flat, dedicated area where you can set up your heat press and canvas will make the process more efficient. Tools like scissors, cutters, and alignment rulers can aid in preparing your material accurately, ensuring everything is positioned correctly before the heat application.
With the right tools, you will not only simplify the heat transfer process but also improve the quality of your crafted items. Investing in these essential tools can save time and enhance the outcome, allowing for professional-looking results in your heat transfer projects.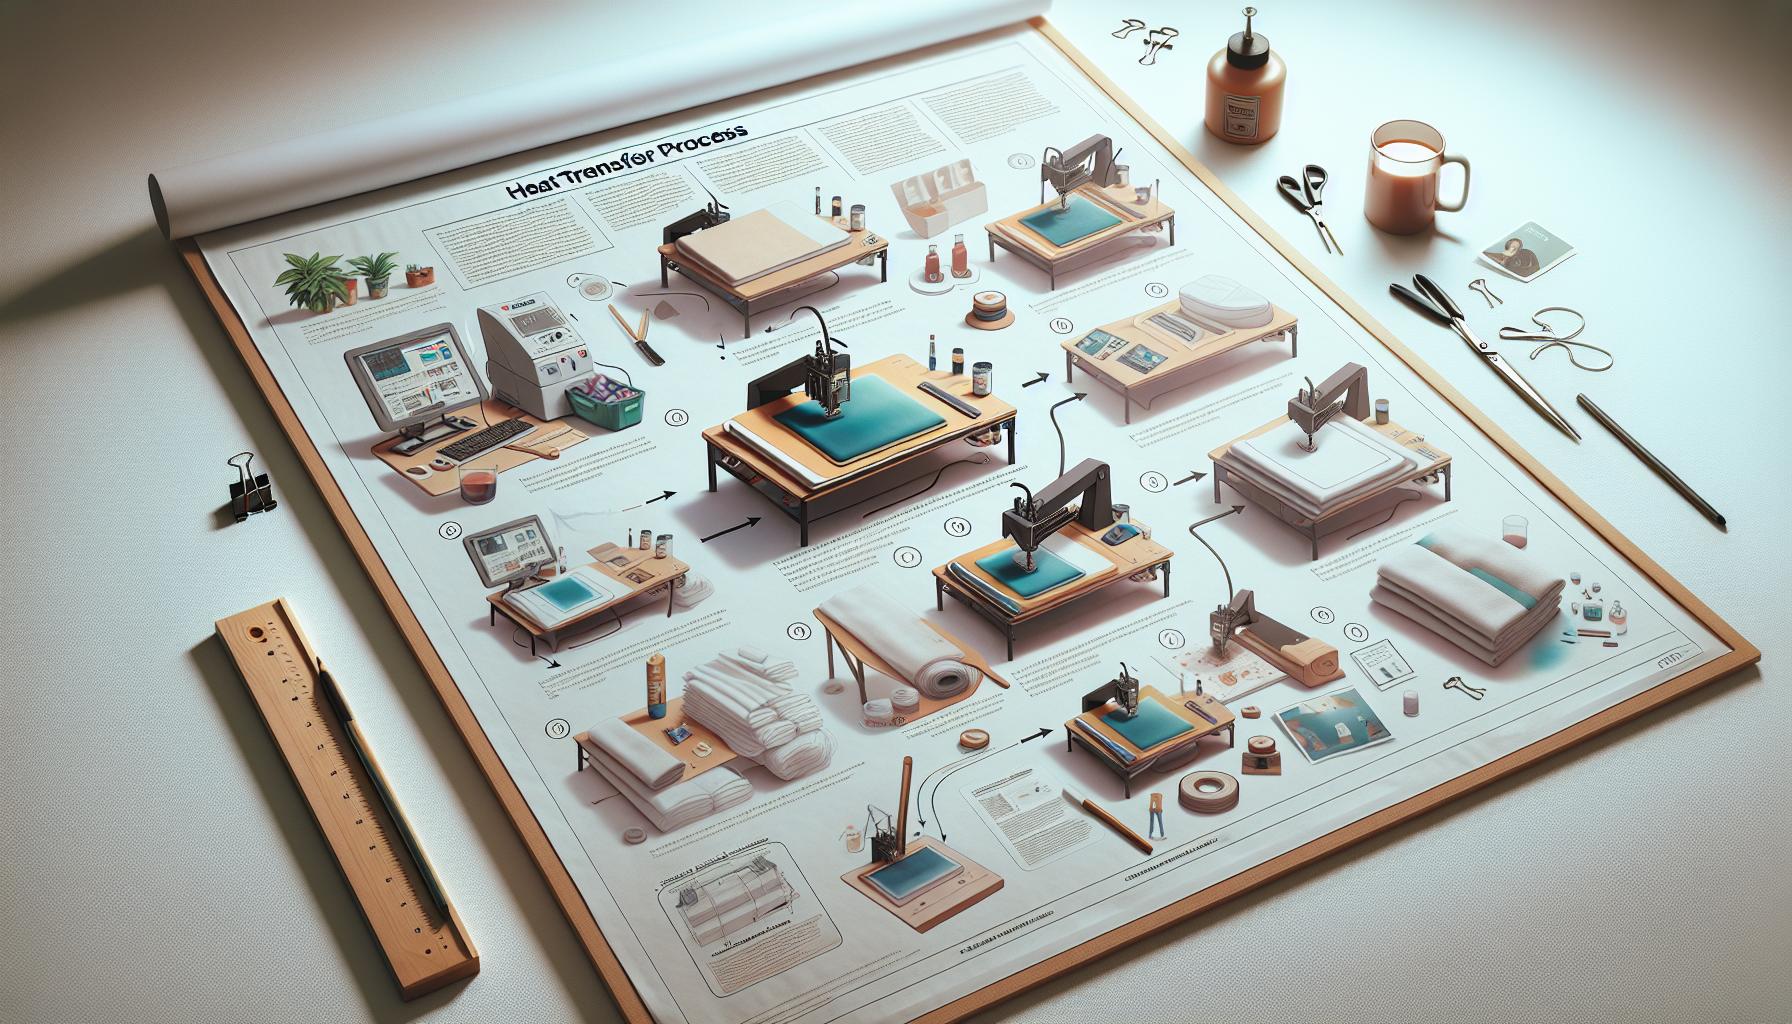
Step-by-Step Heat Transfer Process on Canvas
To create a striking heat transfer on canvas, follow a precise and organized process that ensures your design adheres properly and maintains its quality. Understanding the steps and applying them methodically will significantly boost the likelihood of a successful outcome. Here’s how to achieve that perfect transfer.
Begin by preparing the canvas. Ensure it is clean and smooth; any dirt or imperfections can hinder adherence and lead to unsatisfactory results. It’s recommended to pre-press the canvas for a few seconds at the required temperature (usually around 350°F) to eliminate any moisture and smooth out wrinkles. This step helps the transfer material bond more effectively.
Next, trim your design material to size, keeping a slight border to prevent any overhang during pressing. Depending on the type of heat transfer you are using-be it vinyl or sublimation-make sure to weed out excess material carefully. This is particularly crucial for vinyl, where precision defines the crispness of your design. Once ready, carefully position your design on the canvas, ensuring it’s aligned properly. Using a temperature-resistant tape can help hold the design in place during transfer.
When it’s go time, place a protective sheet over the design to prevent scorching and ensure even heat distribution. Adjust your heat press settings according to the material’s specifications, typically pressing for about 10-15 seconds with firm pressure. After this, carefully peel off the backing once the canvas has cooled down a little-this is essential to avoid distortion of the design. If you’re using a cold peel method, let it cool completely before removing the backing.
Lastly, inspect your work; any areas that lift can be repressed using a protective sheet and the heat press for a few additional seconds. After the transfer, allow the canvas to fully cool before handling or displaying it to ensure the best adhesion and durability of the design. Following these steps makes heat transferring on canvas not only straightforward but also enjoyable, leading to beautifully crafted home décor or projects.
Common Mistakes to Avoid in Heat Transfers
Heat transfer on canvas can be a rewarding creative endeavor, but even seasoned crafters can stumble into common pitfalls that jeopardize their projects. Awareness of these mistakes not only enhances the success rate of your heat transfers but also saves time and materials. Let’s delve into a few frequent missteps that can derail an otherwise perfect project.
One critical error emerges from inconsistent temperature settings. Every type of transfer material has a specific temperature requirement, and failing to adhere to these can lead to poor adhesion. For instance, if you’re using heat transfer vinyl, not reaching the optimal temperature can cause your design to peel off after a wash. Always refer to the manufacturer’s guidelines for both your canvas and transfer material to achieve the best results. Additionally, neglecting to use a protective sheet often leads to scorching, which is a visible and irreversible mistake. This simple addition promotes even heat distribution and protects the surface of your design.
Another common issue occurs during the pre-pressing phase. Skipping this crucial step can leave moisture in the fabric, which may disrupt how the transfer adheres. Pre-pressing for a few seconds eliminates excess moisture, ensuring a solid bond between the canvas and the transfer material. It’s also vital to align the design accurately before pressing; misalignment can ruin the aesthetics of your project. Using a template or light transfer paper can assist in achieving precise placements.
Lastly, impatience can lead to premature peeling. After pressing, it’s essential to allow the canvas to cool slightly before removing the backing. Rushing this process can distort the design, downgrading the quality of your work. Patience here translates to perfection! By avoiding these common mistakes, you’ll enhance your skills and produce heat transfer projects that are not just functional but also visually appealing.
Tips for Working with Different Fabric Types
Working with different fabric types can significantly affect the outcome of your heat transfer projects. Each fabric has unique properties that influence how heat transfer materials adhere and perform. Understanding these nuances is crucial for achieving vibrant, long-lasting results on canvas.
When dealing with cotton canvas, you’re in luck-this natural fiber is highly receptive to heat transfer. For optimal results, pre-wash your canvas to eliminate any sizing and enhance adhesion. Set your heat press to the recommended temperature for your specific transfer material, generally between 305°F and 315°F. Press for the appropriate duration, usually around 10-15 seconds. Always be mindful of any color or pattern on your canvas; testing a small area first can save you from potential misalignment or scorching.
Silk and synthetic fibers present a different challenge. While some synthetic canvases can handle heat transfer well, others may not be as durable under high temperatures. For these materials, opt for lower temperatures and longer pressing times to prevent melting or damaging the fabric. Consider using a Teflon sheet for added protection against heat damage. It’s also beneficial to choose transfer materials specifically designed for synthetic surfaces, as they provide better adhesion and longevity.
Additionally, always ensure you’re aware of the fabric blend before you begin. Blends containing polyester may require different treatment than 100% cotton. By assessing the fabric characteristics and adjusting your approach accordingly, you can maximize the quality and durability of your heat transfers. Here’s a quick guide for reference:
| Fabric Type | Recommended Temperature | Recommended Time | Protection Needed |
|---|---|---|---|
| Cotton Canvas | 305°F – 315°F | 10-15 seconds | Optional Teflon sheet |
| Synthetic Canvas (Polyester) | 260°F – 270°F | 15-20 seconds | Always use a Teflon sheet |
| Silk Canvas | 250°F – 260°F | 10-15 seconds | Use a low heat setting |
With the right approach tailored to the fabric type, you’ll find that each heat transfer project becomes an opportunity to explore creativity while achieving professional results.
Post-Transfer Care for Heat-Pressed Items
After successfully transferring designs onto your canvas, the journey doesn’t end there. The way you care for your heat-pressed items plays a crucial role in maintaining their vibrancy and longevity. Many overlook this vital step, leading to premature wear or fading of the design. Understanding how to properly care for these items not only enhances durability but also ensures that your creative efforts stand the test of time.
Washing Your Heat-Pressed Canvas
One of the most critical aspects of post-transfer care is how you wash your heat-pressed items. Always opt for a gentle cycle in cold water to protect the integrity of the design. Avoid using bleach and harsh detergents, as these can degrade the adhesive used in heat transfers. To further safeguard your creations, turn the canvas inside out before washing. This minimizes direct friction against the printed surface, reducing the chances of wear and tear.
Drying Techniques
When it comes to drying, air drying is your best friend. Lay flat or hang to dry, steering clear of tumble dryers, which can expose your canvas to high heat that might affect the design’s adhesion. If you must use a dryer, choose a low heat setting and remove the canvas promptly to prevent excessive heat exposure.
Ironing and Storage
If your canvas needs a touch-up to remove wrinkles, always place a thin cloth over the design before ironing. This barrier prevents direct heat contact, which can damage the transfer. For long-term storage, keep your heat-pressed items in a cool, dry place away from direct sunlight to avoid fading. Stacking them with protective layers can also help avoid creases and dust accumulation.
By implementing these care techniques, you ensure that every canvas heat transfer not only looks stunning but also lasts, reflecting the time and effort you’ve invested in your creative projects. Careful maintenance transforms your art into lasting keepsakes, making it well worth the extra attention.
Creative Ideas for Canvas Heat Transfers
There’s something truly magical about transforming a plain canvas into a stunning work of art through heat transfer. Whether you’re designing custom tote bags, home decor, or wearable art, the process allows for limitless creativity. Here are some inspiring ideas to explore as you embark on your heat transfer journey.
One exciting application of heat transfer on canvas is creating personalized gifts. Imagine designing custom bags for friends and family that showcase their favorite quotes, images, or even personal photos. This not only makes for a thoughtful gift but also adds a unique touch that store-bought items can’t compete with. You can also create matching sets, like tote bags and pencil cases, which are perfect for students or artists. Not only do these items stand out, but they also encourage your loved ones to express their individuality.
Another inventive idea is to use heat transfer techniques to decorate your home. Wall art is an excellent way to make a statement in any room. Consider using heat transfer vinyl to apply intricate designs or stencils onto a canvas that fits your décor style. You could create a gallery wall featuring quotes, patterns, or even abstract designs that reflect your personality. Additionally, custom cushions or throw pillows with heat-transferred designs can add warmth and character to your living spaces. Opt for vibrant colors and playful graphics to liven up your home.
Don’t forget about seasonal decor! Heat transfer on canvas can elevate your holiday decorations. You could design festive banners, table runners, or place mats that embody the spirit of the season. For instance, heat transfer designs featuring autumn leaves and pumpkins can beautifully adorn your home during fall, while snowflakes and holiday greetings can brighten up your winter celebrations. These projects not only enhance the ambiance but are also a fun way to get the whole family involved in the crafting process.
Finally, if you’re feeling particularly adventurous, consider experimenting with mixed media. Combine heat transfers with other techniques like painting, embroidery, or stenciling for multidimensional art pieces. This approach can yield truly unique results, allowing you to explore textures and depth that elevate your canvas art.
With these creative ideas, you can take your canvas heat transfer projects from ordinary to extraordinary, making art that resonates personally while also captivating your audience. Let your imagination run wild, and embrace the joy of creating stunning pieces that showcase your unique style.
Troubleshooting Heat Transfer Issues
Creating stunning heat transfer designs on canvas is exhilarating, yet it can come with its share of challenges. Knowing how to troubleshoot common issues can mean the difference between a flawless piece and a frustrating project. Whether you’re dealing with peeling designs, improper adhesion, or faded images, understanding potential pitfalls lets you resolve them quickly and efficiently – ensuring your artistic vision comes to life.
One common issue is peeling or lifting of the design. This can occur if the heat is insufficient during application, or if too much pressure is applied. To remedy this, always preheat your canvas briefly before applying the transfer. This helps the material accept the heat better. Additionally, ensure you’re using the correct temperature setting specific to the material of your transfer and canvas. If lifting continues, try applying the transfer for a few more seconds and do not be afraid to check it after the initial application to ensure it’s sticking firmly.
Another prevalent challenge is discoloration of the fabric or design. This could arise from inadequate preparation or using incompatible materials. Before starting your project, pre-wash the canvas to remove any finishes that may prevent adhesion. Always opt for high-quality heat transfer vinyl or inks that are specifically designed for canvas applications to avoid dull or faded results. Additionally, once the transfer is complete, avoid washing the item in harsh detergents, which can compromise the vibrancy of your design.
Finally, you might encounter wrinkles or trapped air bubbles under the transfer. To prevent this, ensure there are no creases in your canvas before heat application and apply the transfer with the utmost care. If bubbles appear, a hot iron (set to the recommended heat setting) can be pressed gently over the bubble; this often helps to smooth out any imperfections. You may also use a weeding tool to carefully poke and flatten such bubbles before the final press if they persist.
In conclusion, requires a blend of preparation, attention to detail, and a little creativity. By familiarizing yourself with these common problems and their solutions, you can approach each new canvas project with confidence, turning challenges into opportunities for learning and growth. Embrace the process and have fun experimenting – after all, every hiccup is a step toward enhancing your heat transfer skills!
Exploring Customization Techniques with Fabric
Creating unique and personalized designs on canvas using heat transfer techniques can be a rewarding way to express your artistic vision. The possibilities are limitless when it comes to customization; you can transform ordinary canvas into one-of-a-kind decorations, gifts, or merchandise. Whether you’re looking to craft a stylish tote bag, decorate your home, or produce items for sale, understanding effective customization techniques will elevate your projects to the next level.
One of the most popular methods for customization is layering different colors and textures. By using various types of heat transfer vinyl (HTV), such as metallics, glitters, or even holographic finishes, you can create multi-dimensional designs that stand out. Start by planning out your design layers. Use a design software to arrange your elements in a way that optimizes the application process; for example, applying a base layer first and then adding details afterward. Remember to adjust the heat settings based on the materials you use, as different types of HTV may require varying temperatures for optimal adhesion.
Another innovative approach is to incorporate digital and printed elements into your heat transfer projects. For instance, you can print a custom design using sublimation techniques on a compatible canvas. This method allows for detailed, full-color graphics that can be blended seamlessly into the fabric. However, ensure that your canvas is treated for sublimation, as not all canvases will work effectively. Following the printed element with a layer of HTV can add protective coatings or textured effects, further enhancing your design’s durability and visual appeal.
Experimenting with Design Techniques
The key to successful customization lies in experimentation. Don’t hesitate to try different combinations of heat transfer materials and techniques. Create stencils from your design, which can be used to paint or apply other effects to the area around the transfer. This adds depth and uniqueness to your project. Furthermore, you can also experiment with distressing techniques post-heat transfer, like lightly sanding the edges or washing the item to soften the overall look.
In essence, the blend of various techniques-layering HTV, integrating sublimation prints, and exploring mixed media approaches-enhances both the aesthetic quality and personal touch of your heat transfer projects. By pushing the boundaries of traditional methods, you can turn standard canvas into extraordinary keepsakes that showcase your creativity and craftsmanship. Each approach provides a unique opportunity to learn and refine your skills, making each project a stepping stone toward mastery in heat transfer customization.
Maximizing Durability of Heat Transfers on Canvas
To ensure the longevity of heat transfers on canvas, a comprehensive approach is essential. The interplay between the type of canvas, heat transfer method, and post-application care significantly influences the durability of your designs. For starters, selecting a high-quality canvas is crucial; opt for materials specifically designed for heat transfer, as these fabrics are engineered to withstand the heat required for optimal application. Ideally, cotton or a cotton-polyester blend will offer the best adhesion and flexibility, maintaining the integrity of both the canvas and the transfer under various conditions.
Preparation and Application Techniques
Before you begin the heat transfer process, proper preparation of both the canvas and the design is key. Ensure that the surface of the canvas is clean and free from dust, dirt, or oils. This can be accomplished by wiping it down with a lint-free cloth. Additionally, preheating your heat press or iron to the recommended temperature for your specific heat transfer material is vital. Overheating can scorch the canvas, while insufficient heat may lead to inadequate adhesion. To enhance durability, consider using a pressing cloth or Teflon sheet to protect your design during application, reducing the risk of damage.
Post-Application Care
Once your heat transfer is complete, how you care for the item will also affect its lifespan. Always follow manufacturer instructions, but generally, it is advisable to wait at least 24 hours before washing the item. When washing, turn it inside out and use cold water with a gentle cycle. Avoid bleach and fabric softeners, which can degrade the transfer’s quality. For drying, air drying is preferred, as high dryer heat can cause the transfer to peel or crack. Storing items away from direct sunlight can further prevent fading, preserving the vibrancy of your designs.
Ultimately, investing time in careful selection, application, and care will ensure that your heat transfers on canvas remain vibrant and intact, showcasing your creativity for years to come. Balancing technique with proper maintenance will not only protect your designs but also enhance the overall quality and longevity of your projects.
FAQ
Q: Can you use heat transfer vinyl (HTV) on canvas?
A: Yes, you can use heat transfer vinyl on canvas. It adheres well when proper heat settings are used. Be sure to select a suitable HTV and follow the manufacturer’s instructions for pressure and temperature. This method is ideal for personalized designs and durable graphics on canvas.
Q: What is the best temperature for heat pressing on canvas?
A: The optimal temperature for heat pressing on canvas typically ranges from 305°F to 320°F (150°C to 160°C). It’s essential to preheat the canvas to remove moisture and ensure even heat distribution, which helps achieve a strong bond between the HTV and canvas.
Q: How do you prevent ghosting when heat transferring on canvas?
A: To prevent ghosting during heat transfer on canvas, ensure that your heat transfer vinyl is well aligned before pressing. Use a cover sheet or parchment paper to protect both the material and your machine. Finally, apply even pressure and avoid moving the heat press while transferring.
Q: Is it necessary to pre-press canvas before heat transfer?
A: Yes, pre-pressing canvas is necessary. This step removes moisture and wrinkles, creating a flat surface for the heat transfer. Pre-pressing usually takes about 5-10 seconds and helps ensure better adhesion and a cleaner finish on your design.
Q: What types of canvas are best for heat transfer applications?
A: The best types of canvas for heat transfer are cotton or cotton-blend canvases. They provide good adhesion and durability when heat pressed. Avoid using heavily textured canvases, as they may not hold the design well and can adversely affect the finished product.
Q: How can I enhance the durability of heat transfers on canvas?
A: To enhance the durability of heat transfers on canvas, consider using high-quality HTV, applying a protective coating post-transfer, and washing the item inside out in cold water. Additionally, allow the transfer to cure for at least 24 hours before washing or using the item.
Q: Can you use a home iron for heat transfer on canvas?
A: Yes, you can use a home iron, but it requires extra caution. Ensure the iron is set to the correct temperature and apply consistent pressure. However, for best results, a heat press is recommended due to its ability to provide even heat and pressure across larger areas.
Q: What common mistakes should be avoided in heat transferring to canvas?
A: Common mistakes include using the wrong temperature, insufficient pressure, and not pre-pressing the canvas. Avoid applying HTV to fabric that hasn’t been prepped properly, as this can lead to peeling or lifting after the transfer is complete. Review tips on avoiding these mistakes in the main article.
To Conclude
As we wrap up our exploration of heat transfer on canvas, remember that with the right techniques and tools, you can create stunning, lasting designs. Now is the time to put your newfound knowledge into practice! If you have any lingering questions or need further assistance, don’t hesitate to check out our detailed guides on fabric types for heat transfer and troubleshooting common issues.
We invite you to explore our collection of resources and tips, perfect for enhancing your crafting skills. Consider signing up for our newsletter for the latest updates and exclusive content that keeps you ahead of the curve in heat transfer applications. Join our community of makers and share your experiences, or drop your comments below-we love hearing from you! Unlock your creativity with confidence, and let’s elevate your projects to the next level.
Get our latest guides, news, and insights highlighted in your Google Search & AI Overviews.