Did you know that microfluidics is revolutionizing fields like medicine, biology, and chemistry by allowing researchers to manipulate tiny amounts of fluids with remarkable precision? If you’ve ever dreamt of setting up your own home lab, this guide will show you how to create a DIY microfluidics workspace with accessible tools and materials. Whether you’re a curious student, a seasoned researcher, or a technical maker, having the ability to experiment with fluid manipulation opens up new avenues for innovation and discovery. This comprehensive resource will not only simplify the setup process but also inspire you to explore the fascinating world of microfluidics. Ready to bring this cutting-edge technology into your home? Let’s dive in and get started!
Microfluidics: An Overview for Beginners
Microfluidics, the manipulation of tiny amounts of fluids, is revolutionizing various fields, making complex biological experiments accessible and efficient. In a world where precision is paramount, microfluidic devices allow researchers to work with fluids at a scale that is not only economical but also fundamentally different from traditional methods. By employing channels that are often less than one millimeter wide, these devices manage volumes ranging from microliters to picoliters, enabling sophisticated biochemical analysis with minimal sample and reagent use. The beauty of microfluidics lies in its versatility; applications can be found in medical diagnostics, environmental monitoring, and even food safety testing.
At its core, microfluidics integrates fluid dynamics, chemistry, and engineering. By utilizing microchannels, these devices enhance processes like mixing, reaction control, and separation. For DIY enthusiasts, this opens a remarkable opportunity to create personalized lab setups that can perform multiplex assays or even complex single-cell analyses. A well-designed microfluidic chip could, for example, analyze blood samples in a fraction of the time required by conventional methods, providing rapid results crucial for patient care.
What excites many about DIY microfluidics is not only the innovation it encourages but also the community aspect it fosters. A burgeoning network of makers and researchers contribute to an open-source paradigm where sharing designs and techniques helps demystify the technology. With the right mindset and resources, anyone can embark on their microfluidic journey-paving the way for discoveries that could lead to significant advancements in science and technology.
As you explore this field, consider the impact of various key factors including fluid properties, channel design, and device fabrication techniques. This understanding lays the foundation for successful applications in your home lab, bridging the gap between theoretical knowledge and practical implementation. Whether you’re a student, a researcher, or simply a curious maker, microfluidics offers a rewarding way to engage with cutting-edge technology right from your workspace.
Key Concepts in Microfluidics
- Fluid Dynamics: Understanding how fluids behave at small scales can dramatically influence your designs and experiments.
- Channel Design: The geometry of microchannels affects flow rates and mixing efficiency.
- Device Fabrication: Techniques such as soft lithography or 3D printing make it feasible to create custom microfluidic devices without a large laboratory setup.
Arming yourself with these fundamentals will not only enhance your capabilities but also unlock the potential for innovative projects in DIY microfluidics.
Essential Equipment for Your Home Lab
To dive into the world of DIY microfluidics, having the right equipment is crucial to successfully create and experiment with your microfluidic devices. You don’t need a fully equipped laboratory; instead, you can assemble a versatile toolkit that will allow you to manipulate fluids at microscale efficiently. Here’s a look at the essential equipment you’ll need to set up your home microfluidics lab.
A reliable micropipette is indispensable for transferring small fluid volumes with precision. Choose a micropipette capable of handling volumes from less than a microliter up to several microliters. This ensures flexibility in experiments and allows you to work with different fluids and reagents effectively. Alongside the pipette, pipette tips are necessary to maintain sterility and prevent contamination.
Next, consider having a pressure controller or a peristaltic pump. These devices allow for controlled flow of fluids through your microchannels, which is crucial for consistent results. For smaller projects, a simple syringe and tubing setup can also work, but for more complex assays, investing in a proper pump will enhance your capabilities.
To visualize your experiments and ensure proper flow within your microfluidic devices, a microscope is essential. A basic digital microscope with appropriate magnification can help you monitor fluid movement and behavior in real-time, allowing for adjustments to optimize your setups. For those interested in more advanced imaging techniques, a fluorescence microscope might be beneficial if your assays involve fluorescent tagging.
Additional Tools and Supplies
To complete your home lab, you’ll also want to stock up on some additional items:
- Microfluidic Chips: Pre-made chips can save time, but you can also fabricate your own using materials like PDMS (polydimethylsiloxane) and silicon.
- Adhesives: Silicone adhesives are helpful for sealing your microfluidic devices and ensuring they are leak-proof.
- Cleaning Supplies: Keep a supply of ethanol or isopropyl alcohol for sanitizing surfaces and tools before experiments.
- Data Logging Equipment: For more advanced projects, consider using sensors and software to log data directly from your experiments.
Preparing your home lab with these essential tools not only makes DIY microfluidics accessible but also empowers you to innovate and experiment at will. As you gather your equipment, remember that the key to successful experiments lies in careful planning and execution, as well as a willingness to learn and adapt as you explore the fascinating realm of microfluidics.
Key Techniques in DIY Microfluidics
To master the art of DIY microfluidics, a solid grasp of key techniques is essential for successfully manipulating fluids at the microscale. One fundamental technique is the use of pressure-driven flow. This approach relies on maintaining differential pressures across the microfluidic channels to drive fluid motion. Utilizing a peristaltic pump or a syringe pump gives you control over the flow rate, which is critical for achieving consistent results in experiments. Calibration of your pump’s pressure is paramount; ensuring that flow rates are stable helps in replicating experiments and obtaining reliable data.
Another pivotal technique involves wetting control, which impacts how fluids interact with channel surfaces. The properties of the channel material, such as hydrophilicity or hydrophobicity, dictate fluid behavior. For instance, modifying the surface chemistry of your PDMS microchannels can promote or inhibit fluid flow. Simple treatments like plasma activation or coating with surfactants can dramatically alter the wettability, allowing for precise control over liquid movement in your microfluidic device.
Implementing mixing techniques is also central in microfluidic applications, especially when precise chemical reactions are required. Passive mixing, which often involves channel geometries designed to enhance turbulence without the need for external forces, is highly efficient for most applications. On the other hand, active mixing, which might use mechanisms like magnetic stirrers or piezoelectric actuators, can significantly improve mixing efficiency for more demanding tasks. Understanding the principles behind these mixing techniques allows for the design of devices that can handle complex biochemical assays.
Lastly, visualization techniques are critical for real-time monitoring of fluid dynamics within microchannels. Employing basic optical microscopy can provide insights into droplet formation or flow patterns. As you become more advanced, integrating fluorescence or digital holographic microscopy enables more intricate analysis, such as tracking particle movement or analyzing chemical reactions within your chips. By mastering these techniques, you can refine your experiments and unlock new possibilities within the exciting realm of DIY microfluidics.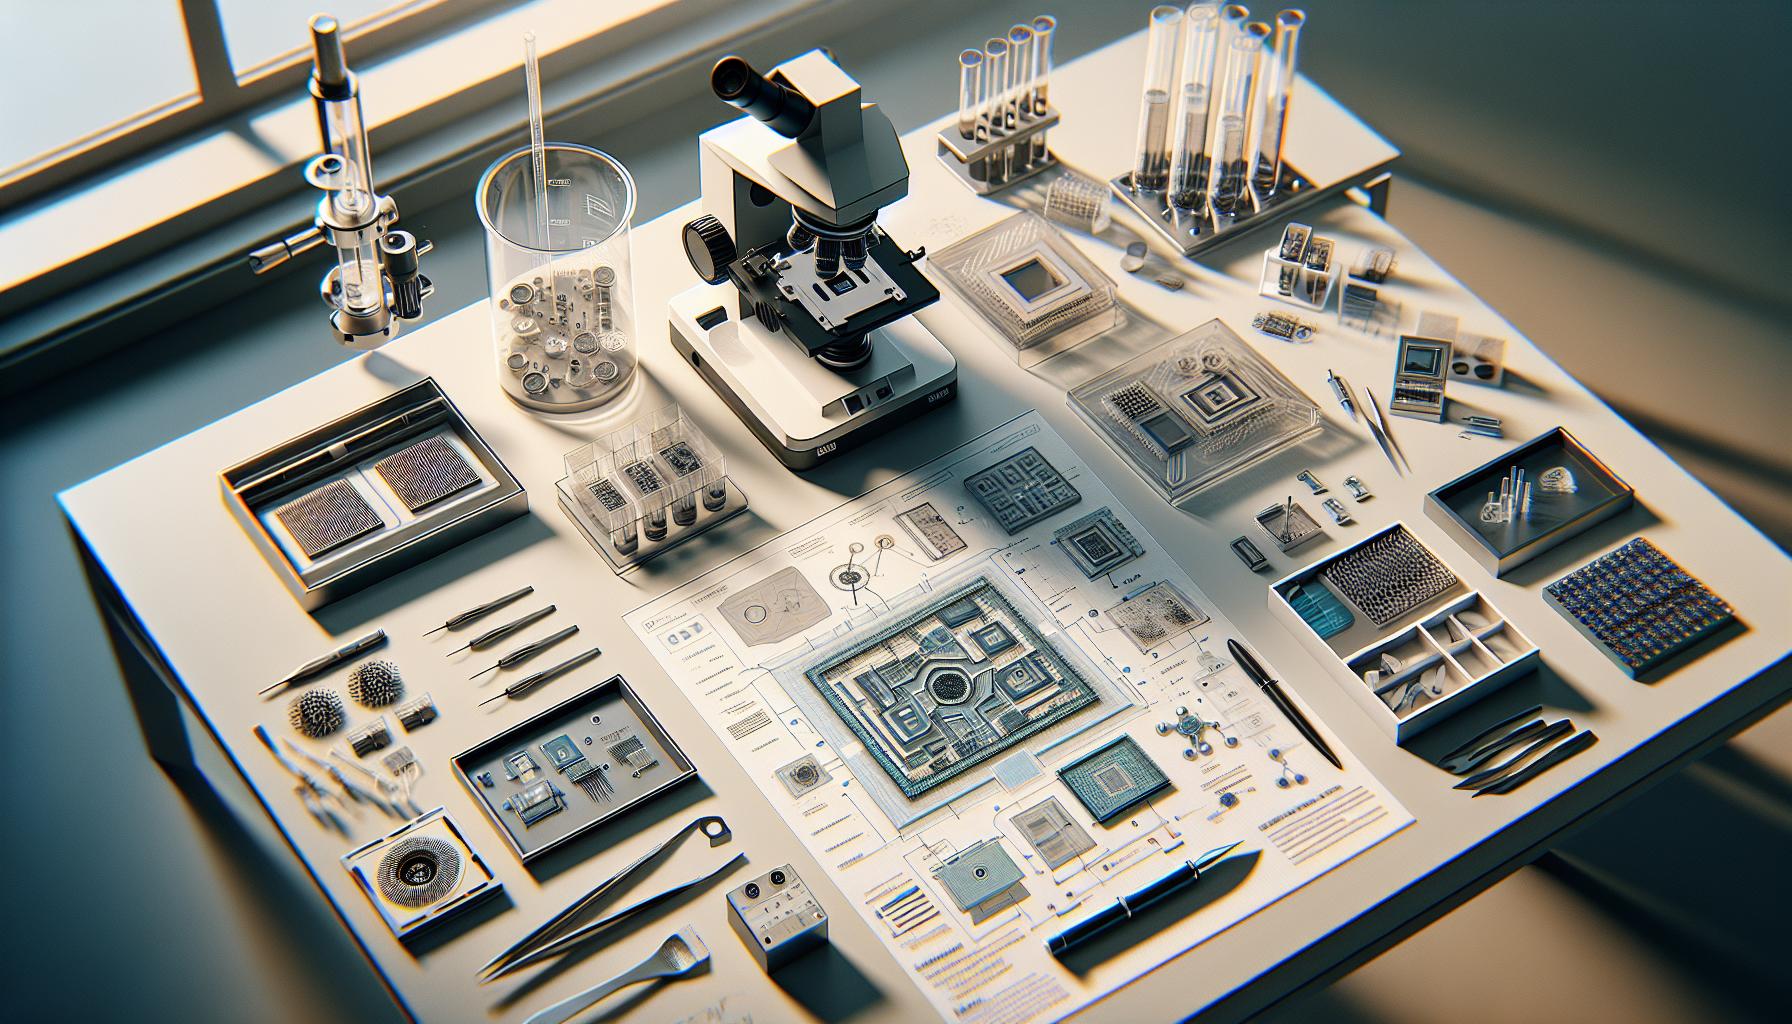
Building Your First Microfluidic Device
is an exciting step into the world of nanoscale fluid manipulation, where you can explore complex chemical reactions and biological assays with precision. The journey typically begins by conceptualizing your design based on the application you have in mind. Whether you’re interested in cell culture, drug testing, or chemical analysis, defining your objective will guide the selection of materials and techniques.
Creating the device itself often involves the use of poly(dimethylsiloxane) (PDMS), a popular choice due to its favorable properties like transparency, biocompatibility, and ease of fabrication. Let’s walk through the core steps to construct your microfluidic chip:
Designing Your Microfluidic Layout
Start by sketching out your microfluidic network using software like AutoCAD or Inkscape. Your design should include channels that will guide fluids, reservoirs for sample input, and any necessary mixing or reaction zones. Think about how the fluids will interact and adjust your channel dimensions accordingly, as even subtle alterations in width or depth can significantly impact fluid dynamics.
Fabrication Process
The next step is to transfer your design onto a silicon wafer, a method that typically involves photolithography or soft lithography. Here’s a simplified overview:
- Spin-Coating: Apply a photoresist layer onto a clean silicon wafer and spin it to ensure even thickness.
- Exposure: Use UV light to expose the photoresist according to your design.
- Development: Remove the unexposed photoresist, leaving a patterned layer.
- Molding: Mix and cure PDMS with a curing agent, then pour it over your patterned silicon and allow it to set.
Once cured, you can carefully peel off the PDMS from the mold, revealing your channel design.
Final Assembly
To complete your microfluidic device, you’ll need to bond the PDMS layer to a glass or another PDMS layer for durability and stability. This can be achieved through plasma treatment, which makes the surfaces tacky and allows for strong adhesion when brought together. You can then drill small holes for inlet and outlet ports, allowing for fluid insertion.
Testing and Optimization
With your microfluidic device assembled, the real fun begins. Start by flushing the device with distilled water to check for leaks and ensure proper flow. Once confirmed, introduce your fluids and observe the behavior under a microscope. Adjust flow rates using a syringe pump or a peristaltic pump, and be ready to tweak your design based on initial results.
Equipped with these foundational skills, you’re positioned to innovate and explore various applications within the microfluidics field. Don’t hesitate to seek out online communities and forums-sharing your findings and seeking advice can expand your knowledge and capabilities dramatically. Each experiment can lead to new insights, paving the way for more advanced projects in the future.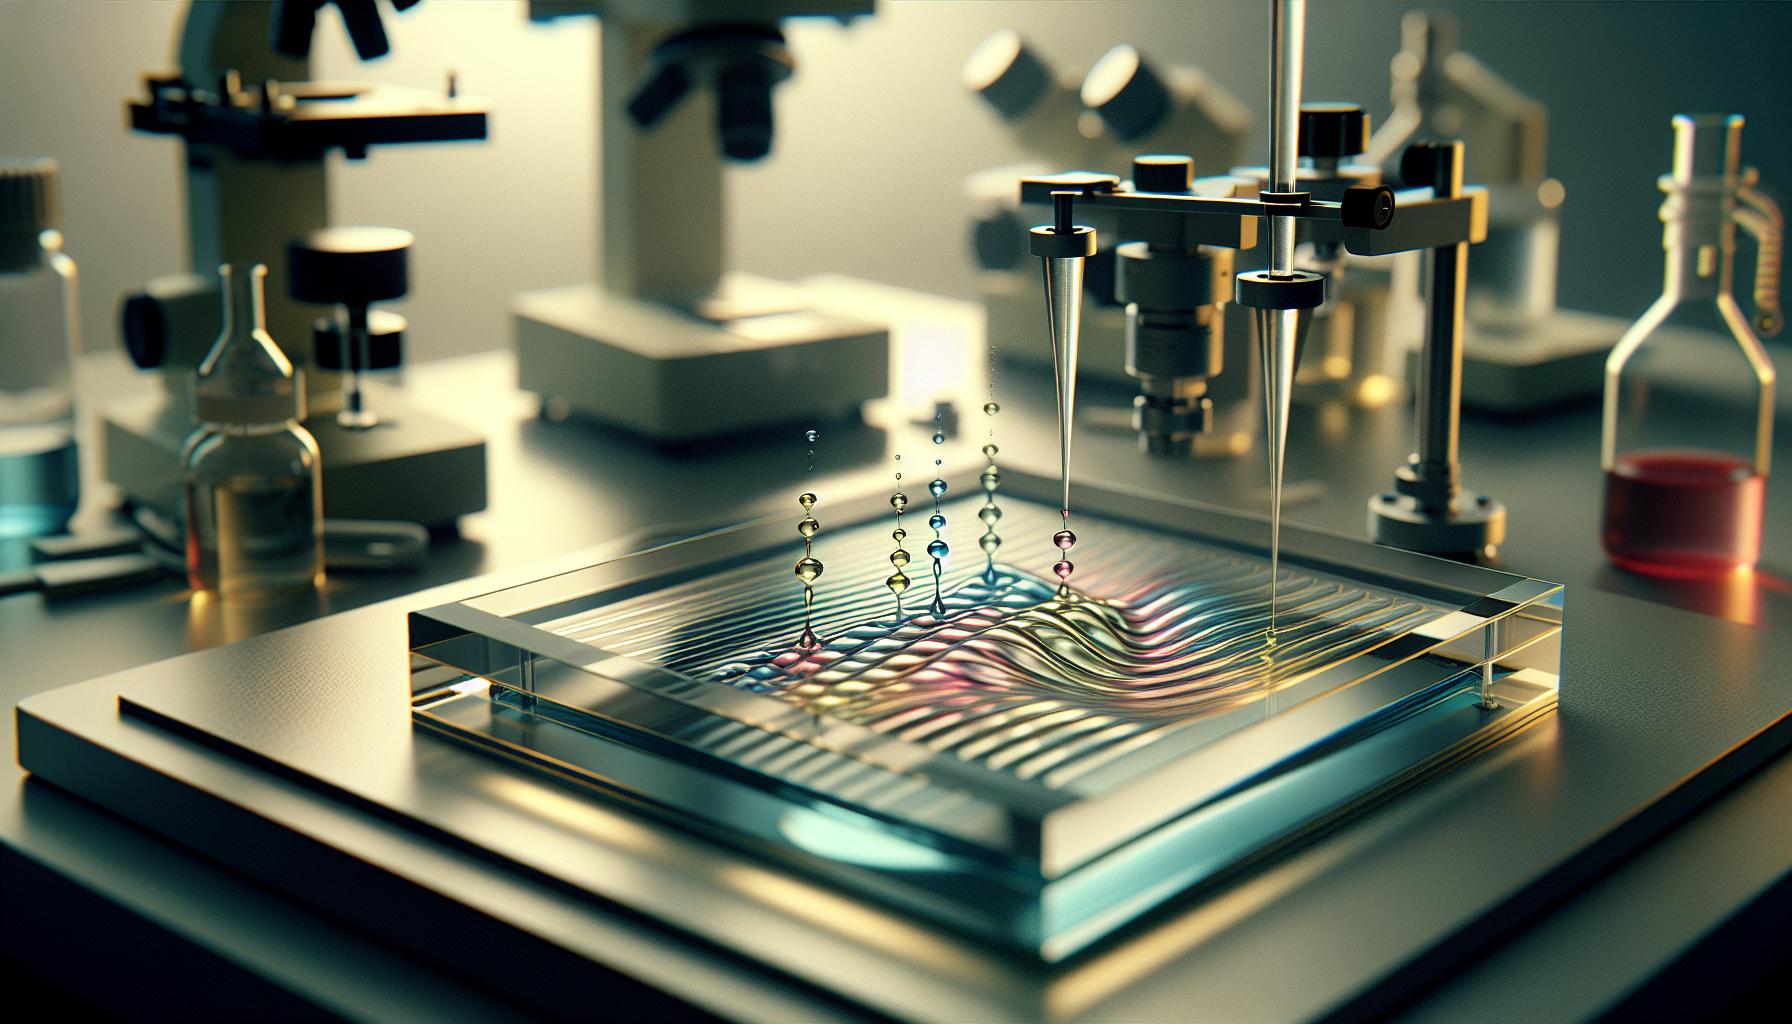
Optimizing Fluid Flow in Microchannels
Fluid flow optimization in microchannels is vital for achieving precise control over reactions and interactions in your microfluidic device. Whether you’re working with biological samples or chemical reagents, understanding the dynamics of your fluid flow can make or break your experiments. A crucial factor here is the interplay between pressure, flow rate, and channel geometry, which can dramatically influence the outcomes of your assays.
One effective strategy for optimizing flow is adjusting the channel dimensions. Narrower channels increase fluid velocity while reducing the volume flow rate, which can be beneficial for rapid mixing in some applications. Conversely, wider channels can slow the flow down, giving cells or reagents more time to interact. Consider using a tapered channel design; this allows for gradual transitions in cross-sectional area, which can help minimize turbulence and enhance laminar flow characteristics, critical for most microfluidic applications.
Employing External Flow Control
Using external pumps, like syringe or peristaltic pumps, can facilitate consistent pressure and flow control. It’s essential to calibrate these devices correctly for your specific application. For example, a syringe pump can provide precise flow rates but might require careful handling to prevent pressure spikes that could disrupt your fluid dynamics. Meanwhile, peristaltic pumps are great for handling more viscous fluids but may introduce pulsations. Ensure that your pump speed aligns with your experimental needs, and consider using flow sensors to monitor and adjust in real-time.
Characterizing Flow Patterns
To truly optimize fluid dynamics, visualization is key. High-speed cameras or fluorescence microscopy can help you capture flow regimes and identify regions of stagnant flow or unwanted vortices. By analyzing these flow patterns, you can make informed adjustments to your channel design or fluid properties. For example, adding surfactants can lower surface tension and assist in promoting a more uniform flow profile, while altering the viscosity of your fluids can also change the flow characteristics.
In summary, achieving optimal fluid flow in microchannels involves a careful balance of channel design, pump selection, and real-time monitoring. By applying these principles, you can enhance the performance of your microfluidic devices, leading to better data and more reliable results. Experiment, iterate, and don’t hesitate to reach out to community forums for shared experiences and recommendations on best practices!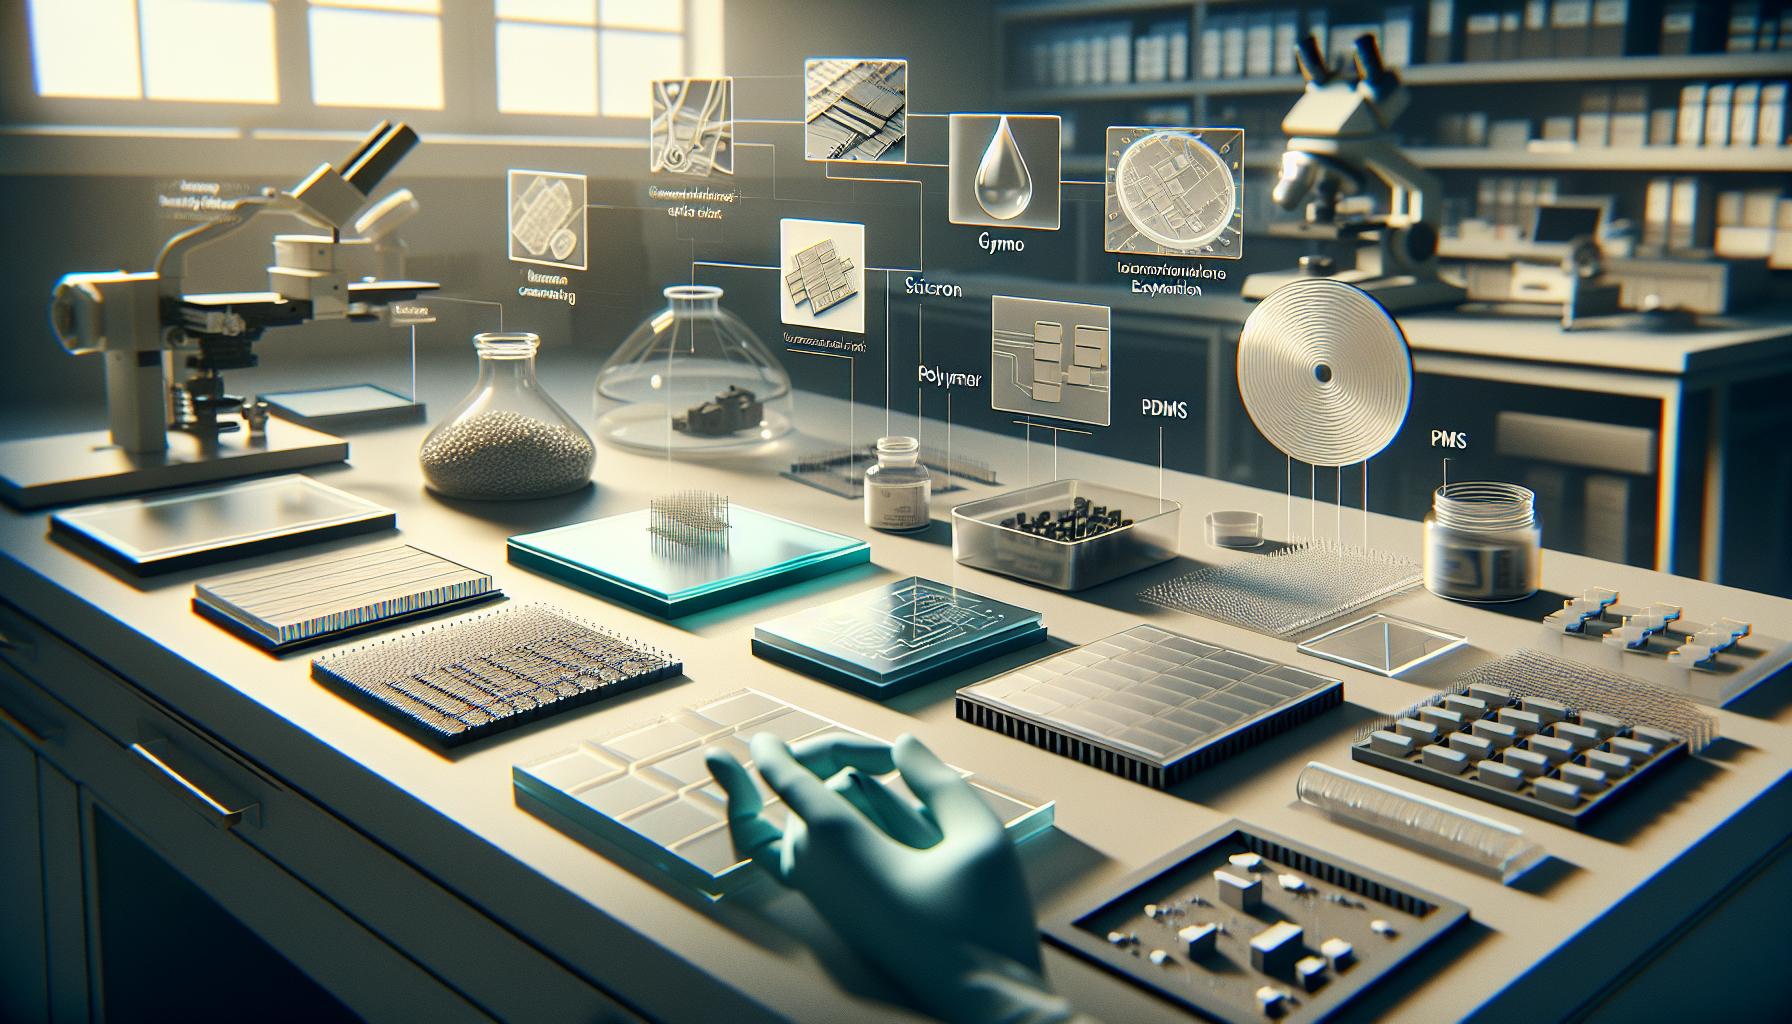
Common Materials for Microfluidic Chip Creation
Creating microfluidic chips requires careful selection of materials that balance ease of use, performance, and compatibility with your experiments. Whether you’re working on a DIY project for a home lab or a more advanced application, understanding the common materials available will streamline your design process and enhance your data quality.
Polydimethylsiloxane (PDMS) is the material of choice for many DIY microfluidics enthusiasts due to its excellent optical clarity, flexibility, and biocompatibility. PDMS can be easily molded, allowing for the fabrication of complex channel designs via soft lithography. This material is particularly popular in biology applications because it can support cell culture without toxicity, making it ideal for experiments involving living cells. However, one must consider PDMS’s hydrophobic nature, which can affect fluid dynamics and may require surface treatments like plasma oxidation to enhance wettability.
Glass is another favored material, known for its durability and high chemical resistance. Glass microfluidic devices excel in applications where harsh chemicals are involved, and they provide excellent optical properties for visual assays. Brands like Schott and Corning manufacture specific glass types designed for microfluidics, but the bonding process (often between glass and silicon) can be more complex than PDMS. A common method of creating glass chips is using anodic bonding, which joins glass to silicon wafers through heat and voltage, a process feasible in well-equipped home labs.
For those seeking a cost-effective alternative, 3D printing materials such as thermoplastics have emerged as an attractive option. Filaments like acrylonitrile butadiene styrene (ABS) or polylactic acid (PLA) can be used to create prototypes quickly, although the dimensional accuracy and surface finish may not always match that of traditional materials. These prototypes are less durable and may require post-processing steps to ensure smooth channel surfaces and proper finishing.
While these materials are among the most common for microfluidic chip creation, innovations in material science continue to open new avenues. Conductive polymers and hydrogels, for example, are gaining attention for their unique properties and potential in advanced applications such as sensing and drug delivery. Integrating these materials could provide exciting opportunities for experimentation in your home lab.
In summary, the choice of material for microfluidic chip creation stems from the specific requirements of your project, encompassing factors like chemical compatibility, fabrication method, and the biological nature of your samples. By exploring these options and understanding their characteristics, you can craft effective devices that meet your experimental needs while navigating the world of DIY microfluidics with confidence.
Troubleshooting Your Microfluidic Experiments
When diving into microfluidics, especially in a DIY home lab setting, encountering problems is almost a rite of passage. Issues can range from fluid flow complications to unexpected chemical interactions, and each one requires careful diagnosis and resolution. Understanding common pitfalls will empower you to troubleshoot effectively, transforming potential frustrations into learning experiences.
One of the most frequent challenges is inconsistent fluid flow within microchannels. Here, it’s vital to examine your material selections and channel dimensions. For instance, if you’re using PDMS, its hydrophobicity may lead to poor fluid retention. Consider treating your channels with plasma or using surface coatings that enhance wettability. Additionally, check if there are blockages; even the smallest debris can disrupt the flow significantly. If you’re using a syringe pump, fluctuations in pressure can also cause inconsistencies. Ensuring it operates smoothly at a steady rate can mitigate this issue.
Another common issue involves leaks, especially when working with glass chips or those bonded with PDMS. If you notice liquid escaping from your device, inspect the sealing methods used. Using suitable adhesives or gaskets can prevent leaks. For glass devices, ensure proper bonding techniques like anodic bonding are employed. If a bond feels weak, re-evaluate the cleanliness of your bonding surfaces-contamination can seriously undermine adhesion.
Finally, consider the compatibility of your fluids and materials. Certain reagents can react with PDMS or glass, leading to altered channel properties or unexpected side reactions. Always refer to material safety data sheets (MSDS) to verify compatibility. Keeping a detailed log of experiments and their outcomes can sharpen your troubleshooting skills over time, helping you to identify patterns and refine your methods.
By addressing these common issues systematically, you can enhance the reliability of your microfluidic experiments and enjoy the creative process of DIY microfluidics with confidence.
Advanced Techniques and Innovations in Microfluidics
Microfluidics is rapidly evolving, driven by innovative technologies that enhance both the capabilities and applications of devices designed for manipulating fluids at a microscale. One of the most exciting advancements in this field is the integration of 3D printing techniques, which allow for the rapid prototyping of complex microfluidic devices. Unlike traditional methods, 3D printing can produce intricate geometries and designs that were once difficult or impossible to achieve. Enthusiasts in DIY microfluidics can now create customized channels and structures tailored to specific experiments, all from the comfort of their home labs.
Additionally, the emergence of smart materials in microfluidics has transformed how fluid dynamics can be controlled. These materials respond to external stimuli such as temperature, pH, or electric fields, allowing for dynamic control over fluid movement and mixing within channels. For example, using hydrogels that swell or shrink in response to changes in temperature can enable automated fluid dispensing or even self-healing channels, enhancing the robustness of homemade devices. This versatility makes smart materials an exciting area for experimentation in DIY microfluidics.
Digital Microfluidics
Another frontier in advanced microfluidics is digital microfluidics, a technique where droplets are manipulated on a surface rather than flowing through fixed channels. This method simplifies the integration of different fluid types and allows for precise control of droplet movement using electric fields. Employing digital microfluidic devices can significantly reduce reagent consumption and streamline processes like mixing, reaction, and detection. DIY builders can explore this technique using inexpensive materials and components, making complex experiments accessible and scalable.
Ultimately, as the field of microfluidics advances, keeping abreast of new technologies and materials is crucial for hobbyists and budding researchers alike. These innovations not only expand the realm of possibilities for experimentation but also facilitate learning about fluid dynamics concepts in a hands-on manner. Embracing these advancements means you can join the forefront of a burgeoning science that combines engineering with biology, chemistry, and material science to unlock new experimental avenues in the home lab setting.
Safety Considerations for Home Lab Work
Creating a home lab for microfluidics can be an exciting journey into the world of fluid dynamics, but it also comes with safety responsibilities that you need to prioritize. Understanding and implementing safety measures ensures that your innovative experiments do not lead to hazardous situations. As you delve into the delicate work of manipulating tiny amounts of liquid, be aware of the potential risks associated with chemicals, sharp tools, and electrical devices.
One of the primary concerns when working with microfluidics is the handling of chemicals. Many microfluidic experiments involve reagents that may be hazardous if inhaled, ingested, or if they come into contact with your skin. To mitigate these risks, consider the following precautions:
- Use Personal Protective Equipment (PPE): Always wear appropriate PPE, including gloves, goggles, and lab coats. This helps protect your skin and eyes from splashes and spills.
- Work in a Ventilated Area: Ensure that your workspace is well-ventilated. If you are using particularly volatile or hazardous substances, consider utilizing a fume hood or a designated safety cabinet.
- Label Everything: Clearly label all chemicals and solutions. Utilize a color-coded system or warning labels to signify hazardous materials within your workspace.
Additionally, electrical safety is crucial when using equipment such as pumps or heaters in your microfluidics projects. Always handle electrical devices with care to avoid malfunctions that could cause injury or damage:
Electrical Safety Tips
- Inspect Equipment: Regularly check wires, plugs, and devices for damage. Never use equipment with exposed wiring.
- Keep Water Away: Ensure that no liquids come into contact with electrical devices. Water and electricity do not mix, and spills can create dangerous conditions.
- Know Emergency Procedures: Familiarize yourself with emergency shut-off procedures and know the location of any circuit breakers or emergency exits in your workspace.
Finally, it’s essential to have a plan in place for dealing with accidents or spills. Keep a well-stocked first aid kit and spill clean-up materials readily accessible. Inform anyone who works in your lab of the emergency procedures and how to contact help if necessary. Remember, a proactive approach to safety not only protects you but also enhances your ability to focus on the joys of discovery in your home microfluidics lab.
Case Studies: Successful DIY Microfluidics Projects
Many hobbyists and researchers have embarked on the exciting journey of DIY microfluidics, leading to a wide range of innovative projects. These case studies illustrate not only the creative applications of microfluidic technology but also the potential for breakthroughs in various fields, from biomedical research to environmental monitoring.
One impressive project involved creating a microfluidic device for DNA analysis using a 3D printer. Researchers designed a chip with multiple channels to conduct parallel experiments on genetic samples. By utilizing affordable materials like PDMS (polydimethylsiloxane) and employing standard laboratory equipment, they achieved cost-effective results comparable to commercial systems. This project showcased how accessible technology can enable users to perform intricate biological analyses at home, significantly lowering the barrier to entry for genetic research.
Another noteworthy example is a team that developed a microfluidic platform for point-of-care diagnostics. By integrating colorimetric assays within microchannel devices, they successfully enabled rapid detection of diseases such as malaria and COVID-19. This project was not just a demonstration of technical skill but also highlighted the importance of designing for user experience; they included simple visual readouts, making it easier for health practitioners with limited lab training to utilize the devices effectively. Such innovations underscore the promise of DIY microfluidics in addressing global health challenges in resource-limited settings.
These examples emphasize the critical role of creativity and resourcefulness in developing successful DIY microfluidics projects. As you explore similar avenues, consider the following tips drawn from these cases:
- Start Simple: Focus on a single application before scaling up. Mastering fundamental techniques will provide a strong foundation for more complex projects.
- Network with Others: Engaging with local or online communities can provide valuable feedback and inspire collaboration on future projects.
- Document Your Process: Keeping detailed records of your experiments, from challenges faced to solutions found, will not only aid your understanding but can also contribute to the broader DIY microfluidics community.
By leveraging the lessons learned from these successful ventures, you, too, can embark on your microfluidics journey with confidence and innovation. Whether your goal is to explore new scientific frontiers or to develop practical solutions to everyday problems, the potential for discovery in DIY microfluidics is vast and inspiring.
Resources and Communities for Enthusiasts
In the world of DIY microfluidics, connecting with the right resources and communities can significantly enhance your experience and progression. With a myriad of online forums, social media groups, and informational websites devoted to microfluidics, enthusiasts and learners alike have plenty of platforms to explore. One of the most valuable aspects of these communities is the collaborative spirit; sharing experiences, troubleshooting, and exchanging ideas can lead to breakthroughs that an individual working alone might overlook.
Online platforms like Reddit and research forums host specific subreddits and threads dedicated to microfluidics. Engaging in these discussions can provide insights on everything from affordable sources for materials to advanced techniques being trialed in real-world projects. For instance, the subreddit r/microfluidics often showcases user projects and invites feedback, acting as a resource pool for both novice and experienced practitioners. Another fantastic resource is platforms like ResearchGate, where researchers share publications, results, and their methodologies, fostering a collaborative environment where you can glean insights directly from ongoing scientific endeavors.
Networking Opportunities
Participating in workshops, webinars, and local maker fairs is a hands-on way to learn and network. These events often feature demonstrations of microfluidic techniques and equipment, allowing you to see the technology in action and engage with experts. Websites like Meetup.com can help you find local groups of like-minded individuals interested in microfluidics or broader science and engineering topics. Additionally, organizations such as the Microfluidics Society host annual conferences that offer opportunities to connect with pioneers in the field, exchange knowledge, and even present your own work.
Furthermore, don’t underestimate the power of social media for community building. Platforms like Facebook and Instagram host groups and pages where enthusiasts share their projects and discuss challenges. Following relevant hashtags can also lead to discovering innovative techniques and materials that others are using. Joining these groups not only enriches your learning but also provides support and motivation throughout your DIY microfluidics journey.
Educational Resources
There are comprehensive educational resources available online to deepen your understanding of microfluidics. Websites such as EdX or Coursera offer courses from reputed institutions that cover the principles of microfluidics and practical applications, often including hands-on projects. YouTube is another treasure trove, where you can find tutorials and lectures by experienced practitioners who break down complex concepts into understandable formats.
As you navigate your DIY microfluidics projects, leverage these resources to stay informed, get inspired, and connect with a community that shares your passion. By actively engaging with these networks, you can discover new techniques, troubleshoot issues, and potentially collaborate on exciting projects that push the boundaries of microfluidics applications.
Future Trends in DIY Microfluidics
The landscape of DIY microfluidics is evolving rapidly, promising exciting developments that empower hobbyists and researchers alike. One of the most notable trends is the increased accessibility of advanced materials and fabrication techniques. Innovations in 3D printing and soft lithography are enabling makers to produce high-quality microfluidic devices at home, often at a fraction of the cost of commercially available alternatives. As tools become more user-friendly and affordable, you can expect to see a surge in creatively designed, custom microfluidic chips that cater specifically to niche applications.
Moreover, the integration of automation in microfluidic experimentation is a game changer. Open-source platforms are emerging, allowing DIY enthusiasts to automate fluid control and data collection processes. This not only streamlines the workflow but also enhances the reproducibility of experiments, a critical aspect for anyone serious about their DIY projects. Systems such as Arduino-based controllers are being adapted for microfluidics, making it simpler for individuals to set up complex experimental designs without requiring extensive programming knowledge.
Another key trend is the focus on sustainability and eco-friendliness. As awareness of environmental issues grows, more DIY microfluidics projects are adopting biodegradable materials and sustainable practices. For instance, researchers and makers are exploring the potential of using natural polymers and environmentally safe solvents in the fabrication process. This shift towards greener practices not only aligns with global sustainability goals but also opens new avenues for innovative applications in biomedicine and environmental monitoring.
In the realm of community-driven knowledge exchange, we are seeing a proliferation of online resources and platforms specifically for microfluidics enthusiasts. Forums and social media groups dedicated to sharing insights, troubleshooting tips, and collaborative project showcases are flourishing. This supportive network allows individuals to tap into collective wisdom, accelerating their learning curve and fostering an enthusiastic DIY culture around microfluidics.
As these trends continue to unfold, it’s clear that the future of DIY microfluidics will be characterized by greater accessibility, automation, sustainability, and community engagement. Embracing these changes will not only enhance your experimental outcomes but also enrich your overall experience in this dynamic field.
Frequently Asked Questions
Q: What basic materials do I need for DIY microfluidics at home?
A: For a DIY microfluidics lab, essential materials include polymer substrates like PDMS, syringes for fluid transfer, and microchannels created from laser-cut or 3D-printed designs. You may also need tubing and connectors to facilitate fluid movement. Check the section on Common Materials for Microfluidic Chip Creation for more insights.
Q: How can I improve fluid flow in my microfluidic devices?
A: To enhance fluid flow, ensure smooth channel designs free of sharp bends. Optimize channel dimensions-narrower widths can increase velocity. Employ pressure-driven flow or use peristaltic pumps for better control. Refer to Optimizing Fluid Flow in Microchannels for detailed techniques.
Q: What safety precautions should I take when working with microfluidics at home?
A: Always wear personal protective equipment (PPE) such as gloves and goggles to protect against chemicals. Maintain a well-ventilated workspace, and be aware of the materials you are using. Consult the Safety Considerations for Home Lab Work section for specific guidelines and best practices.
Q: Can I use household items for microfluidic devices?
A: Yes, many household items can be repurposed! Items like syringes, plastic containers, and glue can be useful. Experimenting with kitchen supplies can also lead to innovative solutions. Check your Essential Equipment for Your Home Lab for ideas on alternative materials.
Q: Are there any online communities for DIY microfluidics enthusiasts?
A: Absolutely! Join forums and social media groups focused on microfluidics and DIY science projects. Platforms like Reddit and industry-specific sites often host vibrant communities, sharing tips and experiences. Explore the Resources and Communities for Enthusiasts section for direct links.
Q: What are the most common troubleshooting tips for microfluidic experiments?
A: Common troubleshooting tips include checking for clogs in the channels, ensuring consistent pressure during experiments, and verifying the seal integrity of your microchip. These issues often lead to unexpected results. For a comprehensive list, see the Troubleshooting Your Microfluidic Experiments section.
Q: How do I know if my microfluidic device is functioning correctly?
A: Verify functionality by conducting test runs with known fluids. Observe flow rates and check for leaks. If results are inconsistent, revisit your design and materials. The Building Your First Microfluidic Device section offers insights on validation techniques.
Q: What advanced techniques can I explore once I master basic microfluidics?
A: After mastering basics, consider exploring lab-on-a-chip technologies, biological assays, or 3D microfluidics for more complex experiments. These areas open up diverse applications in healthcare and diagnostics. Dive into the Advanced Techniques and Innovations in Microfluidics section for advanced concepts and methods.
Final Thoughts
Congratulations on taking the first step toward revolutionizing your home lab with DIY microfluidics! By mastering the setup techniques presented in “Do It Yourself Microfluidics: Home Lab Setup Made Easy,” you’re not just learning a skill-you’re unlocking a world of possibilities for innovative experimentation and discovery.
Now that you’re equipped with the basics, don’t stop here! Dive deeper into our resources on microfluidic device design and fabrication techniques to elevate your projects further. Check out our guides on advanced applications and essential tools that can enhance your microfluidic experiments.
Ready to share your progress or have questions? Join the conversation in the comments or connect with our community. Don’t miss out on exclusive insights-subscribe to our newsletter for the latest updates. Your next great experiment starts now; embrace the challenge and take action today!
Get our latest guides, news, and insights highlighted in your Google Search & AI Overviews.