Layering heat transfer vinyl (HTV) can unlock a world of creative possibilities in apparel design, allowing you to achieve stunning, multi-dimensional effects. Many crafters and professionals alike seek to enhance their projects with layered designs, but uncertainties often arise regarding the best practices for achieving flawless results. Understanding how to layer HTV effectively not only elevates your creations but also ensures durability and longevity in the finished product. Have you ever wondered if certain materials can withstand the heat of the press, or how to prevent bubbling and peeling in layered designs? This article will guide you through expert insights and practical tips to help you master the art of layering heat transfer vinyl, so you can confidently bring your vision to life.
Understanding Heat Transfer Vinyl Basics
Understanding heat transfer vinyl (HTV) is crucial for anyone looking to dive into custom apparel decoration or DIY projects. HTV is a versatile material that allows you to transfer intricate designs onto fabric using heat and pressure. Typically, HTV comes in sheets or rolls and features an adhesive backing that activates when subjected to high temperatures. This unique property makes it easy to create vibrant designs on various textiles, from t-shirts to tote bags. However, it’s important to note that the quality and type of HTV can greatly affect your project’s outcome, which is why understanding the basics is the first step toward achieving professional-looking results.
There are several types of heat transfer vinyl available, each designed for different applications and materials. The most common types include standard HTV, glitter HTV, metallic HTV, and specialty HTV, like flock or patterned options. Choosing the right type is essential depending on the look you want to achieve and the fabric you’re working with. While standard HTV is great for general use, glitter and metallic HTV add texture and shine, perfect for eye-catching designs. Specialty HTV can offer unique finishes and textures that may enhance the overall aesthetic of your projects.
When layering HTV, it’s critical to understand compatibility among different types of vinyl. For example, using a standard HTV as a base layer and layering glitter HTV on top generally yields good results because the heavier glitter doesn’t affect the adhesive of the standard layer underneath. However, not all HTVs adhere well to one another, which might lead to peeling or lifting. Thus, conducting a small test before committing to a design can save time and materials.
In summary, a solid grasp of HTV types and their layering compatibility will empower well-thought-out decisions in your crafting projects. By selecting the right materials and applying them correctly, you’ll be well on your way to creating stunning designs that last and capture attention.
Types of Heat Transfer Vinyl: Which One to Choose?
When venturing into the world of heat transfer vinyl (HTV), selecting the right type is crucial for ensuring success in your projects. Each variant offers distinct qualities that can significantly influence the final appearance and durability of your designs. Knowing the unique properties of each type empowers you to make informed decisions tailored to your vision and the specific materials you are working with.
Common Types of Heat Transfer Vinyl
- Standard HTV: The workhorse of the HTV world, standard HTV is ideal for basic designs and general projects. Available in a variety of colors and finishes, it adheres well to cotton, polyester, and blends, making it versatile for many applications.
- Glitter HTV: For those looking to add sparkle to their creations, glitter HTV is the go-to choice. With its textured surface, it not only catches the eye but also adds a layer of tactile interest. Keep in mind that it may require a slightly higher temperature for application, so always check the manufacturer’s instructions.
- Metallic HTV: If you want your designs to have a shiny or reflective finish, metallic HTV is perfect. It elevates designs with an elegant sheen, making it suitable for fashion statements or vibrant graphics. It can adhere to various fabric types but may also need specific pressure and temperature settings.
- Flock HTV: This type offers a soft, velvety texture and a rich appearance. Flock HTV is great for designs that benefit from a more luxurious finish and is commonly used for sports apparel or any projects where a raised look is desired.
- Printable HTV: This allows you to print custom designs directly onto the HTV, enabling high-resolution images and intricate details. It’s essential for producing full-color graphics but requires the use of an inkjet printer and a clear adhesive mask for application.
- Specialty HTV: There are also many niche products, such as patterned HTV or thermal transfer options, designed for specific uses and fabrics. These can be great for personalized projects or targeted applications.
Choosing the appropriate HTV not only affects the look but also the longevity and feel of your finished item. When layering HTV, it’s vital to consider the thickness and texture of the vinyl types involved. For instance, layering standard HTV beneath glitter HTV often works seamlessly because of the adhesive strengths and compatibility of the materials. Conversely, mixing incompatible types can lead to peeling or poor adhesion, highlighting the importance of conducting a small test application before diving into larger projects. By understanding these nuances and how each type can coordinate with others, you’ll be strategically positioned to create stunning, layered designs that stand out.
Can You Layer Different Colors of HTV?
When it comes to layering different colors of heat transfer vinyl (HTV), the answer is a resounding yes! Layering allows you to create stunning, multi-dimensional designs that can really enhance the visual appeal of your projects. However, to achieve the best results, there are several important considerations to keep in mind.
Firstly, compatibility is key. Not all types of HTV adhere well together, especially when it comes to their thickness and application temperature. For instance, standard HTV layers underneath glitter HTV typically work well since their adhesives are complementary. On the other hand, layering thick materials on top of thin ones can lead to poor adhesion and peeling. To ensure your colors stick, it’s a good practice to conduct a small test application before you commit to your entire project. This can save you time and materials in the long run.
As you layer different colors, consider the order of application. The general rule is to start with the bottom layer first, applying one color at a time and allowing it to cool before adding the next. This sequential layering helps maintain the integrity of each layer and ensures even heat distribution. Additionally, be mindful of the heat settings for each type of vinyl used. For example, some colored HTVs may require lower application temperatures to prevent scorching while others, like glitter HTV, may need slightly higher temperatures.
Lastly, don’t forget about the design itself. When layering, opt for colors that create contrast to keep your design bold and distinct. Dark colors can provide a striking backdrop for brighter shades, enhancing the overall aesthetics. By keeping these tips in mind, you can successfully layer different colors of HTV, creating designs that not only look great but also stand the test of time.
Best Practices for Layering HTV Effectively
Layering heat transfer vinyl (HTV) can transform a simple design into a striking piece of art. To successfully achieve vibrant and multi-dimensional designs, there are some best practices to follow that will enhance both the application process and the longevity of your creations.
Start by ensuring that the types of HTV you choose are compatible. Different materials often have specific temperature and time requirements for application, which can drastically affect adhesion. For instance, thinner standard HTV tends to work well beneath thicker specialty materials like glitter or flock. Always check the manufacturer’s guidelines for each vinyl type, and if possible, conduct a test pressing on scrap fabric to refine your approach before proceeding to your final piece.
When layering, it’s crucial to apply the layers in the correct sequence. Begin with the bottom layer first, allowing it to cool completely before adding the next layer. This cooling process helps to prevent the transfer of heat to previously applied layers, which can interfere with adhesion and cause distortion in the design. Additionally, use a heat resistant cover sheet between the heat press and your vinyl to distribute heat evenly and protect your materials from scorching or sticking to the machine.
Another key consideration is the design itself. Choose a color palette that contrasts well, enhancing the visibility of each layer. Dark shades can make brighter colors pop, while lighter shades can create a soft, elegant look against darker backgrounds. Incorporate varying textures to add depth and visual interest, but remember that balance is essential; too many colors and layers may make the design feel cluttered and overwhelming. By following these practices, your layered HTV projects will not only look fantastic but also endure through many washes, giving them a longer lifespan.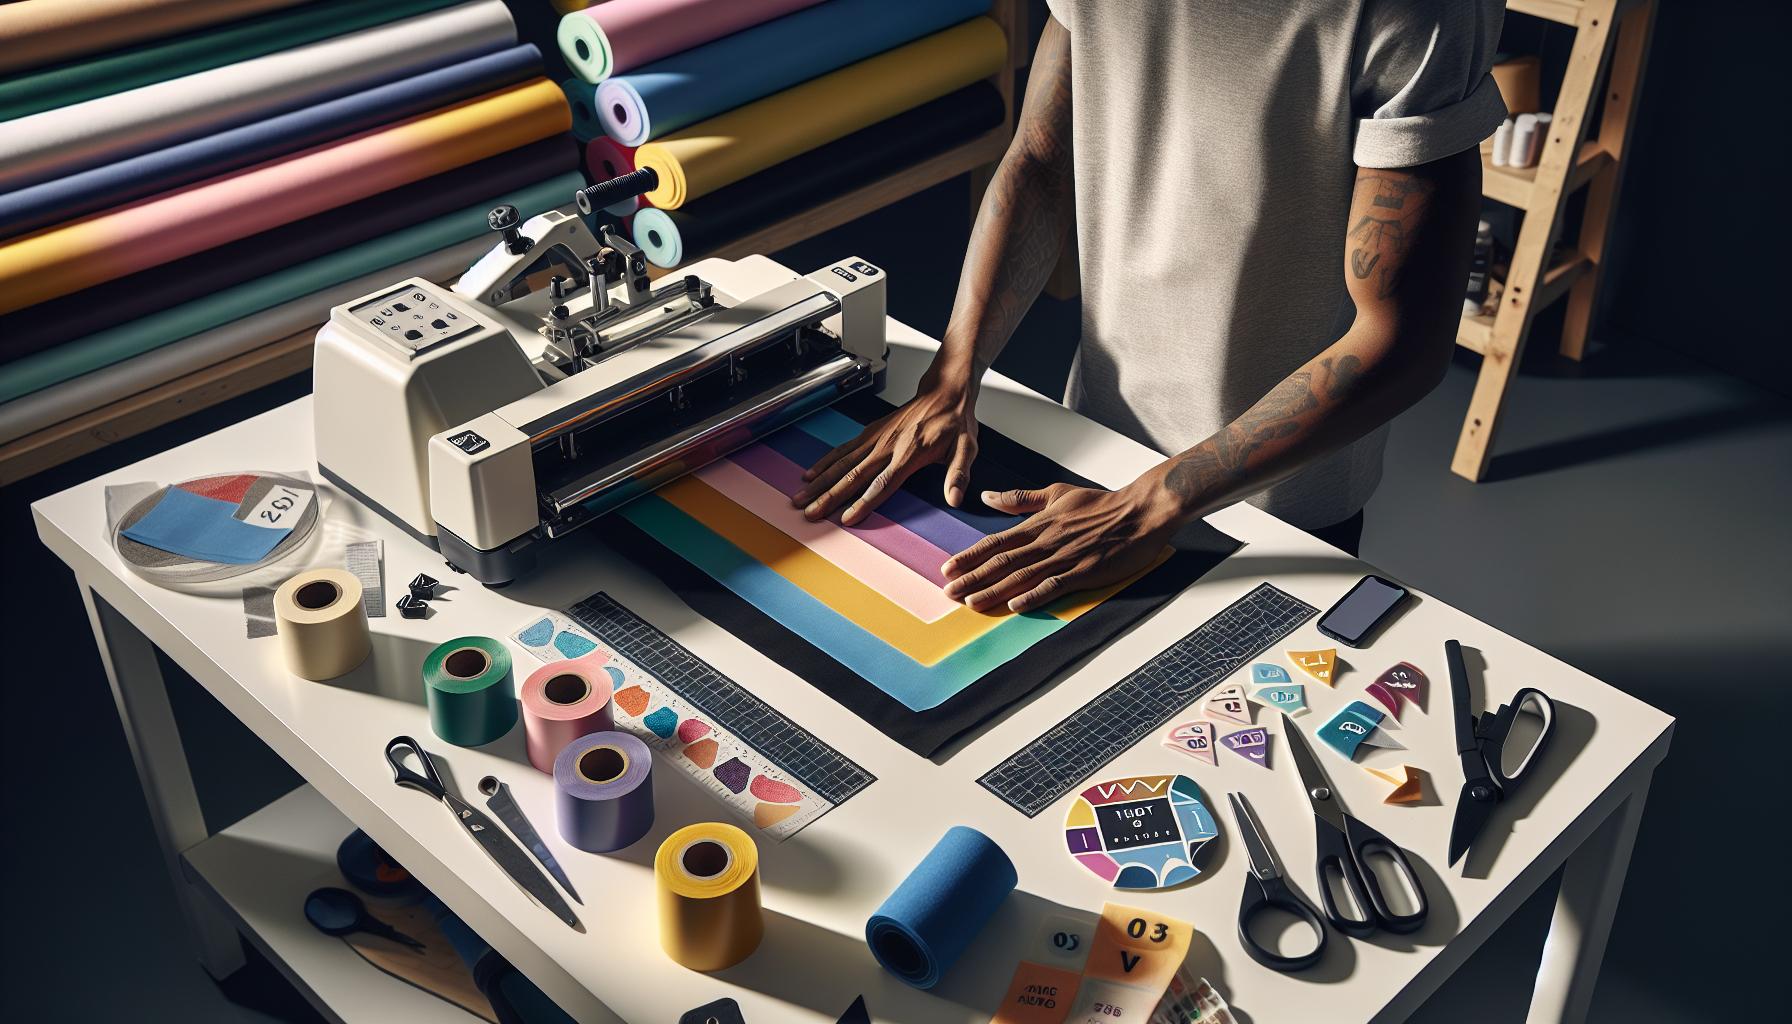
Temperature and Pressure: Key Factors for Success
Maintaining the correct temperature and pressure when working with heat transfer vinyl (HTV) is critical for achieving high-quality layered designs. Each type of HTV has its unique requirements, and understanding these can make the difference between a successful application and a frustrating failure. Generally, the recommended temperature range for most standard HTVs is between 285°F to 320°F (140°C to 160°C). However, specialty materials like glitter or flock may require higher temperatures. Always consult the specific manufacturer’s guidelines, as deviations can lead to improper adhesion or even damage to the material.
In addition to temperature, pressure plays a crucial role in the bonding process of HTV. When layering, adequate pressure ensures that each layer adheres properly to the underlying vinyl. Typically, a medium to firm pressure is ideal. A heat press is often preferred for this purpose since it provides consistent temperature and pressure across the entire design. If you’re using a household iron, it may be more challenging to evenly distribute pressure, which can result in uneven adhesion or bubbling. In these cases, using a cover sheet can help distribute heat evenly and protect the vinyl from direct contact with the iron.
It’s also important to realize that timing is equally vital. Each layer of HTV must be pressed for the correct duration to ensure it bonds without damaging previous layers. If a layer is under-pressed, it might lift during the washing process; conversely, over-pressing can scorch the vinyl, altering its appearance or texture. Adopting a systematic approach-pressing each layer according to the times recommended by the manufacturer and allowing for cooling periods-can dramatically enhance your results. Thus, mastering the interplay of temperature and pressure will not only improve the aesthetic quality of your layered HTV projects but also extend their longevity through many washes.
Ultimately, experimentation and experience will hone your skills. Consider keeping a detailed log of your settings for future reference, noting what worked well or required adjustment. This practice can streamline your process for upcoming projects and lead to even more impressive creations!
Tools You Need for Layering HTV
When delving into the world of layering heat transfer vinyl (HTV), possessing the right tools is essential for achieving flawless results. The process requires precision, whether you’re creating intricate designs or bold graphics. Here’s a rundown of the crucial tools that will elevate your layering game.
Heat Press
A quality heat press is arguably the most important tool for layering HTV. Unlike a household iron, which can make it difficult to maintain consistent pressure and temperature, a heat press allows you to set precise settings tailored to specific types of vinyl. Look for a model that offers adjustable temperature and pressure settings to accommodate various HTV brands and materials.
Weeding Tools
Weeding tools are indispensable for removing the excess vinyl after cutting your designs. A combination of different tools-a weeding hook, tweezers, and a spatula-can help you pick out intricate details without damaging your design. Investing in a lighted weeder is also useful, particularly for working with smaller or more complex cuts.
Heat-Resistant Cover Sheets
Using a heat-resistant cover sheet during application helps protect your HTV from direct heat, which can prevent scorching and ensure even distribution of heat across the design. This layer acts as a barrier, also reducing the risk of sticking during pressing.
Cutting Machine
A reliable cutting machine is essential for precision when creating layered designs. Whether you use a Cricut, Silhouette, or another brand, ensure that your machine settings are calibrated correctly for the thickness of the vinyl you are using. This adjustment is vital for clean cuts that simplify the weeding process.
Chalk or Fabric Markers
Before layering, you might need to mark fabric for alignment purposes. Chalk or fabric markers will enable you to create guides without damaging the base material. Because they wash out easily, they won’t interfere with your final design, making them a must-have for precise layering.
Heat Transfer Vinyl Variety
Finally, having a variety of HTV types on hand-glitter, smooth, flocked, and metallic-will allow you to experiment with textures and finishes in your designs. Each type has different application requirements, so familiarize yourself with their specific settings to ensure success.
With these tools at your disposal, layering HTV can become a straightforward and enjoyable process, as you refine your skills and expand your creative possibilities. Always remember that practice makes perfect, so don’t hesitate to experiment and document your techniques for future projects!
Step-by-Step Guide to Layering HTV
When it comes to layering heat transfer vinyl (HTV), a structured approach can lead to impressive and professional-looking results. Here’s a step-by-step guide that simplifies the process, ensuring you achieve seamless layers without compromising the integrity of your design.
Start by preparing your workspace and materials. Ensure you have your pre-cut HTV layers ready, with the designs weeded to remove excess vinyl. Clear your workspace of clutter to allow for easy maneuvering, and lay out each layer in the order they will be applied. Utilizing chalk or fabric markers can help you mark alignment points on the fabric, ensuring your layers will line up perfectly every time.
Once your layers are prepped, set your heat press to the appropriate temperature. For most HTV, a setting around 160°C (320°F) is effective, but always check individual vinyl specifications as they may vary. Preheat your fabric for a few seconds to remove moisture and wrinkles, which helps in achieving a better bond. Start with your first layer: position it on your surface, cover it with a heat-resistant cover sheet, and press down for the recommended duration, which is typically 10-15 seconds. Allow it to cool slightly before peeling off the carrier sheet.
Repeat this process for each layer, adjusting your pressing time as necessary based on the type of HTV you are using. For layering, it’s important to remember to use lower pressure and shorter pressing times for each successive layer to avoid overheating and damaging the vinyl beneath. By gradually building up your design, you can create a multi-dimensional look while ensuring each layer adheres securely.
Lastly, once all layers are applied, give a final press for 15-20 seconds to ensure everything is securely bonded. Allow the design to cool completely before wearing or washing it. This step enhances the longevity of your design, making it resilient to wear and tear. With practice, layering HTV can transform simple projects into eye-catching statements, expanding your creative horizons with every design!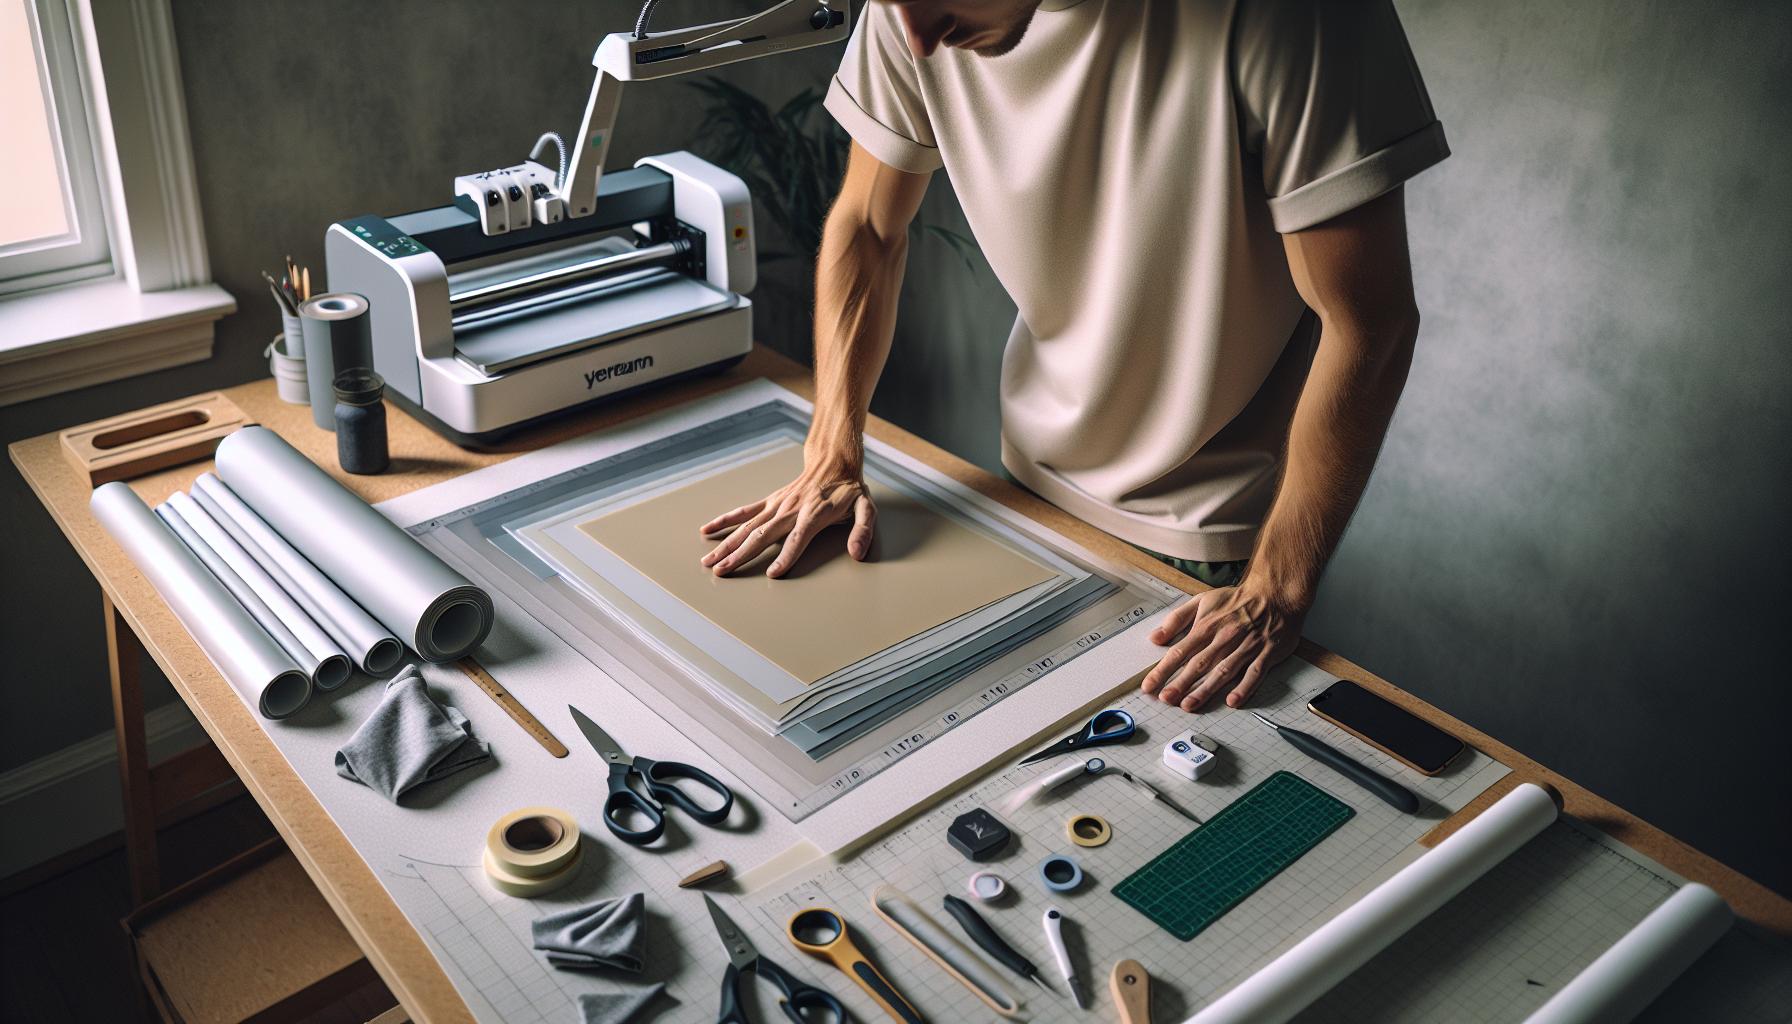
Troubleshooting Common Layering Issues
Common challenges can arise when layering heat transfer vinyl (HTV), but understanding these issues empowers you to troubleshoot effectively. Many newcomers experience problems such as vinyl lifting, bubbling, or inconsistent adhesion, which can detract from the overall appearance of your design. One of the most critical factors is ensuring that each layer adheres properly without compromising those beneath it.
Adhesion Issues
Lifting during the peeling phase is a frequent problem, often caused by insufficient pressure or temperature settings on your heat press. Always ensure that your heat press is calibrated correctly; inadequate pressure can result in layers not bonding well. If you’re encountering this, consider adjusting the pressure or increasing the pressing time slightly for better adherence. Additionally, it’s vital to follow the manufacturer’s instructions for each specific type of HTV being used, as different materials may require varying conditions.
Bubble Formation
Another common issue is bubbles forming under the vinyl. This occurs largely due to moisture trapped beneath the vinyl during application. To mitigate this, always preheat your garment briefly before applying the vinyl to help evaporate any moisture. Furthermore, if you notice bubbles after pressing, you can gently puncture them with a pin and carefully re-press, using a Teflon sheet to smooth out the surface.
Layer Misalignment
Misalignment when applying multiple colors can also disrupt your design’s cohesiveness. Utilizing registration marks or alignment guides on your designs can help maintain consistent layering. It’s also beneficial to lay out your HTV layers in order before adhering them, giving you a clear visual of how each piece fits together. If you find errors in alignment after the application, it can sometimes be tricky to correct, but minor adjustments while the vinyl is still warm can provide some flexibility.
By addressing these common issues proactively, you can enhance the integrity of your layered HTV designs. Practice and patience will lead you to mastery in creating stunning layered projects that showcase your creativity effectively.
Popular Design Ideas for Layered HTV Projects
Creating layered heat transfer vinyl (HTV) designs opens a world of creative possibilities, allowing you to bring intricate and vibrant ideas to life. By strategically layering different colors and textures, you can produce stunning visual effects that elevate your projects, from simple shirts to elaborate custom apparel. Let’s explore some popular design ideas that can inspire your next layered HTV creation.
One of the most effective ways to utilize layering is by creating multi-dimensional graphics. For example, consider designing a floral motif where the flower petals are cut from varying shades of the same color family. By layering these petals, each piece stands out yet flows harmoniously with the others, adding depth to the design. Additionally, incorporating textures, such as placing a glitter HTV layer over a solid color base, can make the design sparkle and catch the light in captivating ways.
Text-based designs also gain character when layering is implemented. By using contrasting colors for the outline and fill of text, you can create an eye-catching shadow effect. This technique can add a three-dimensional look to slogans or names on shirts, making them pop visibly. For even more flair, try mixing glossy and matte finishes-while a matte base can provide a subtle backdrop, a glossy text layer draws attention and creates a sleek, polished finish.
Another exciting area for creativity lies in themed apparel for events or holidays. Layering HTV allows for playful designs that resonate with specific occasions, such as back-to-school or festive holidays. For instance, during Halloween, you could layer a spooky font with bat shapes in contrasting colors like orange and black. Or, for a winter holiday theme, consider layering snowflakes with shimmery vinyl atop a cozy, warm-toned background. The layered effects help communicate the spirit of the occasion while making garments stand out.
To make your projects even more interactive, think about incorporating appliqué techniques using HTV. In this approach, various fabric layers can be used alongside HTV, offering a mixed-media appearance that adds interest and texture. Imagine a design featuring an oversized initial with a patterned fabric layered behind it, framed by a bold HTV outline. This combination creates a tactile element, inviting touch and engagement from the viewer.
By embracing these design concepts, you not only enhance your creativity but also showcase your skills in layered HTV applications. Each project becomes a canvas for exploration, blending colors, textures, and techniques that reflect your personal style or the themes you wish to communicate. Dive into the world of layered HTV, and let your imagination be your guide!
Maintenance Tips for Layered HTV Creations
Maintaining the vibrancy and integrity of your layered heat transfer vinyl (HTV) creations is crucial for ensuring they stand the test of time. Proper care goes beyond just washing; it encompasses how you store and display these creative pieces. Understanding the right approach to maintenance can help you preserve the brilliance of your designs while extending the life of the apparel or accessories you’ve adorned with HTV.
To start, washing your layered HTV pieces requires some attention. Always turn garments inside out before washing to prevent friction against other fabrics that could cause peeling or degradation of the layers. Use cold water and choose a gentle cycle to minimize wear and tear. Strong detergents with bleach can be harmful, so opt for mild, non-chlorine alternatives to keep colors vibrant. After washing, avoid wringing out your garments. Instead, let them air dry to preserve the adhesive properties of the HTV. If you must use a dryer, keep the temperature low and remove garments promptly to reduce the risk of layers curling or lifting.
Storage Solutions
The way you store your layered HTV projects is equally vital. Store items in a cool, dry place away from direct sunlight to prevent fading. If you’re keeping them folded, ensure that the area remains flat to avoid creases in your designs. Consider using protective garment bags for long-term storage, especially for seasonal pieces or items only worn on special occasions. This not only protects your creations but also keeps them dust-free.
Regular Inspections
Frequent inspections of your HTV pieces can help catch issues early. Look for signs of wear, like lifting edges or discoloration, and address them promptly. If you notice any peeling or bubbling, you may be able to re-heat the affected area using a heat press or an iron with a protective sheet over the design. This can reactivate the adhesive, allowing the layers to bond once more. Always keep your tools clean and ready for such touch-ups, ensuring that any residue from previous projects doesn’t transfer onto your maintenance work.
By taking these simple steps, you can maintain the beauty and longevity of your layered HTV creations. From washing to storage and routine inspections, every little action contributes to more lasting designs, allowing you to enjoy and showcase your artistic efforts for years to come.
DIY Inspiration: Creative Layering Techniques
Layering heat transfer vinyl (HTV) can elevate your projects to new heights, allowing for creative designs that can capture attention and express individuality. One of the most exciting aspects of working with HTV is its versatility; you can mix colors, textures, and finishes to craft unique looks. Whether you’re creating custom apparel, decorative items, or promotional materials, understanding layering techniques can significantly enhance your design potential.
To start your creative layering journey, consider the different types of HTV available. By combining various finishes-such as matte, glossy, or glitter-it’s possible to create contrast and depth in your designs. Mixing and matching colors also provides an opportunity to convey themes, moods, or branding effectively. For instance, using a glitter vinyl as a top layer over a solid color can add sparkle to your design, making it visually striking. Remember, while layering, it’s crucial to apply the lighter colors first, allowing darker colors to be layered on top without compromising their visibility.
Layering Techniques to Try
Experimenting with heat settings and application times is also essential when layering HTV. Each type of vinyl may require different temperatures and duration for optimal adhesion. Following the heat transfer instructions closely can prevent peeling or bubbling in layered areas. Here are a few techniques to inspire your layering projects:
- Partial Layering: Create designs that feature partial layers of HTV to give an illusion of depth. For example, apply a geometric shape in solid color and then layer a pattern on top that only covers part of the shape.
- Texture Play: Use different HTV materials, like flock heat transfer vinyl, alongside standard HTV. This technique not only changes the visual appeal but also adds tactile interest to the design.
- Overlaying Designs: Consider placing a transparent or semi-transparent HTV layer over a solid design. This can create a soft color blending effect or enhance the complexity of your visuals.
Don’t hesitate to test for yourself-you may discover combinations that work unexpectedly well. By thoughtfully selecting your vinyl and layering strategically, you can transform a simple piece into a standout creation that reflects your personal style.
Safety Considerations When Using HTV
When working with heat transfer vinyl (HTV), safety should be a top priority, especially during the application process. The use of heat presses and irons at elevated temperatures can pose risks not just to the material, but to the user as well. It’s essential to be aware of best practices to ensure a safe and effective crafting environment.
Begin by ensuring proper ventilation in your workspace. Many types of HTV release fumes when heated, which could be irritating to the respiratory system. Using a fan or working in a well-ventilated area helps mitigate this risk. Additionally, always wear heat-resistant gloves when handling heated materials. Touching surfaces that have just been used for HTV application can result in burns, so protecting your hands is crucial.
It’s also vital to read and follow the manufacturer’s safety guidelines for each type of HTV. Different materials may have specific requirements regarding temperature settings and application methods. Ignoring these can lead to not only diminished quality of your project but also potential health risks. For instance, some vinyls may contain chemicals that can off-gas if overheated.
Finally, always keep your work area organized. Clutter can lead to accidents, especially if hot equipment is involved. Make sure to clear away any unnecessary items and keep all tools within reach to minimize movement and the risk of burns or spills. By following these safety precautions, you can enjoy the creative process of layering HTV without unnecessary hazards, allowing your crafting experience to be as enjoyable and productive as possible.
FAQ
Q: Can I layer heat transfer vinyl on top of itself?
A: Yes, you can layer heat transfer vinyl (HTV) on top of itself, but it’s essential to ensure that the bottom layer has fully adhered before adding more layers. This practice can help prevent issues like bubbling or lifting. Always follow manufacturer guidelines for the best results.
Q: What type of heat transfer vinyl is best for layering?
A: For layering, cold peel HTV is generally preferred since it requires cooling before the carrier sheet is removed, minimizing the risk of lifting. Additionally, consider using thinner materials for the initial layers, ensuring smooth application for subsequent layers.
Q: How long should I wait to layer HTV?
A: It’s advisable to wait 24 hours before layering additional HTV on top of your initial design. This waiting period allows the adhesive to set properly, ensuring better adhesion of subsequent layers and reducing the risk of peeling or bubbling.
Q: What are common mistakes when layering heat transfer vinyl?
A: Common mistakes include using incompatible types of HTV, not allowing proper cooling time, and applying too much heat or pressure. Always ensure each layer is fully cured before proceeding to the next to achieve the best results.
Q: Does layering different brands of HTV affect the outcome?
A: Yes, layering different brands of HTV can affect the outcome due to variations in adhesive quality and heat requirements. Always test compatibility on a small piece before committing to a larger project; this will ensure that all layers adhere properly without issues.
Q: Can I wash layered HTV designs?
A: Yes, you can wash layered HTV designs, but it’s crucial to follow specific care instructions. Turn items inside out, use cold water, and avoid bleach to prolong the life of your layered designs. Additionally, air drying is preferred to prevent damage.
Q: What is the best way to troubleshoot lifting layers of HTV?
A: If you experience lifting layers, start by checking the temperature and pressure settings on your heat press. Ensure that you’re using even pressure and the correct temperature for the specific HTV types. Also, verify that the underlying vinyl is fully adhered before adding additional layers.
Q: Are there any safety tips for layering HTV?
A: Yes, always work in a well-ventilated area and wear heat-resistant gloves when handling hot materials. Additionally, ensure your heat press or iron is placed on a stable, heat-resistant surface to avoid accidents while layering HTV.
Final Thoughts
Now that you’ve explored the essentials of layering heat transfer vinyl, you’re well-equipped to take your projects to the next level. Remember, mastering these best practices will enhance not only the appearance of your designs but also their durability and longevity. Don’t hesitate to apply these strategies as you embark on your next creative endeavor!
If you’re eager to dive deeper, check out our guides on the best tools for cutting HTV and troubleshooting common issues with heat transfer applications. Plus, subscribe to our newsletter for the latest tips, techniques, and exclusive offers that will keep your crafting game strong!
We’d love to hear your thoughts on layering HTV and any tips you might want to share. Leave a comment below, and let’s keep the conversation going. Whether you’re a seasoned pro or just starting, your journey in crafting with heat transfer vinyl has just begun-let’s create something amazing together!
Get our latest guides, news, and insights highlighted in your Google Search & AI Overviews.